
Imagine you’re planning your next adventure. You’ve got your bags packed, the playlist ready, and the map set.
But there’s just one problem: your car’s storage space is bursting at the seams. How do you solve this dilemma without leaving your essentials behind? Installing a roof rack could be the answer. With a roof rack, you can easily transport bikes, kayaks, or luggage, freeing up space inside your vehicle.
In this guide, you’ll discover how to install a roof rack on your car efficiently and safely. We’ll break down each step so you can hit the road with confidence and peace of mind. Ready to maximize your car’s potential and unlock new adventures? Let’s get started!
Credit: www.youtube.com
Choosing The Right Roof Rack
Selecting the right roof rack is essential for safe car travel. Ensure compatibility with your car’s model and follow the installation instructions carefully. Properly installed roof racks enhance storage space without compromising safety.
Choosing the right roof rack for your car can be challenging. It’s important to ensure the roof rack fits your needs and your vehicle. This guide will help you make an informed decision.Types Of Roof Racks
Understanding the different types of roof racks is crucial. There are several options to consider:- Crossbars:These are the most common type. They sit across the roof.
- Roof rails:Usually factory-installed, they run along the car’s length.
- Roof boxes:Ideal for carrying luggage, they provide enclosed storage.
- Bike racks:Designed specifically for transporting bicycles.
- Kayak racks:Perfect for water sports enthusiasts.
Compatibility With Your Vehicle
Check if the roof rack is compatible with your car. Not all racks fit every vehicle. Consider the following:- Ensure the rack fits your car’s roof type.
- Check the manufacturer’s guidelines for compatibility.
- Consider the weight your car’s roof can support.
- Measure your roof’s width to ensure a proper fit.
Credit: www.homedepot.com
Gathering Necessary Tools
Selecting the right tools ensures a smooth roof rack installation. Gather screwdrivers, wrenches, and a measuring tape. Keep instructions and brackets handy for a hassle-free setup.
Gathering Necessary Tools Installing a roof rack on your car might seem daunting at first, but with the right tools, it’s entirely manageable. Before you dive into the process, it’s crucial to gather all the necessary equipment to ensure a smooth installation. Having everything at your fingertips not only saves time but also prevents frustration. What tools are essential, and which ones could make the job easier but are not strictly necessary?Essential Tools For Installation
To get started, you’ll need a few basic tools that are often already in your toolbox. Here’s a list to ensure you’re prepared:- Socket Wrench Set:This is indispensable for tightening nuts and bolts securely. Make sure to have different sizes available, as roof racks vary in design.
- Measuring Tape:Accuracy is key. A measuring tape will help you position the rack precisely, ensuring balance and stability.
- Rubber Mallet:A gentle tap can help seat components without damaging the car or rack.
- Screwdrivers:Both Phillips and flathead types are necessary for various screws involved.
Optional Accessories
While the essential tools are non-negotiable, certain optional accessories can make the installation smoother and improve the final setup:- Torque Wrench:If precision is your thing, a torque wrench can help apply the exact pressure needed, avoiding overtightening.
- Protective Gloves:Not only do they keep your hands clean, but they also prevent minor injuries from handling metal components.
- Level Tool:Want to ensure your rack is perfectly horizontal? A level can assist with that, especially for longer installations.
Preparing Your Vehicle
Installing a roof rack on your car enhances storage capacity for trips. Begin by selecting the correct rack compatible with your vehicle model. Secure the rack with the provided tools, ensuring it fits tightly to prevent movement while driving.
Preparing your vehicle is a crucial step before installing a roof rack. Think of it like setting the stage for a smooth performance. A clean and damage-free surface ensures a secure fit and protects your car from scratches or dents. You don’t want to skip this step only to face issues down the road. So, grab your cleaning supplies and let’s get your vehicle ready for its new roof rack.Cleaning The Roof Area
Start with a thorough wash of the roof area using soap and water. This removes dirt and grime that can interfere with installation. You might find it helpful to use a microfiber cloth, as it’s gentle yet effective. Pay special attention to corners and edges where dirt tends to accumulate. A clean roof makes adhesive components stick better, ensuring your roof rack stays in place. It’s also a good opportunity to spot any issues that need addressing.Inspecting For Damage
Once the roof is clean, inspect it for any signs of damage. Look for scratches, dents, or rust. These can compromise the rack’s integrity and your vehicle’s safety. If you notice damage, consider repairing it before proceeding. You can use touch-up paint or a rust inhibitor for minor issues. It’s always better to fix small problems now than face bigger ones later. Does your car have existing rack mounts or tracks? Check them for wear and tear as well. Ensuring they’re in good shape will lead to a more secure installation.Installing The Roof Rack
Installing a roof rack on your car enhances storage space and versatility. Secure the mounts, align the rack, and fasten tightly. Ensure the rack is stable before loading any cargo for safe travel.
Installing a roof rack on your car can expand your storage space. It helps in carrying extra luggage, sports gear, or camping equipment. Installing a roof rack is straightforward with the right approach. Follow these steps for a secure and reliable setup.Positioning The Rack
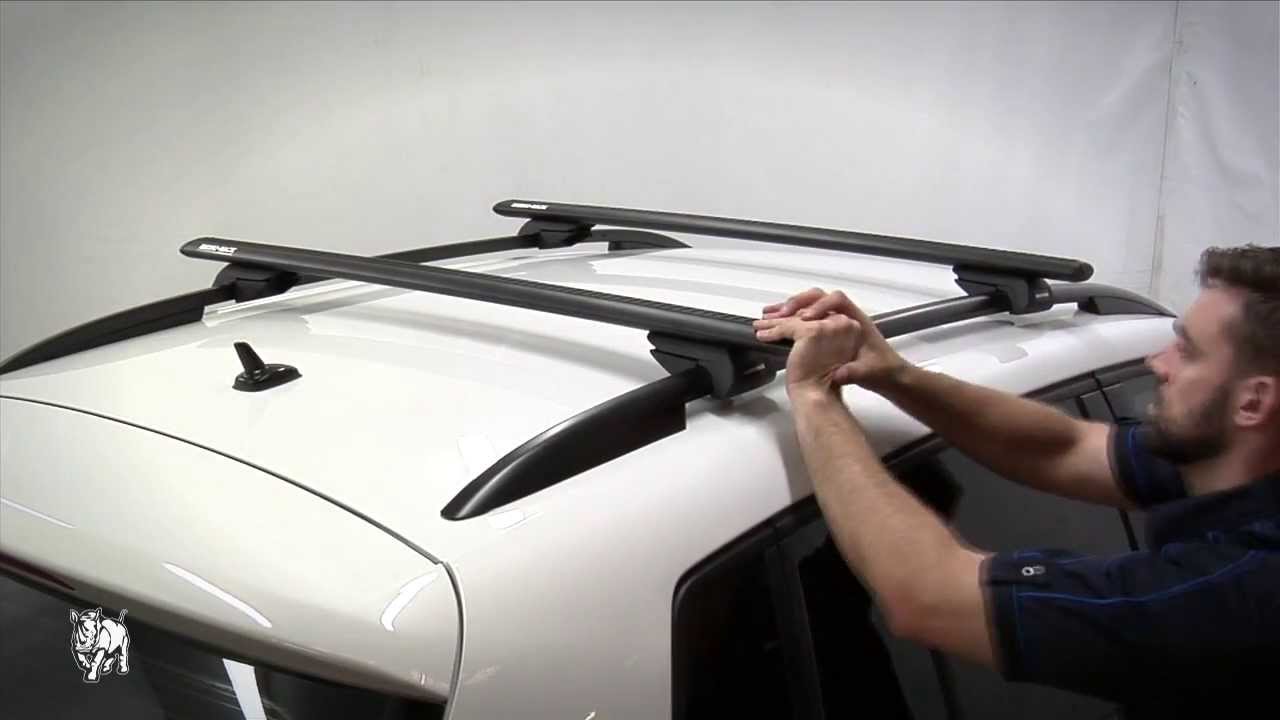
First, position the rack on your car’s roof. Ensure the distance between the crossbars is correct. This depends on your car model and the type of rack. Use the manufacturer’s instructions as a guide. The rack should be centered and aligned with your car’s roof. Adjust the position until it sits evenly. This prevents wind noise and ensures safety while driving.Securing The Mounts
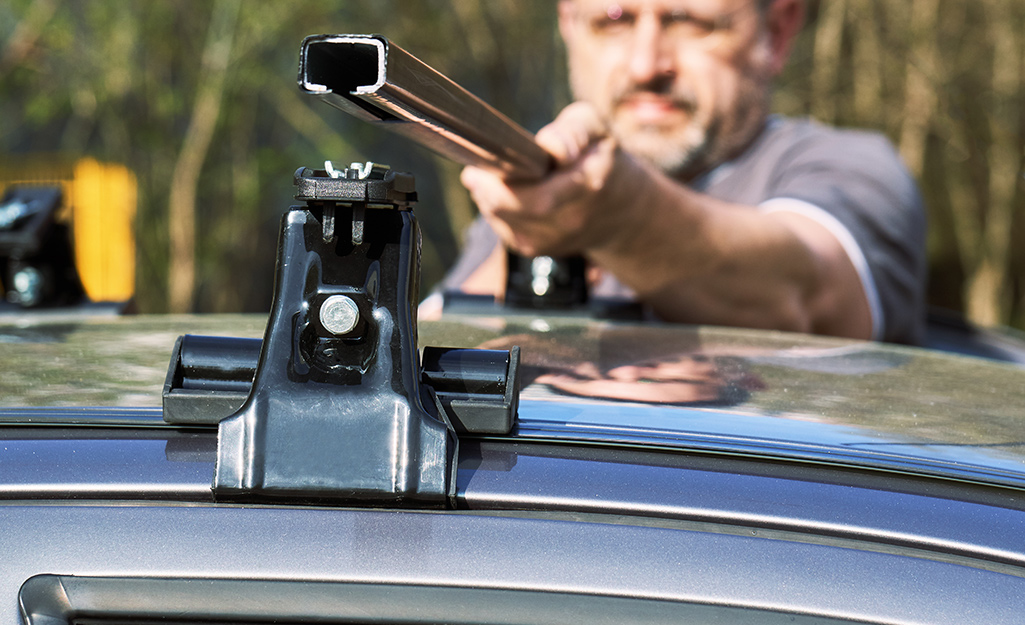
Next, secure the mounts firmly to the car roof. Attach the mounts following the instructions provided. Check that each mount is aligned correctly. Tighten the bolts or screws with the tools provided. Make sure they are snug, but avoid overtightening. It can damage the mounts or the car roof. Once all mounts are secure, give the rack a gentle shake. Ensure it is stable and does not move. This stability is crucial for safe travels with extra cargo.Adjusting And Testing
Once you’ve securely installed your roof rack, it’s crucial to ensure it’s adjusted correctly and thoroughly tested. This step is key to avoiding any mishaps on the road, like an unexpected shift or noise at high speeds. Take the time to fine-tune and test your roof rack for a smooth, safe journey.
Checking Stability
Before hitting the road, double-check the stability of your roof rack. Give it a firm shake to see if it stays put. If there’s any wobble, it’s a sign you need to tighten things up.
Check all the bolts and clamps to ensure they are snug. This is especially important if you plan on carrying heavy loads. You wouldn’t want anything flying off during your trip.
Making Adjustments
If your roof rack isn’t completely stable, don’t worry. Adjustments are often necessary to achieve a perfect fit. Begin by loosening the mounting brackets slightly.
Shift the rack to the correct position, ensuring it’s centered and level. Once adjusted, retighten all the fasteners carefully.
Remember the time you thought your bike was secure, only to hear it rattling halfway to your destination? A simple adjustment can save you from such anxiety.
Are you using the correct tools for tightening? Using the wrong wrench or screwdriver can strip the bolts, leading to a compromised setup.
After making adjustments, it’s wise to do another stability check. This ensures everything is in place before you start your journey.
Final Touches
Completing the roof rack installation involves a few important steps. These final touches ensure your rack is secure and protected from damage. Paying attention to detail is crucial for a safe and reliable setup.
Tightening Bolts
Use a wrench to tighten all bolts securely. Loose bolts can cause instability during travel. Check each bolt twice for maximum safety. Ensure they are firmly in place without over-tightening.
Adding Protective Covers
Attach protective covers to shield bolts and joints. They prevent rust and corrosion over time. These covers also improve the rack’s appearance. Ensure each cover fits snugly over the bolt heads.
Maintenance Tips
Installing a roof rack on your car involves careful preparation and secure attachment. Start by checking compatibility and gathering necessary tools. Follow instructions precisely to ensure stability and safety during use.
A roof rack is a valuable addition to your car, opening up a world of possibilities for travel and adventure. Once installed, it’s crucial to maintain it properly to ensure its longevity and safety. Neglecting maintenance can lead to wear and tear, potentially compromising your gear’s security. Let’s delve into some practical tips to keep your roof rack in top shape.Regular Inspections
Routine checks are essential. Periodically inspect the roof rack for any signs of damage or wear. Look for loose bolts, cracks, or rust. Ensure the rack is securely fastened to your car. A quick shake can reveal if anything needs tightening. If you often drive on rough roads or in harsh weather, consider increasing the frequency of your inspections. This habit can prevent minor issues from becoming major problems.Cleaning And Care
Keeping your roof rack clean is not just about aesthetics. Dirt and debris can cause damage over time. Use warm water and mild soap to wash the rack regularly. Pay special attention to joints and moving parts. These areas can accumulate grime, affecting their functionality. After cleaning, dry the rack thoroughly to prevent rust. If you live in a salty or humid area, consider applying a protective wax or oil to safeguard against corrosion. Maintaining your roof rack may seem like a small task, but it can significantly extend its lifespan. Plus, a well-maintained rack ensures that your adventures are safe and enjoyable. Are you ready to give your roof rack the care it deserves?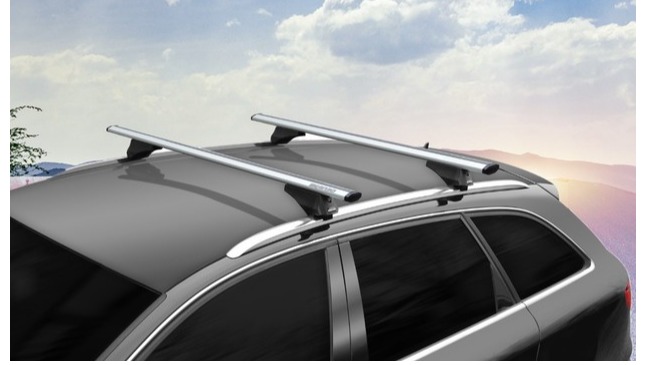
Credit: www.strictlyautoparts.ca
Frequently Asked Questions
Can I Install A Roof Rack On My Car Myself?
Yes, you can install a roof rack on your car yourself. Follow the manufacturer’s instructions carefully. Ensure you have the right tools and equipment. Check your car’s weight limits and specifications. Installing incorrectly can cause damage or safety issues. Always double-check for secure attachment before use.
Can You Install A Roof Rack On Any Car?
Not all cars can accommodate a roof rack. Check your car’s make and model specifications. Many cars have factory mounting points or require specific racks for proper installation. Always ensure compatibility and follow manufacturer guidelines for safety and effectiveness.
How Do I Attach A Roof Rack To My Car?
To attach a roof rack, first check the compatibility with your car’s roof type. Follow the manufacturer’s instructions, ensuring all parts are secure. Use any specific mounting points provided. Double-check the fit and stability before driving. Always consult your car’s manual for additional guidance.
Can I Put A Roof Rack On A Car With No Rails?
Yes, you can install a roof rack on cars without rails. Use a roof rack system compatible with your car’s model. Ensure it fits securely to avoid damage or accidents. Always follow the manufacturer’s instructions for installation and weight limits.
Conclusion
Installing a roof rack is simpler than it seems. Follow the steps carefully. Double-check each connection for safety. Use the right tools for the job. Ensure the rack fits your car’s design. Once installed, test its stability before use. A well-fitted roof rack expands your car’s utility.
It provides extra storage for trips. Always secure your items properly. This prevents accidents on the road. Remember, a stable roof rack means safer travel. Enjoy your new storage space and travel more comfortably. Safe travels with your newly installed roof rack!