
Imagine hitting the open road with your favorite gear in tow, ready for adventure. Whether you’re planning a weekend camping trip, a biking excursion, or a family vacation, a car roof rack can make all the difference.
It gives you the freedom to carry more, without cramming every inch of your vehicle’s interior. But before you can enjoy this newfound space, you need to install your roof rack correctly. You might feel a bit overwhelmed at the thought, but don’t worry—it’s simpler than you think.
By following a few straightforward steps, you can ensure your roof rack is secure and ready for the road ahead. Dive into this guide, and you’ll soon be hitting the highway with confidence and all your gear safely stowed above.
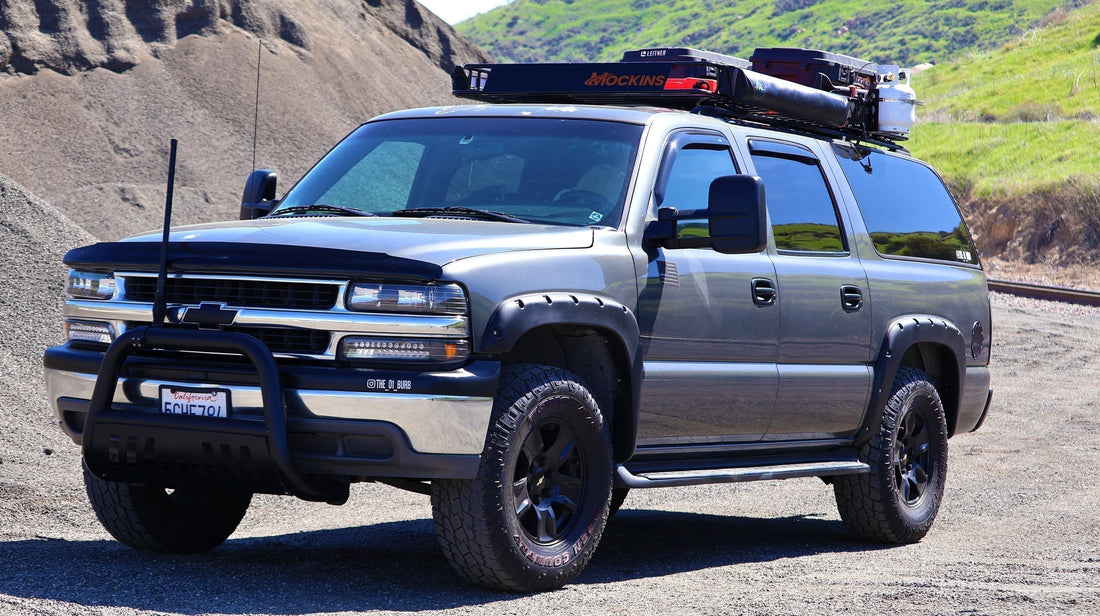
Credit: mockins.com
Choosing The Right Roof Rack
Choosing the right roof rack is a crucial step in ensuring that your car can carry all your gear safely and efficiently. Whether you’re planning a road trip with bikes or need extra space for camping equipment, the right roof rack can make all the difference. But how do you decide which one fits your needs? Let’s dive into the key factors to consider.
Types Of Roof Racks
Roof racks come in various styles, each designed for specific needs. Some common types include:
- Crossbars:These are versatile and can hold various accessories like bike racks, cargo boxes, and kayak carriers.
- Rail systems:Ideal for vehicles with existing side rails, allowing easy attachment of crossbars.
- Platform racks:Provide a large surface area for securing bulky items like surfboards or luggage.
Consider the type of items you’ll be transporting to decide which style suits you best.
Considerations For Your Vehicle
Not every roof rack fits every car, so it’s important to check compatibility. Does your vehicle have pre-installed side rails? If not, you might need a rack that clamps directly onto the roof.
Also, consider the weight capacity of both the rack and your vehicle’s roof. Overloading can lead to damage or unsafe driving conditions.
What kind of car do you drive? Sedans, SUVs, and hatchbacks have different requirements, so make sure to choose a rack tailored to your vehicle’s specifications.
Budget And Brand Options
Roof racks come at various price points, from budget-friendly options to high-end models. Some well-known brands include Thule, Yakima, and Rhino-Rack, each offering durability and reliability.
Think about how often you’ll use the rack. If it’s a frequent addition to your adventures, investing in a higher-quality model might save you from replacements in the long run.
Are you willing to pay for premium features or are basic functionalities enough for your needs? Weighing these factors can help you make an informed decision.
Gathering Necessary Tools
Installing a car roof rack is a task that can make your adventures more convenient and exciting. But before you dive into the installation process, gathering the necessary tools is a crucial first step. Having everything prepared not only saves time but also ensures a smooth installation experience. Let’s take a closer look at what you’ll need to get started.
Essential Tools List
- Screwdriver:A flathead or Phillips screwdriver is typically needed to secure the rack.
- Measuring Tape:Ensures accurate placement and alignment of the rack.
- Allen Wrenches:Often required for tightening bolts and fittings.
- Socket Set:Useful for handling various nut and bolt sizes.
- Rubber Mallet:A gentle tool for tapping parts into place without causing damage.
Additional Helpful Equipment
- Step Ladder:Provides height access, especially for taller vehicles.
- Cleaning Supplies:Clean the area where the rack will be mounted for better adherence.
- Protective Gloves:Keeps your hands safe while handling sharp or heavy components.
- Pencil or Marker:For marking positions before drilling or fitting.
Imagine setting off on a road trip, only to realize your roof rack isn’t securely fastened because you missed a crucial tool. Avoid the hassle by preparing your toolkit thoroughly. Have you ever tried assembling furniture without the right tools? It’s frustrating and time-consuming. The same applies here. By gathering everything in advance, you ensure a stress-free installation, allowing you to focus on the journey ahead.
What tools have you found indispensable when working on car projects? Share your thoughts in the comments below and let’s make sure no one gets caught without the right equipment!
Preparing Your Vehicle
Preparing Your Vehicle Installing a car roof rack can enhance your vehicle’s storage capacity. First, check your car’s roof type and buy the appropriate rack. Follow the installation instructions closely, ensuring a secure fit to prevent damage while driving.
Preparing your vehicle for a roof rack installation is crucial. It ensures a secure fit and prevents damage. Attention to detail during preparation can make the process smooth and efficient.Cleaning The Roof
Begin by cleaning the roof of your car thoroughly. Dirt and debris can affect the rack’s attachment. Use a mild soap and water solution to clean the surface. Ensure the roof is completely dry before moving on. This prevents any moisture issues during installation.Measuring And Marking
Accurate measurements are vital for a perfect fit. Measure the width of the roof where the rack will sit. Use a tape measure for precise dimensions. Mark the spots where the rack will attach using chalk or a marker. This helps in aligning the rack correctly during installation. Double-check the measurements to avoid any mistakes.
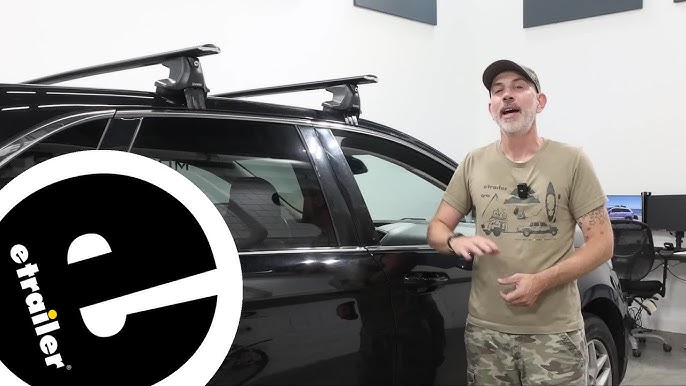
Credit: www.youtube.com
Installing The Roof Rack
Installing a car roof rack can seem daunting, but it’s an achievable task that adds significant utility to your vehicle. Whether you’re gearing up for a road trip or need extra space for sports equipment, a roof rack can be a game-changer. By following a few straightforward steps, you’ll have your roof rack installed in no time. Let’s dive into the process.
Attaching The Mounting Feet
The first step is to attach the mounting feet. These are the base of your roof rack system and must be securely fastened. Ensure your vehicle’s roof is clean to avoid any scratches or damage.
Position the mounting feet according to your vehicle’s specific roof rack installation guide. Most cars have pre-marked spots or rails for this purpose. Align the feet with these points and use the provided tools or a screwdriver to tighten them.
Double-check the tightness of each foot. They should be snug but not overly tightened, which could damage the threads. Are you feeling confident about the stability? Good, let’s move on to the next step.
Securing The Crossbars
With the mounting feet in place, it’s time to secure the crossbars. These are the bars that will hold your cargo, so their stability is crucial.
Place the crossbars onto the mounting feet. Ensure they are evenly spaced and perpendicular to the car’s length for optimal balance.
- Use the provided clamps or screws to secure the crossbars to the mounting feet.
- Tighten them firmly but avoid excessive force to prevent stripping the screws or damaging the bars.
Do you notice any wobbling or instability? If so, adjust and retighten accordingly.
Double-checking Alignment
Before you hit the road, double-check the alignment of your roof rack. This step is crucial for safety and efficiency.
Stand at the front and rear of your vehicle to ensure the crossbars are parallel and the mounting feet are in line. Misalignment can cause unnecessary drag and noise.
Gently shake the entire rack to test for any movement. A stable rack should not shift or make noise. If everything feels solid, you’re ready to load up and enjoy the benefits of your new roof rack!
Remember, a well-installed roof rack not only serves its purpose but also ensures your safety on the road. Have you found this process easier than expected? Share your experience and any tips you might have!
Ensuring Safety And Security
Installing a car roof rack requires precision and care to ensure safety. Begin by securing the rack’s mounts tightly to the vehicle’s roof. Follow the manufacturer’s instructions closely for proper alignment and attachment. Double-check all fastenings to avoid loose parts during travel.
Ensuring Safety and Security When installing a car roof rack, ensuring safety and security is paramount. You don’t want your luggage flying off while driving down the highway. Proper installation ensures not only your safety but also that of other road users.Tightening All Bolts
Before hitting the road, double-check that all bolts are tight. Use a wrench to ensure each bolt is secure, and don’t rely solely on hand-tightening. Loose bolts can compromise the rack’s stability, posing a risk during travel. If in doubt, refer to the manufacturer’s guide or even consider professional assistance.Testing Stability
Once everything is tightened, it’s time to test the stability. Gently shake the rack to check for any movement. It should feel like a solid extension of your car. If there’s any wobbling, reassess the attachment points and adjust as necessary. You might be tempted to skip this step, but remember: peace of mind is priceless. How would you feel driving with an unstable rack? Taking these extra minutes now can save you a lot of trouble later.Maintaining Your Roof Rack
Proper installation of a car roof rack ensures safety and functionality. Follow the manufacturer’s instructions carefully for a secure fit. Regularly check bolts and clamps to prevent wear and tear.
Maintaining your car roof rack is crucial to ensure it lasts long and functions effectively. A well-maintained roof rack not only secures your cargo but also enhances your vehicle’s aesthetics. Think about it: would you trust your valuable equipment on a rusty, loose rack? Regular maintenance keeps your roof rack in top shape, ensuring safety and reliability on every journey.Regular Inspections
Conduct regular inspections to catch any issues early. Check for loose bolts, rust, or any signs of wear. Tighten any loose components and replace parts showing significant wear. A quick look-over before a trip can prevent major headaches on the road. Inspect the roof rack’s mounting system to ensure it’s secure. A loose mount can lead to disastrous consequences, especially at high speeds. Make it a habit to check for any unusual sounds or movements when driving.Cleaning Tips
Clean your roof rack regularly to prevent dirt and rust buildup. Use mild soap and warm water to wash away grime and debris. Avoid harsh chemicals that can corrode metal parts. Rinse thoroughly and dry with a soft cloth to avoid water spots. Pay special attention to joints and moving parts where dirt tends to accumulate. A clean roof rack not only looks good but also performs better. Consider applying a protective wax or spray to metal surfaces. This adds an extra layer of protection against rust and corrosion. Your roof rack will thank you for it, maintaining its shine and functionality.Troubleshooting Common Issues
Installing a car roof rack can present challenges. Issues often arise with aligning the rack properly or securing it firmly. Double-checking instructions and using the correct tools helps ensure a smooth installation process.
Installing a car roof rack can sometimes lead to challenges. These issues might not be immediately obvious. Addressing them early ensures a safer and smoother ride. Understanding common problems helps improve your roof rack experience. Let’s dive into some frequent issues and their solutions.Noise Reduction
Driving with a roof rack can produce noise. This is often due to wind resistance. To minimize this, use aerodynamic crossbars. They cut through the wind more efficiently. Another tip is to install a wind fairing. It redirects airflow over the rack. Properly securing all parts also helps reduce noise. Check for any loose items on the rack. Ensuring they are tightly fastened will prevent rattling sounds. Regularly inspect the rack for wear and tear.Fixing Loose Parts
Loose parts are a common issue with roof racks. They can lead to noise or even damage. Regularly check the tightness of all bolts and screws. Use a wrench to ensure they are secure. If any parts seem worn, replace them immediately. Look for signs of corrosion or rust. These can weaken the metal and cause parts to loosen. Lubricate moving parts to maintain smooth operation. This simple maintenance keeps your rack in top condition.
Credit: www.youtube.com
Frequently Asked Questions
Can You Attach Roof Racks To Any Car?
Not all cars can have roof racks. Check compatibility with your vehicle’s model and roof type before purchasing.
How To Properly Install A Roof Rack?
Begin by reading the roof rack’s installation manual. Clean the car roof thoroughly. Align the rack with the car’s mounting points. Secure it tightly using the provided tools. Double-check all screws and bolts for safety.
Can You Put A Roof Rack On A Car Without Rails?
Yes, you can install a roof rack on a car without rails using a clip-on or door-mounted rack system. Ensure compatibility with your vehicle’s make and model for a secure fit. Always follow manufacturer guidelines for installation to prevent damage.
Are Roof Racks Screwed On?
Roof racks often get attached using screws, but some use clamps or straps. It depends on the vehicle and rack type. Always consult the manufacturer’s instructions for correct installation. Secure installation ensures safety and functionality.
Conclusion
Installing a car roof rack is a straightforward process. Follow the steps closely for a secure fit. Remember to check your vehicle’s compatibility. Choosing the right tools makes the job easier. Double-check all bolts and connections for safety. Test the rack after installation.
Ensure it supports your intended load. Maintaining your roof rack ensures long-lasting performance. Regular inspections prevent damage. Share your experiences with others. Help make their installation smooth too. Enjoy the benefits of extra storage space. Your adventures will be more convenient.
Travel with ease and confidence.