
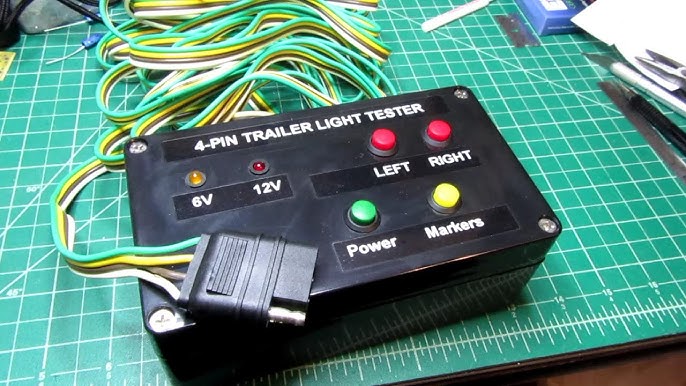
Have you ever noticed a dim or non-functioning brake light in your car? It’s not just a minor inconvenience; it can be a significant safety hazard.
Ensuring your brake lights are working correctly is crucial for your safety and for others on the road. But how do you know if the issue is with the bulb or something else? That’s where a voltmeter comes in handy.
Imagine the peace of mind knowing you can quickly check and fix your brake lights with a simple tool you may already have in your garage. Using a voltmeter is not as complicated as it sounds. It’s an empowering skill that can save you time, money, and prevent potential accidents. You don’t need to be an expert or spend a fortune. With a little guidance, you can master this technique and keep your car safe and sound. Curious to learn how? Dive into this article, and you’ll discover easy-to-follow steps that will make you feel like a pro. Your car’s safety is in your hands, and by the end of this, you’ll know exactly how to ensure those brake lights are always shining bright. Ready to get started? Let’s check those brake lights!

Credit: www.superspares.com.au
Voltmeter Basics
Using a voltmeter to check your car’s brake lights is an essential skill for any vehicle owner. A voltmeter can help you determine whether the brake light circuit is receiving power and functioning correctly. It’s a straightforward process that can save you from potential safety hazards and expensive repairs. Before diving into the specifics, let’s explore some basics about voltmeters.
Choosing The Right Voltmeter
Not all voltmeters are created equal. When selecting a voltmeter for checking your car brake lights, consider the following:
- Digital vs. Analog:Digital voltmeters provide precise readings and are easier to read, while analog voltmeters offer a classic needle display. Both work fine, but digital is generally preferred for accuracy.
- Voltage Range:Ensure the voltmeter can measure the voltage range of your car’s electrical system, typically 12 volts for most vehicles.
- Durability:Look for a voltmeter that is robust and built to withstand frequent use. You don’t want it to break down the first time you use it.
Have you ever picked up a tool only to realize it’s not suited for the task? Choosing the right voltmeter will prevent such frustrations.
Understanding Voltmeter Readings
Interpreting voltmeter readings is crucial for diagnosing issues with brake lights. Here’s how to make sense of what you see:
- Voltage Levels:A healthy brake light circuit should show a voltage close to 12 volts. If the reading is significantly lower, there might be a wiring issue or a bad connection.
- Consistency:Check if the readings are consistent across all brake lights. Inconsistent readings can indicate a bulb or socket problem.
Isn’t it fascinating how a simple tool can reveal so much about your car’s health? Understanding these readings equips you with the knowledge to address electrical issues confidently.
Safety Precautions
When checking your car brake lights using a voltmeter, safety should be your top priority. Ensuring your safety not only protects you but also ensures accurate results during your inspection. Taking simple precautions can make a significant difference in preventing accidents or injuries.
Protective Gear
Before you start, make sure you have the right protective gear. Wearing safety gloves can prevent any electrical shocks while handling the voltmeter. A pair of safety glasses can shield your eyes from unexpected sparks or debris.
Consider also wearing shoes with rubber soles to insulate yourself from potential electrical currents. It’s better to take these preventive measures than to deal with an unfortunate incident.
Ensuring Car Is Off
Ensure the car is completely off before you begin your inspection. This might seem obvious, but it’s easy to overlook when you’re eager to get the task done. Double-check that the ignition is turned off and the keys are removed.
Why? Because working on a running vehicle can lead to serious accidents. It’s crucial for your safety and the accuracy of your voltmeter readings.
Have you ever thought about the risks of working on a live electrical system? Taking a few extra minutes to ensure safety can prevent costly errors and safeguard your well-being.
Locating The Brake Light Circuit
Locating the brake light circuit involves accessing the rear light assembly. Use a voltmeter to test for voltage presence. Ensure the brake pedal is pressed while checking to confirm the circuit’s functionality.
Locating the brake light circuit is essential for checking your car’s brake lights. It helps ensure your vehicle’s safety on the road. Understanding how to locate this circuit can save time and effort. A voltmeter can assist in this task. This tool measures electrical current and identifies issues.Identifying Brake Light Fuse
To start, locate the brake light fuse. The fuse box is usually under the dashboard or in the engine compartment. Refer to your car’s manual for the exact location. Once found, look for the diagram on the fuse box cover. It shows which fuse is for the brake lights. A blown fuse might be the reason your brake lights aren’t working. Replace it with a fuse of the same rating if needed.Accessing Brake Light Wiring
Next, access the brake light wiring. The wiring is often near the brake pedal or rear lights. Remove any covers or panels to reach it. Be careful not to damage the wires. Use your voltmeter to check for current. Connect the voltmeter probes to the wire ends. If the voltmeter shows no reading, there might be a break in the circuit. Reconnect any loose wires or replace damaged ones. This ensures the brake lights function properly.Preparing The Voltmeter
Ensure the voltmeter is functional before testing car brake lights. Set it to the correct voltage range. Connect its probes to the power source to verify its readiness.
Preparing the Voltmeter Before checking your car brake lights, ensure your voltmeter is ready. Proper preparation avoids errors and ensures accurate readings. Follow these simple steps to get your voltmeter set up correctly.Setting The Correct Voltage Range
Set the voltmeter to the correct voltage range. Brake lights usually operate on a 12-volt system. Adjust your voltmeter to a range that includes 12 volts. This ensures precise measurements. Check the manual if you’re unsure how to set the range.Checking Voltmeter Battery
A voltmeter with a low battery can give wrong readings. Check the battery status before use. Replace if necessary. This keeps your voltmeter functioning well. Look for a battery indicator on the device. If the battery is weak, swap it out for a fresh one. Proper battery management extends the life of your voltmeter.Testing The Brake Lights
Testing your car’s brake lights ensures safety on the road. A voltmeter helps in checking the electrical system. This tool shows if the brake lights get the right power. Proper voltage means your lights function correctly. Let’s dive into using a voltmeter for this task.
Connecting Voltmeter Probes
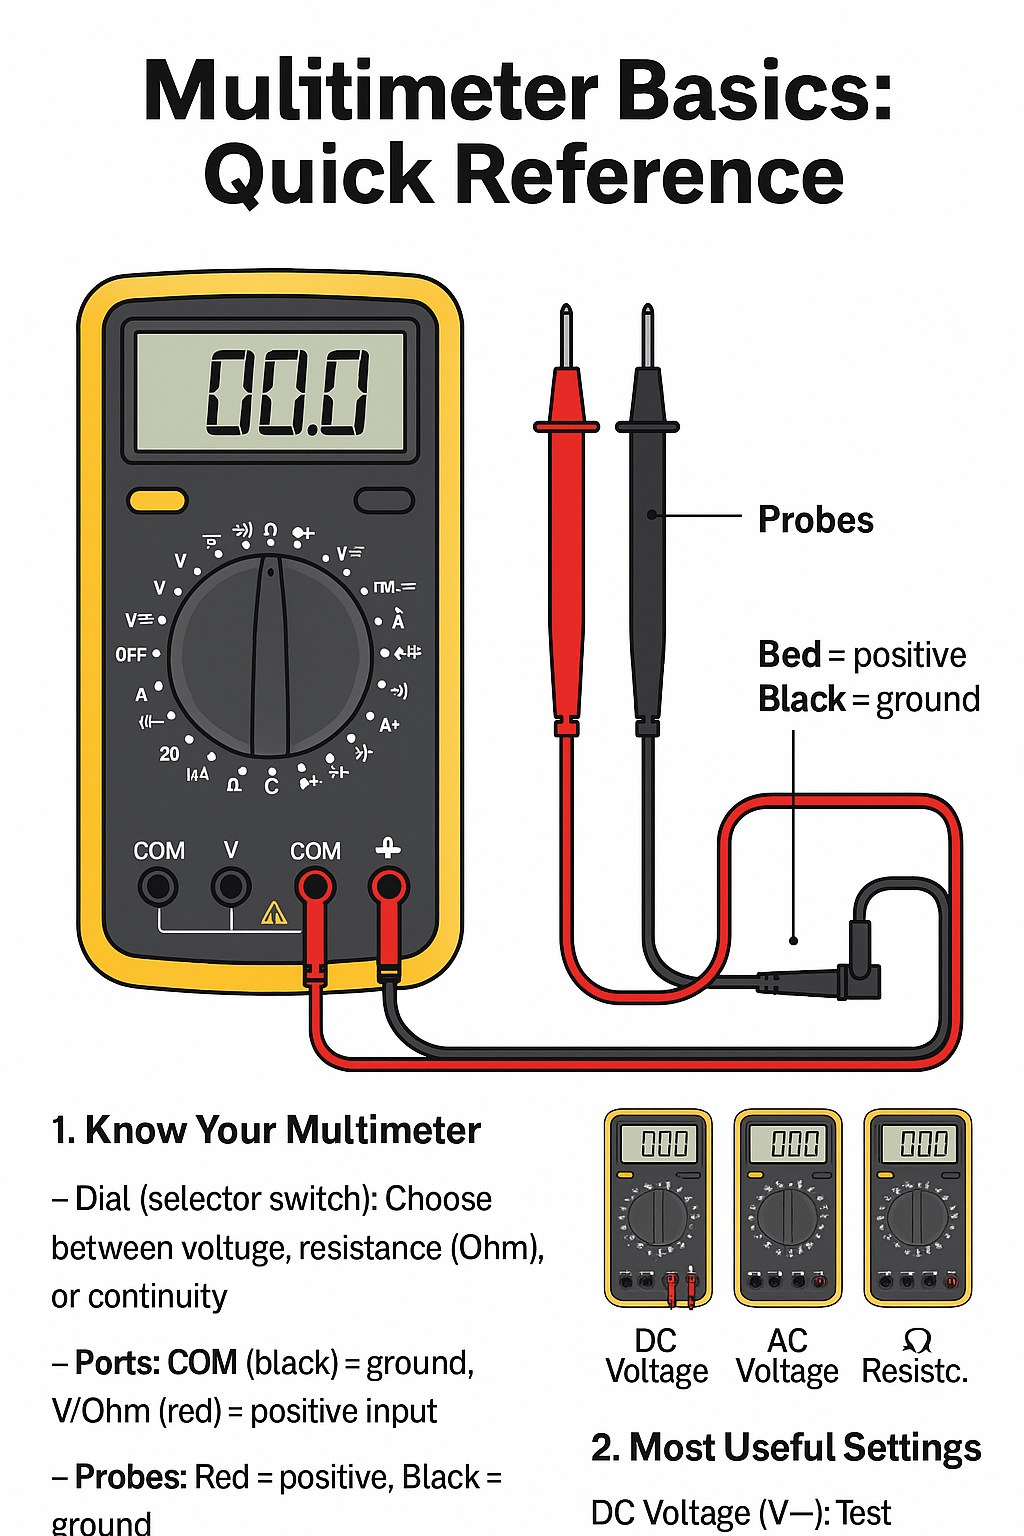
First, set the voltmeter to measure DC voltage. Most car systems use 12 volts. Locate the brake light socket and remove the bulb. Insert the black probe into the ground terminal. Place the red probe on the positive terminal. Be careful not to touch the probes together.
Interpreting Voltage Results
Look at the voltmeter reading. It should show around 12 volts. A reading close to this means power reaches the brake lights. If the reading is low, check the fuse or wiring. No voltage might indicate a broken circuit. This could mean a bigger issue needing expert help.
Credit: www.chevybolt.org
Troubleshooting Common Issues
A voltmeter can diagnose car brake light issues efficiently. Connect it to the brake light socket and check the voltage. This helps identify faulty wiring or blown bulbs, ensuring safe vehicle operation.
When using a voltmeter to check car brake lights, you may face issues. Troubleshooting these problems can save time and effort. Here are some common issues and how to address them effectively.No Voltage Reading
A voltmeter showing no voltage can be frustrating. Start by checking the car’s ignition switch. Ensure it’s in the “on” position. Next, inspect the brake light fuse. A blown fuse will prevent voltage. Replace it if necessary. Check the ground connection. A poor ground can cause no reading. Clean any corrosion on the terminals. Ensure wires are not damaged or broken. Secure any loose connections. Finally, test the voltmeter itself. Use it on a known power source to verify functionality.Inconsistent Voltage Levels
Inconsistent voltage levels can indicate a problem. Begin by examining the battery charge. A weak battery may cause fluctuations. Test the brake light switch. A faulty switch can disrupt voltage flow. Replace it if needed. Inspect the wiring for damage. Frayed wires can cause intermittent signals. Secure any loose connections. Ensure the voltmeter probes are correctly placed. Misplacement can lead to false readings. Confirm that the brake pedal is fully engaged. A partially depressed pedal may affect voltage. Check for any corrosion on connectors. Clean them to ensure proper contact.Expert Tips For Accurate Testing
Mastering the art of using a voltmeter to check your car brake lights can save you time and money. But accuracy is key. With a few expert tips, you can ensure your testing is spot on. Whether you’re a seasoned mechanic or a DIY enthusiast, these insights will enhance your troubleshooting skills and ensure your brake lights are functioning perfectly.
Ensuring Proper Connections
First, make sure your voltmeter is correctly set to measure voltage. Double-check that the probes are securely connected to the voltmeter. A loose connection can lead to inaccurate readings.
Align the black probe with the ground or negative terminal and the red probe with the positive terminal of the brake light. This ensures the voltmeter is correctly measuring the current flow.
Think of the probes as the ears of your voltmeter—without proper placement, it won’t hear the correct signal. Are you paying attention to where they’re positioned?
Double-checking Results
Once you get a reading, don’t settle. Test the brake lights multiple times. This helps confirm the consistency of your results.
If the readings vary, it could indicate an intermittent connection or a fluctuating power supply. Consider testing in different lighting conditions to see if it affects your results.
Keep an eye out for unexpected changes. Sometimes, repeating a test sheds light on hidden issues. Are your brake lights sending mixed signals?
Credit: www.facebook.com
Frequently Asked Questions
How To Test A Brake Light Switch With A Voltmeter?
Set the voltmeter to DC voltage. Connect the positive probe to the switch’s output terminal. Attach the negative probe to a ground. Press the brake pedal. The voltmeter should read 12 volts if the switch works. If not, the switch might be faulty.
How To Test Power To Brake Lights?
Use a multimeter to test brake light power. Set it to DC voltage. Touch probes to the socket terminals. Ensure the brake pedal is pressed. Check for a voltage reading. If voltage is present, power is reaching the brake lights.
Is There A Way To Check Your Brake Lights?
Yes, park your car and turn on the ignition. Press the brake pedal. Ask someone to check if lights illuminate or use reflective surfaces like windows or a garage door to see the reflection. Alternatively, use a stick or a broom to press the pedal while checking yourself.
How To Check Car Lights With A Multimeter?
Set the multimeter to DC voltage. Connect probes to the light’s terminals. Read voltage to ensure proper function. Check resistance for continuity.
Conclusion
Using a voltmeter to check car brake lights is simple. It helps ensure safety on the road. First, understand how the voltmeter works. Then, connect the voltmeter correctly. Finally, check the readings. A working brake light is crucial. It alerts drivers behind you.
Regular checks prevent accidents. They keep your vehicle safe and road-ready. Remember, proper maintenance saves time and money. It avoids unexpected repairs. Follow the steps in this guide. Ensure your car’s brake lights function properly. Stay safe while driving. Keep your family protected.
Happy driving!