
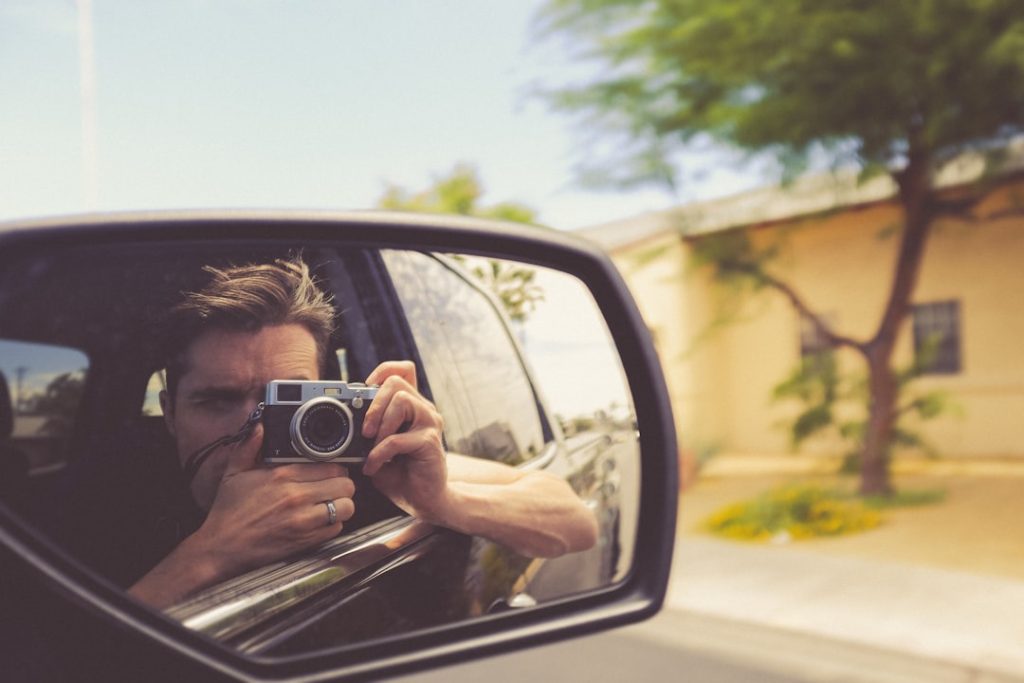
Imagine capturing the perfect shot of your car, only to find distracting reflections marring its sleek surface. Frustrating, right?
You’re not alone in wanting your car photos to look flawless. Whether you’re a budding photographer or just want to show off your car on social media, reflections can be a real nuisance. But don’t worry, Photoshop is here to save the day.
In this guide, you’ll discover simple and effective techniques to effortlessly remove reflections from your car images. By the end, you’ll be equipped with the skills to transform your photos, making them look polished and professional. So, if you’re ready to enhance your images and impress your audience, keep reading to learn how to master the art of reflection removal in Photoshop.

Credit: www.instagram.com
Tools And Features
Photoshop offers powerful tools to remove reflections from car images. Use the Clone Stamp and Healing Brush for precise edits. The Content-Aware Fill feature helps in seamlessly blending areas, enhancing the overall appearance of your photo.
Removing reflections from a car in Photoshop requires specific tools and features. These tools help to achieve a clean, polished look. Understanding these features will make your work easier and more effective. Below, we’ll explore three essential tools for this task.Clone Stamp Tool
The Clone Stamp Tool duplicates a specific part of the image. It is perfect for covering reflections with a texture that matches the car’s surface. Select the tool, hold Alt, and click to choose the source area. Then, paint over the reflection to blend it seamlessly. Adjust the brush size for better precision.Healing Brush Tool
The Healing Brush Tool is ideal for blending imperfections. It samples the texture and color around the reflection to create a smooth finish. Hold Alt and click to sample the area, then paint over the reflection. It automatically adjusts to the surrounding tones. This tool makes small corrections quick and easy.Patch Tool
The Patch Tool works like a magic eraser. It allows you to select the reflection and replace it with another part of the image. Draw around the reflection, then drag the selection to a clean area. Release the mouse to apply the patch. It blends textures and tones beautifully. This tool is great for larger reflections.
Credit: www.youtube.com
Preparing Your Image
Preparing your image is the first step to remove reflections from a car in Photoshop. A good start ensures a smoother editing process. Begin by setting up your workspace and organizing your files. This will make your editing more efficient and effective.
Importing The Photo
Open Photoshop on your computer. Go to the ‘File’ menu at the top. Click on ‘Open’ and find your car photo. Select the image and click ‘Open’ again. Your photo will appear in the Photoshop workspace. Ensure the image is high-resolution for better editing results.
Creating A Duplicate Layer
Once the photo is open, create a duplicate layer. This step is crucial for non-destructive editing. Look at the right side of the screen, in the Layers panel. Right-click on your image layer. Choose ‘Duplicate Layer’ from the menu. A new layer will appear above the original. Rename this layer to ‘Edit Layer’ for easy identification.
Using The Clone Stamp Tool
Removing reflections from a car photo can make it look flawless. The Clone Stamp Tool in Photoshop is perfect for this task. It lets you paint over unwanted reflections with pixels from another part of the image. This tool is powerful yet simple, making it ideal for beginners.
Selecting The Right Brush
Start by choosing a soft-edged brush. This helps blend the cloned area smoothly. Adjust the brush size to match the reflection. A larger brush covers more area but might lack precision. Use a smaller brush for detailed work.
Sampling And Painting Techniques
Hold the Alt key and click to sample pixels. Choose pixels from a clean area of the car. Begin painting over the reflection. Short strokes work best for control. Check your progress often to ensure a natural look. Adjust the opacity for subtle corrections.
Employing The Healing Brush
One of the most effective tools in Photoshop for removing unwanted reflections from a car is the Healing Brush. This tool allows you to seamlessly blend areas of your image, creating a clean and polished look. By carefully employing the Healing Brush, you can transform your car photo to appear professionally edited. Let’s dive into how you can master this tool to enhance your car images.
Adjusting Brush Size
Start by selecting the Healing Brush from the toolbar. One of the first adjustments you should make is to the brush size. A smaller brush size gives you precision for tight areas, while a larger brush covers more ground quickly.
Consider the surface area of the car you’re working on. If you’re tackling reflections on a small bumper, a smaller brush size may be your best friend. On larger surfaces like the hood, a bigger brush can be more efficient.
Remember, the key is control. Adjust the size according to the details you want to preserve. Experiment with different sizes to find what works best for your specific image. Have you ever noticed how changing brush size can impact the outcome?
Blending Reflections
Once your brush size is set, it’s time to focus on blending reflections. The Healing Brush works by sampling nearby pixels and painting over the reflection. This creates a smooth transition between the painted area and the original photo.
Begin by sampling an area close to the reflection. Hold the ‘Alt’ key (or ‘Option’ on Mac) and click to define your sample point. Then, paint over the reflection. Watch how the reflection starts to fade and blend with the car’s paint.
It’s almost like magic! The Healing Brush eliminates harsh lines and mismatched colors, leaving you with a flawless finish. Have you tried blending reflections on different surfaces and noticed varied results?
Applying The Patch Tool
Applying the Patch Tool in Photoshop helps remove unwanted reflections from a car’s surface. Select the Patch Tool, outline the reflection, and drag to a clean area for seamless blending. This method offers a simple way to enhance car images by eliminating distracting glare.
Applying the Patch Tool is an effective way to remove reflections from a car in Photoshop. This tool allows you to replace unwanted areas with textures from other parts of the image. The Patch Tool is particularly useful for its simplicity and precision. By following these steps, you can enhance the appearance of your car photos.Selecting The Reflection Area
Begin by selecting the Patch Tool from the toolbar. It looks like a patch icon. Carefully outline the reflection area on your car. This requires a steady hand for accuracy. Ensure you include all reflective spots for a seamless fix. Once selected, you can move to the next step.Moving And Blending
Drag the selected reflection to a clean area. Choose a similar texture and color. Release the mouse to apply the patch. The tool will blend the new texture with the surrounding area. Check the results to ensure a natural look. If needed, adjust the selection or try another area. Repeat until you achieve the desired effect.
Credit: www.youtube.com
Enhancing With Adjustment Layers
Enhancing reflections on a car in Photoshop can seem like a daunting task, but adjustment layers offer a powerful solution to refine your image without permanently altering it. These layers provide flexibility and control, allowing you to make subtle tweaks and achieve a polished look. With adjustment layers, you can target specific areas and make precise changes, enhancing your image’s overall appeal.
Adjusting Levels And Curves
Start by adding a Levels adjustment layer. This tool helps you to control the brightness and contrast of your image. Slide the black and white input levels to deepen shadows or brighten highlights, focusing on areas where reflections are overpowering. Adjust the midtones to balance the overall exposure, bringing out the car’s natural color and shine.
Next, use the Curves adjustment layer for finer control. Curves allow you to tweak the tonal range with more precision. Click on the curve line and drag it up or down to adjust specific areas. This method is perfect for subtly reducing unwanted reflections while enhancing the car’s contours and details. Don’t be afraid to experiment—sometimes the most unexpected adjustments yield the best results.
Using Color Balance
Once the levels and curves are set, it’s time to refine the colors. Adding a Color Balance adjustment layer can help neutralize any color casts caused by reflections. Use the sliders to adjust the shadows, midtones, and highlights separately, ensuring the car’s original hue is restored.
Consider the environment. If the reflection is influenced by surrounding objects, like greenery or buildings, adjust the color balance to counteract these tones. This step is crucial in maintaining the car’s natural appearance. Ask yourself: does this adjustment enhance the car’s true color or alter it too much?
Remember, subtlety is key. Small adjustments can make a significant difference, providing a realistic and polished finish. Use these techniques to transform your car images, making them stand out with clarity and precision.
Refining The Final Image
Enhance your car images by removing reflections using Photoshop. Utilize tools like the Clone Stamp and Healing Brush to smooth surfaces. Adjust layers and masks for a clean, polished look.
Refining the final image is crucial in Photoshop. This step ensures your car photo looks professional and polished. Removing reflections can leave some areas looking flat or unnatural. So, refining adds depth and realism. This process involves careful inspection and minor adjustments.Zoom And Inspect
Zoom in to see details clearly. Check all areas where reflections were removed. Look for any leftover artifacts or inconsistencies. Ensure the edges are smooth and blend naturally with the surroundings. Pay attention to light and shadow, making sure they are consistent.Final Touch-ups
Make final adjustments to color and contrast. Use the dodge and burn tools to enhance highlights and shadows. Apply a subtle blur to soften any harsh edges. Check the overall balance of the image. Ensure the car stands out without looking over-edited. Finally, save your work in high resolution for the best quality.Common Mistakes
Removing reflections from a car in Photoshop can be tricky. Many make the mistake of overusing the clone tool, causing unnatural results. Ignoring the lighting consistency is another common error, leading to an unrealistic finish.
Common Mistakes Reflections on cars can ruin a perfect photo. Removing them in Photoshop can be tricky. Many face common pitfalls that affect their results. Recognizing these mistakes helps enhance your editing skills.Overusing Tools
Using Photoshop tools excessively can lead to unnatural results. The clone stamp tool is often overused. This can cause repetitive patterns in the image. Overuse of the healing brush may blur details. Adjusting opacity and size helps maintain natural textures.Ignoring Image Quality
Image quality plays a crucial role in editing. High-resolution images provide more detail for correction. Low-resolution images can make reflection removal harder. Pixels may get distorted, affecting the final outcome. Always start with the best quality image available. Paying attention to these mistakes can make a difference. Improving your skills ensures better photo edits.Frequently Asked Questions
How To Remove Reflections On A Car In Photoshop?
Open Photoshop and select the Clone Stamp tool. Carefully clone surrounding areas to cover reflections. Use the Healing Brush for blending. Adjust brightness and contrast for a natural finish. Save your edited image.
How To Get Rid Of Reflections In Photoshop?
Use the Clone Stamp tool in Photoshop to remove reflections. Select a clean area and paint over the reflection. Adjust opacity and brush size for better results. Fine-tune with the Healing Brush tool to blend the changes seamlessly. Save your edited image.
How Do I Remove A Reflection Out Of A Picture?
Use photo editing software like Photoshop to remove reflections. Clone stamp or healing brush tools work effectively. Online tools like Fotor or Snapseed can also help. Adjust brightness and contrast to minimize reflections. Always save a backup before editing to avoid losing the original image.
How To Photoshop A Mirror Reflection?
Open the image in Photoshop. Use the clone stamp tool to duplicate the reflection. Adjust the opacity and blend using layer masks. Use the transform tool to align the reflection accurately. Enhance with brightness and contrast adjustments for realism. Save your edited image.
Conclusion
Removing reflections from a car in Photoshop is easy. You learned helpful techniques to make your car photos look better. Practice each step for clear, professional images. Don’t rush. Take your time and focus on details. The clone tool and healing brush are your friends.
Keep refining your skills. Each edit makes you better. Remember, patience is key to perfect results. Good photos need attention and care. Experiment with different tools and settings. Try new methods to improve your editing. Your car pictures will shine with practice.
Enjoy the creative process and see your progress over time.