
Picture this: you’ve got decals on your car that once made it stand out, but now they feel more like a fashion faux pas. Whether it’s a faded sticker from a road trip or a promotional decal from an event long past, you’re ready for a fresh start.
But here’s the big question: how do you remove those stubborn decals without damaging your car’s paint? You’re not alone in this dilemma. Many car owners face the challenge of peeling away decals while preserving the pristine look of their vehicle.
The fear of scratching or dulling the paint can be enough to make anyone hesitant. But what if you could easily remove those decals with confidence, knowing your car’s paint will remain untouched and flawless? In this guide, we’re going to walk you through simple steps and techniques that will empower you to remove decals safely. Imagine the satisfaction of restoring your car’s original shine without a single scratch. You’ll discover the secrets that professionals use, along with some handy tips that might surprise you. So buckle up—by the end of this article, you’ll have all the knowledge you need to give your car a clean slate, without a hint of damage. Ready to transform your car’s look effortlessly? Let’s dive in!
Preparation For Decal Removal
Begin by gathering the right tools like a hairdryer, plastic scraper, and adhesive remover. Ensure the car is clean and dry to prevent scratches. Warm the decal gently and peel it off slowly to protect the paint.
Preparing to remove decals from your car is crucial. Taking the right steps ensures no harm to your vehicle’s paint. Before starting, spend time on preparation. This will save you from potential headaches. Let’s dive into the essentials.Gather Necessary Tools
Collect all the tools you’ll need. This includes a hairdryer or heat gun, which helps soften the decal. You’ll also need a plastic scraper. This prevents scratching the paint. Get some adhesive remover. It will help with any leftover residue. A microfiber cloth is essential for cleaning. Lastly, have some soapy water ready. It helps in the cleaning process.Choose The Right Environment
Pick a suitable place for decal removal. A shaded area is best. Direct sunlight can cause the adhesive to harden. Avoid windy conditions. Dust and debris can stick to the surface. Ensure the temperature is moderate. Extreme cold or heat can affect the adhesive. A clean, calm space ensures a smoother process.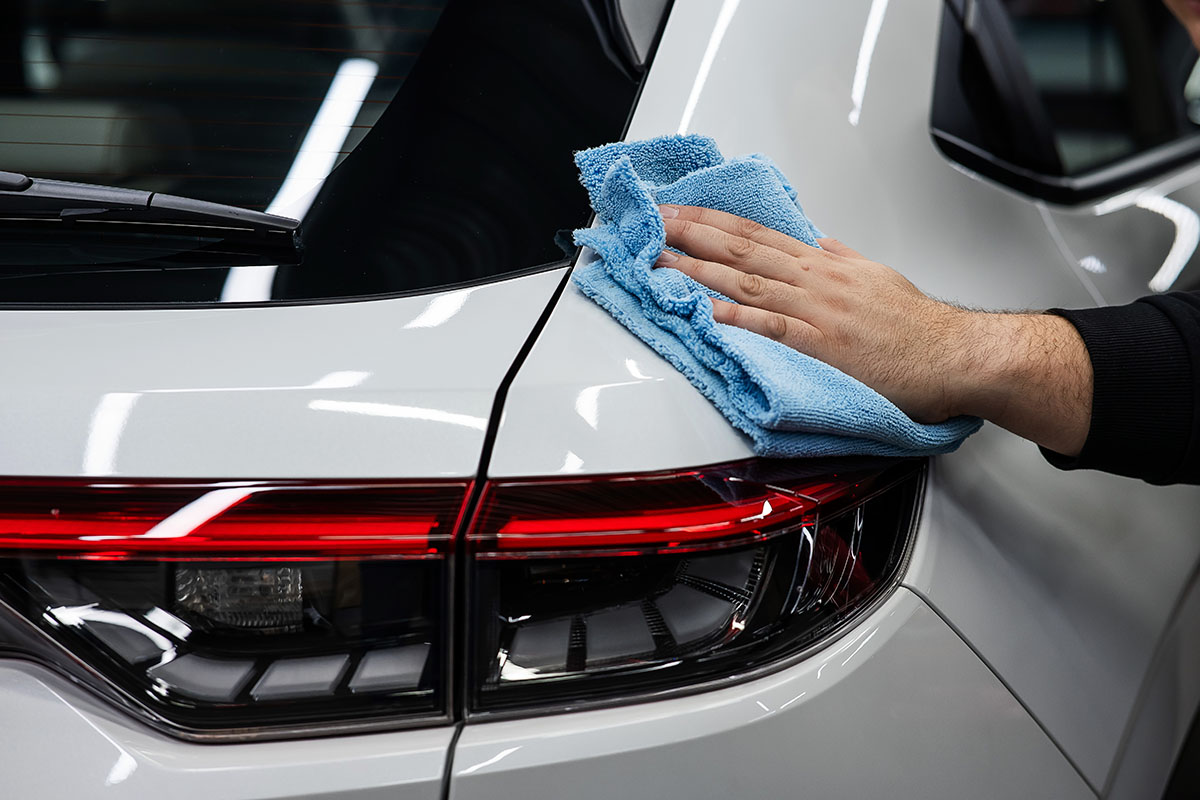
Credit: thebumpersticker.com
Using Heat To Loosen Decals
Using heat to loosen decals is a smart approach. The warmth softens the adhesive, making removal easier. It also reduces the risk of paint damage. This method is simple and effective.
Safe Application Of Heat
Apply heat carefully to avoid harming the car’s paint. Keep a hairdryer or heat gun at a safe distance. Move the heat source in a circular motion. Don’t focus on one spot for too long. This prevents overheating and potential damage.
Start with a low heat setting and gradually increase. This helps control the process and ensures safety. Monitor the decal’s response to the heat. Once it begins to lift, you can proceed with removal.
Alternative Heat Sources
Not everyone has a heat gun or hairdryer handy. There are other ways to generate heat. A warm towel can work well. Soak it in hot water, wring it out, and apply over the decal. It gradually warms the adhesive.
Another option is sunlight. Park your car in direct sunlight. The natural warmth can help loosen decals. This method is eco-friendly and free. It’s best suited for mild climates or sunny days.
Peeling Off Decals
Removing decals safely keeps your car’s paint intact. Start by warming the decal with a hairdryer, softening the adhesive. Gently peel off using a plastic scraper, ensuring minimal residue remains.
Peeling off decals from your car can be a daunting task, especially when you’re concerned about preserving the pristine paint underneath. It’s crucial to approach this task with patience and the right techniques to avoid leaving unsightly marks or scratches on your vehicle. You might have seen a friend hastily rip off a decal only to regret it later with chipped paint or sticky residue left behind. But with the right steps, you can achieve a flawless finish without any damage. Let’s dive into the process and ensure your car remains as stunning as ever.Starting From The Edge
Begin by examining your decal closely. The edges are usually the weakest point, making them the ideal starting spot. Use your fingernail or a plastic scraper to gently lift one corner of the decal. Avoid metal tools as they can scratch the paint. Once the edge starts to lift, you’ve created a small opening to work with. Consider warming the decal slightly with a hairdryer. This softens the adhesive, making it easier to peel. Just make sure the heat isn’t too intense as extreme temperatures can affect your car’s paint.Ensuring A Slow Peel
Now comes the crucial part — the actual peeling. Once you have a corner lifted, the temptation might be to yank it off quickly, but resist this urge. A slow, steady peel is your best friend. Gradually pull the decal back, keeping it as close to the surface as possible. This minimizes the risk of tearing the decal or leaving adhesive behind. If you notice resistance, pause and consider reheating the area. Remember, patience is key to preventing damage. Have you ever rushed through something only to regret it later? Apply that lesson here. Taking your time ensures a clean removal and leaves your car looking as good as new. By following these steps, you’re not just removing a decal; you’re preserving the beauty and value of your car.
Credit: www.facebook.com
Cleaning Adhesive Residue
Removing decals from a car without damaging the paint involves using a hairdryer or heat gun. Warm the decal gently, then peel it off slowly. Use adhesive remover to clean any residue, ensuring a smooth and paint-safe finish.
Removing decals from your car can be a satisfying project, but the leftover adhesive residue can be a stubborn challenge. Cleaning this residue without damaging your car’s paint is crucial. Many find themselves frustrated with sticky patches that seem impossible to remove. But with the right approach, you can restore your car’s pristine finish.Effective Cleaning Solutions
Several products can effectively tackle adhesive residue. Rubbing alcohol is a popular choice due to its gentle nature on paint. Simply dab a soft cloth with alcohol and gently rub the residue. Another household favorite is white vinegar. It works wonders on sticky patches. Apply it directly onto the residue, allowing it a few minutes to soak, then wipe clean. For those who prefer commercial products, Goo Gone is designed specifically for adhesive removal. Always follow the product instructions for the best results.Avoiding Paint Damage
It’s easy to get carried away when scrubbing off adhesive, but caution is necessary. Aggressive scrubbing can scratch or dull your car’s paint. Always use a soft microfiber cloth to avoid scratches. Never use abrasive pads or tools. Test any cleaning solution on a small, inconspicuous area first. This ensures it won’t discolor or damage the paint. Wouldn’t it be frustrating to solve one problem only to create another? Patience is key. Work slowly and carefully, especially if it’s your first time. Your car’s appearance is worth the extra effort.Polishing And Finishing Touches
Removing decals from a car without harming the paint involves using gentle heat and a plastic scraper. Carefully apply heat with a hairdryer to loosen the adhesive, then peel away the decal using the scraper. Finish by cleaning the area with mild soap and water to remove any residue.
Polishing and finishing touches make your car look new again. After removing decals, the surface may seem dull or scratched. This step ensures the paint shines and matches the rest of your vehicle.Restoring Paint Surface
Gently clean the area with mild soap and water. Dry it thoroughly with a soft towel. Use a clay bar to remove any remaining adhesive. It smoothens the surface without harming the paint. Apply a small amount of car polish to a clean microfiber cloth. Rub it in circular motions over the decal area. This helps blend the surface with the surrounding paint. Take your time to cover every inch, ensuring an even finish.Final Inspection
Examine the area closely under good lighting. Look for any remaining adhesive or imperfections. Check for color consistency with the rest of the car. If needed, apply more polish and repeat the process. After confirming the surface is smooth and shiny, apply a thin layer of car wax. This provides protection and enhances the gloss. Buff the wax gently with a clean cloth for a brilliant finish.
Credit: www.youtube.com
Frequently Asked Questions
Can You Remove Car Decals Without Damaging Paint?
Yes, you can remove car decals without damaging paint by using a heat gun or hairdryer. Warm the decal, peel it off slowly, and clean the residue with a mild adhesive remover. Always test a small area first to ensure safety.
Does Wd-40 Remove Decals?
Yes, WD-40 can remove decals. Spray it on the decal, let it sit briefly, then peel off. It helps loosen the adhesive, making removal easier. Clean the area after to remove any residue. Always test on a small area first to ensure it doesn’t damage the surface.
How Do You Remove Permanent Vinyl Decals From A Car?
To remove permanent vinyl decals, heat the decal using a hairdryer. Peel it off gently using a plastic scraper. Clean residue with adhesive remover or rubbing alcohol. Wash the area with soap and water. Buff the surface with wax for a smooth finish.
What Sticker Remover Is Safe For Car Paint?
Goo Gone Automotive is safe for car paint. It effectively removes stickers without causing damage. Always test on a small area first. Use a clean cloth to apply and gently rub the residue. After removal, wash the area with soap and water.
This ensures the paint remains in good condition.
Conclusion
Removing decals from your car is easy with the right steps. Start with the simplest method. Use heat to loosen the adhesive. A hairdryer works well. Be gentle while peeling. Take your time. For stubborn residue, try soapy water or vinegar.
These are safe for your car’s paint. If needed, use a plastic scraper. Avoid metal tools. They scratch the paint. Always check your progress. Ensure no damage occurs. Your car’s finish stays intact. Maintain patience throughout the process. Enjoy your car’s clean look.
Feel proud of your effort. You did it!