
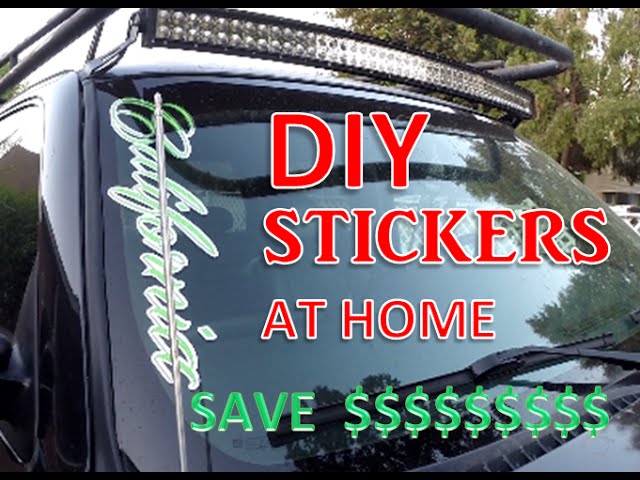
Imagine cruising down the highway with a custom decal on your car that perfectly expresses your personality or promotes your business. It’s like having your own mobile billboard!
Whether you’re looking to add a personal touch to your vehicle or wanting to make your brand more visible, creating a car decal is simpler than you might think. You don’t need to be an artist or a tech wizard to make it happen.
With just a few tools and some creative ideas, you can create a stunning decal that turns heads wherever you go. Curious about how to get started? Keep reading to discover the step-by-step guide that will transform your car into a canvas of creativity. Your vehicle is about to become the talk of the town!
Materials Needed
Gather vinyl sheets, transfer tape, a cutting machine, and a squeegee for crafting car decals. Ensure you have a computer for design software and a clean surface to apply the decal smoothly.
Creating your own car decal can be a fun project. The key to success lies in gathering the right materials. Each item plays a crucial role in the process. You need quality supplies for a smooth decal-making experience. Let’s explore the essential materials required for crafting a car decal.Vinyl Sheets
Vinyl sheets are the base of your decal. Choose a durable type. Opt for weather-resistant vinyl for outdoor use. They come in various colors. Pick the one that matches your design.Transfer Tape
Transfer tape helps move your design to the car. It’s sticky but not too much. It holds the vinyl in place during transfer. Choose a clear tape for better visibility.Craft Knife Or Scissors
You’ll need a craft knife or scissors. These tools cut the vinyl precisely. Sharp tools make clean edges. Ensure they are comfortable to handle.Cutting Machine
A cutting machine is optional but useful. It accurately cuts complex designs. Machines like Cricut or Silhouette are popular. They enhance precision and save time.Design Software
Design software helps create your pattern. Programs like Adobe Illustrator are great. They offer various templates and tools. Ensure it’s compatible with your cutting machine.Measuring Tape
A measuring tape ensures accurate size. Measure the space on your car first. This prevents errors in decal size. It’s a simple but vital step.Scraper Tool
A scraper tool smooths out bubbles. It helps the decal stick evenly. Choose one with a firm grip. A plastic scraper is often ideal.Clean Cloth
A clean cloth prepares the surface. It wipes away dirt and dust. This ensures the decal adheres properly. Any soft cloth will do the job well. Gathering these materials sets the foundation for your decal. They ensure the process is smooth and successful. With the right supplies, you can create a stunning car decal.Designing Your Decal
Creating a car decal involves choosing a design that reflects your style. Use software or online tools to craft the perfect image. Print it on decal paper, and apply carefully to your car’s surface for a personal touch.
Designing your decal is an exciting part of the creative process. It’s where your ideas transform into visual reality. Whether you’re crafting a decal for your vehicle or as a gift, the design stage is crucial to ensure your decal stands out and reflects your personality. Dive into the world of design with enthusiasm, knowing that your creativity has no limits.Choosing Software
Selecting the right software can make all the difference in your design experience. Options like Adobe Illustrator or CorelDRAW offer robust tools for detailed and professional designs. If you’re looking for something more user-friendly, Canva and Inkscape are great alternatives. Consider what features you need. Do you want advanced vector capabilities or just basic design functions? Make sure your software choice aligns with your skill level and project requirements.Creating Artwork
Creating artwork is where your vision comes to life. Start with a rough sketch or brainstorm ideas on paper. This initial concept will guide your digital design process. Think about color schemes and patterns. What will make your decal pop? Use bold colors for visibility or subtle hues for elegance. Always keep your audience in mind. What message or feeling do you want your design to convey? Your artwork should resonate with those who see it, leaving a lasting impression.Preparing The Vinyl
Creating a car decal begins with preparing the vinyl. This step is crucial for achieving a vibrant and durable design. Proper preparation ensures the decal adheres well and lasts long. Focus on selecting the right vinyl and cutting it accurately. Let’s explore how to prepare vinyl effectively for your car decal project.
Selecting Vinyl Type
Choosing the right vinyl is essential for a quality car decal. Consider the environment where the decal will be used. Outdoor decals require weather-resistant vinyl. Indoor decals can use regular vinyl. Check the vinyl’s thickness. Thicker vinyl may last longer but can be harder to apply. Look for vinyl with a strong adhesive. This ensures it stays put on the car surface.
Cutting Vinyl Sheets
Once you’ve selected your vinyl, it’s time to cut it. Use a sharp blade or a vinyl cutter for precision. Measure the size of your decal design. Ensure it’s the right fit for your car. Cut the vinyl sheet slightly larger than your design. This allows for adjustments during application. Check edges are smooth and clean. Rough edges can affect the decal’s appearance.
Cutting The Decal
Cutting the decal requires precision and care. Use a sharp knife or scissors for clean edges. Follow the outline closely to avoid mistakes.
Cutting the decal is where precision meets creativity, transforming your design from a digital concept into a tangible product. This step demands attention to detail and a steady hand, whether you’re using advanced technology or going old school with manual methods. Ready to discover which cutting technique suits you best?Using A Cutting Machine
Embrace the power of technology with a cutting machine. This tool is a game changer for those who value precision and efficiency. Cutting machines like Cricut or Silhouette make the process seamless, allowing you to cut intricate designs with just a few clicks. Simply load your design into the software, adjust the settings for your specific material, and let the machine do the rest. It’s like having a personal assistant that never makes a mistake. Have you ever wondered how professionals achieve such clean lines? This is their secret weapon.Manual Cutting Techniques
Sometimes, nothing beats the satisfaction of a hands-on approach. Manual cutting might seem daunting, but it offers a level of control that machines can’t match. All you need is a sharp craft knife, a steady hand, and patience. Place your vinyl on a cutting mat to prevent slipping. Carefully follow the outlines of your design, applying consistent pressure for clean cuts. Ever felt the thrill of seeing your hand-cut masterpiece come to life? This tactile process connects you deeply with your creation. Whether you choose technology or tradition, the key is to find joy in the process. Which method resonates more with your style?Weeding The Decal
Removing excess vinyl is essential when making a car decal. Use a weeding tool to carefully peel away unwanted pieces. This step ensures clean edges and enhances the final design’s appearance.
Weeding the decal is a crucial step in creating a perfect car decal. It involves removing the excess vinyl from your design, leaving only the intended graphic or text. This process can be both satisfying and challenging, especially with intricate designs. Mastering the art of weeding will ensure that your decal looks professional and clean.Removing Excess Vinyl
Begin by placing your cut vinyl on a flat surface. Use a weeding tool to carefully lift the corner of the vinyl. Gently peel away the excess material, keeping the tool close to the edge to avoid tearing the design. Work slowly, especially around curves and corners. If you rush, you might accidentally remove parts of the design that you want to keep.Tips For Intricate Designs
Intricate designs require more patience and precision. Use a magnifying glass if needed to see smaller details clearly. Consider using a light box to illuminate the cut lines from underneath, making them easier to see. This can be particularly helpful for complex patterns. If you’re working with very detailed designs, try using different tools like tweezers or a pin for greater accuracy. Experiment with what works best for you. Remember, practice makes perfect. The more you weed, the more skilled you become. Have you found any tricks that make weeding easier for you?
Credit: www.youtube.com
Applying Transfer Tape
Transfer tape helps position your car decal smoothly. Cut the tape to fit the decal’s size. Align the tape carefully on the decal, ensuring no wrinkles or air bubbles.
Applying transfer tape is a crucial step in creating car decals. This process ensures that your design transfers seamlessly from the backing paper to your vehicle’s surface. With the right technique, your decal will look professional and last longer.Choosing The Right Tape
Selecting the appropriate transfer tape is essential for a smooth application. Transfer tapes come in different types: paper and clear. If you’re working with intricate designs, clear transfer tape offers better visibility, making alignment easier. Consider the adhesive strength of the tape. Stronger adhesives are suitable for larger decals, while lighter ones work well for delicate designs. Always test a small section before committing to the entire decal.Applying Tape Smoothly
To avoid bubbles and creases, ensure your decal surface is clean and dry. Dust or moisture can cause imperfections during application. Use a squeegee or a credit card to press the tape firmly onto the decal. Start from the center and move outward, smoothing out any air pockets. This technique minimizes the risk of wrinkles and ensures a tight bond between the tape and decal. Remember, patience is key; rushing might lead to misalignment or bubbles. Have you ever wondered why some decals look flawless while others bubble? It often comes down to this precise step. Applying transfer tape smoothly is where attention to detail pays off, ensuring your car decal stands out beautifully.Installing The Decal
Prepare the surface by cleaning it thoroughly. Peel off the decal backing and position it carefully. Smooth out any bubbles using a squeegee or a credit card, ensuring a neat and even finish.
Installing the decal is a moment of creativity and precision. You’ve chosen the perfect design, now it’s time to bring it to life on your car. This process is not just about sticking a piece of vinyl; it’s about ensuring it looks sleek and lasts long. Are you ready to transform your vehicle with your unique touch?Preparing The Surface
Preparation is key to a successful decal installation. Begin by thoroughly cleaning the area where you’ll apply the decal. Use a mixture of soap and water to remove dirt and grime, then dry with a clean cloth. This step prevents bubbles and ensures the decal adheres properly. Have you ever seen a decal peeling off because of an unclean surface? Let’s avoid that scenario.Positioning The Decal
Now comes the fun part—positioning your decal. Use masking tape to hold the decal in place temporarily. Step back and check the alignment from different angles. You might be surprised how a slight tilt can change the look. Adjust until you’re satisfied with its placement. Remember, this is your canvas; make sure it reflects your style.Securing The Decal
With the decal positioned perfectly, it’s time to secure it. Peel off one corner of the backing and press the decal onto the surface. Gradually remove the backing while smoothing the decal with a squeegee or credit card. Apply firm pressure to eliminate air bubbles. Imagine the satisfaction of seeing a flawless finish after putting in the effort. Your car now carries a part of your personality.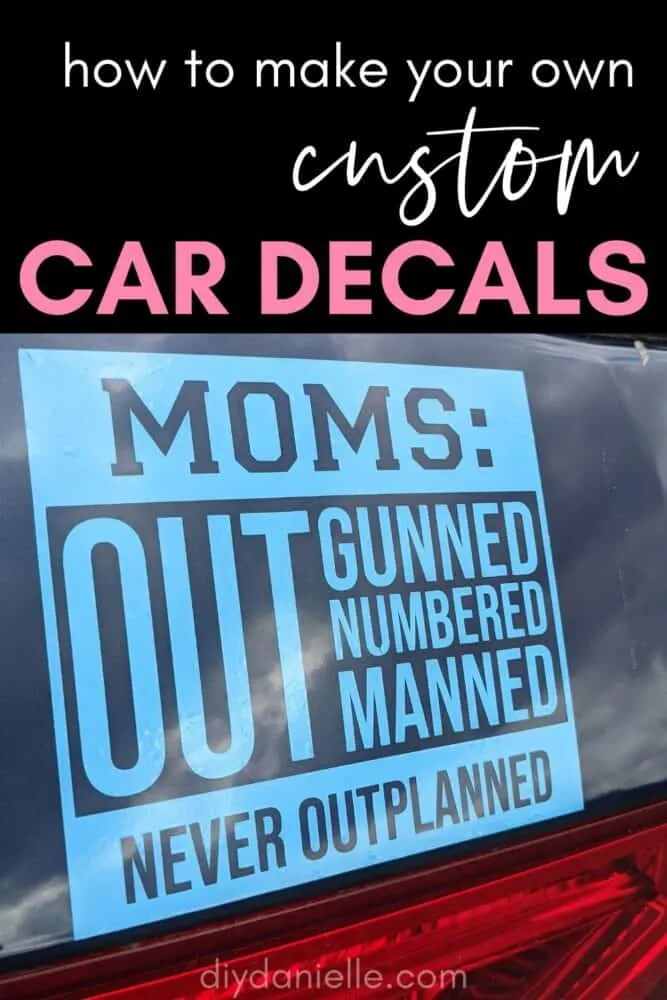
Credit: diydanielle.com
Finishing Touches
The final steps in making a car decal are crucial. These steps ensure your decal looks professional and lasts long. Pay attention to details during these finishing touches.
Removing Bubbles
Bubbles can ruin the look of your decal. Use a squeegee or a credit card. Start from the center and push towards the edges. This technique forces air out. Work slowly for best results. If bubbles persist, use a pin to gently pop them. Smooth out the area afterward.
Ensuring Adhesion
A secure decal is a long-lasting decal. Press firmly across the entire surface. Use your fingers or a soft cloth. Check all edges for lift. Press down any lifted areas. Let the decal sit undisturbed for a few hours. This helps the adhesive bond well.
Care And Maintenance
Regular cleaning keeps car decals looking fresh. Avoid harsh chemicals and use mild soap with water instead. Check for peeling or fading to ensure longevity.
Creating a car decal is a fun and creative process, but keeping it looking vibrant and new requires proper care and maintenance. Your decal is an investment, and like any investment, it needs regular upkeep. Understanding how to clean and maintain your car decal will ensure it lasts for a long time, retaining its charm and appeal.Cleaning Tips
Keeping your car decal clean is essential to maintain its appearance. Use a mild soap mixed with water to gently wipe the decal. Avoid harsh chemicals or abrasive materials that could damage the decal’s surface. After washing, rinse thoroughly with water and pat dry with a soft cloth. Regular cleaning will prevent dirt and grime from building up, which can cause fading over time. How often do you clean your car decals?Longevity Strategies
To extend the life of your car decal, park your vehicle in a shaded area whenever possible. Prolonged exposure to direct sunlight can cause the colors to fade. Additionally, consider applying a UV protection spray designed for decals. Avoid automatic car washes that use high-pressure water jets, as these can peel the decal off. Hand washing is a safer option. Regularly checking for any signs of peeling or damage allows you to address issues before they worsen. By following these care and maintenance strategies, your car decal can remain a striking addition to your vehicle, showcasing your personality and style for years.
Credit: makersgonnalearn.com
Frequently Asked Questions
What Material Do You Use To Make Car Decals?
Car decals are made using high-quality vinyl material. Vinyl is durable, weather-resistant, and easy to apply. It offers vibrant colors and excellent adhesive properties, ensuring decals last long on vehicles. Choose vinyl for customizable designs that withstand various environmental conditions.
What Kind Of Machine Do I Need To Make Decals?
To make decals, use a vinyl cutter or plotter. Choose one with precision cutting capabilities. Pair it with design software for creating detailed graphics. Ensure compatibility with various materials. Consider additional equipment like a heat press for transferring decals onto surfaces.
Quality machines enhance durability and finish of your decals.
Can I Make Car Decals With Cricut?
Yes, you can make car decals with a Cricut machine. Use vinyl material suitable for outdoor use. Design, cut, and apply the decal to your car’s surface for a personalized look. Ensure it’s weather-resistant for durability.
What Is The Best Cricut Machine To Make Car Decals?
The Cricut Maker 3 is ideal for making car decals. It offers precision cutting and supports various materials. Its advanced technology and versatility make it perfect for intricate designs. Compatible with Smart Materials, it provides efficient cutting without a mat, making it convenient for large projects like car decals.
Conclusion
Creating your own car decal can be fun and rewarding. With the right materials, it’s simple to design and apply. First, choose a design that reflects your style. Next, gather supplies like vinyl sheets and transfer tape. Cut your design carefully and use transfer tape to apply it.
Make sure it’s smooth and bubble-free. Finally, admire your unique decal on your car. Show it off to friends and family. Crafting decals is a great way to personalize your vehicle. Explore different designs and colors. Get creative and enjoy the process!