
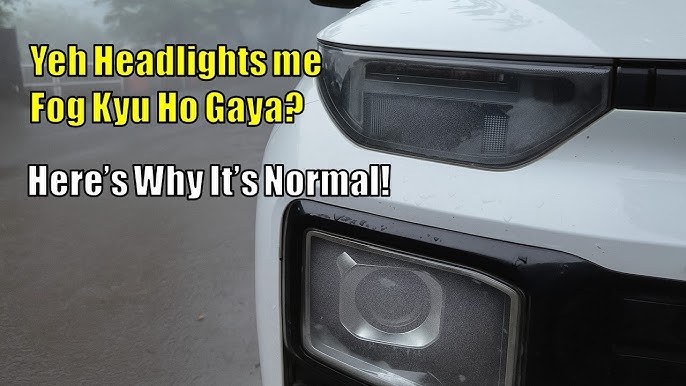
You’ve just noticed that the headlights of your car have fogged up. You’re not alone, as this is a common issue for many car owners.
Fog inside car lights doesn’t just affect the appearance; it can also diminish the effectiveness of your headlights, making driving at night or in poor weather conditions hazardous. But don’t worry, there’s a solution, and it’s simpler than you might think.
You’ll discover straightforward steps to clear up the fog and prevent it from coming back. Imagine driving with crystal-clear headlights, enhancing both your safety and the sleek look of your vehicle. Keep reading to learn how you can fix fogs inside your car lights effortlessly and regain confidence in your nighttime drives.

Credit: www.youtube.com
Causes Of Foggy Car Lights
Moisture build-up inside car lights often leads to foggy appearances. This issue arises from broken seals or poor ventilation. Fixing foggy lights involves cleaning the lenses, resealing them, and ensuring proper air circulation. Regular maintenance prevents moisture accumulation and keeps visibility clear.
Foggy car lights can be a real nuisance, affecting not only the aesthetics of your vehicle but also your safety on the road. Understanding the causes of foggy car lights is essential in addressing this issue effectively. As you explore these causes, you’ll find that several factors contribute to the build-up of fog inside car lights. These factors can vary from simple environmental conditions to structural issues with the car lights themselves.Moisture Build-up
Moisture inside car lights is a common issue, often caused by condensation. Just like a cold drink on a hot day, your car lights can attract moisture from the environment. When the warm air inside the light meets the cooler surface of the lens, it condenses, leading to fog. Consider the mornings when dew covers your car; similar processes can happen inside the lights. This moisture build-up can blur your lights, reducing visibility and safety.Temperature Changes
Rapid temperature changes can cause foggy car lights. Imagine driving through different climates in a day—from a sunny beach to a cold mountainous region. As the temperature fluctuates, the air within your car lights expands and contracts. This movement can draw moisture into the lights, forming fog. If you’ve ever noticed foggy lights after a cold night followed by a warm day, temperature changes might be the culprit.Cracked Seals
Cracked seals around the car lights can allow moisture to seep in. These seals are designed to keep external elements out, but age and wear can cause them to break down. Have you recently bumped your car, or noticed a tiny crack on the light casing? Such damages can compromise the seal integrity, making it easier for moisture to invade. Checking for cracked seals and replacing them can prevent foggy lights and improve your driving experience.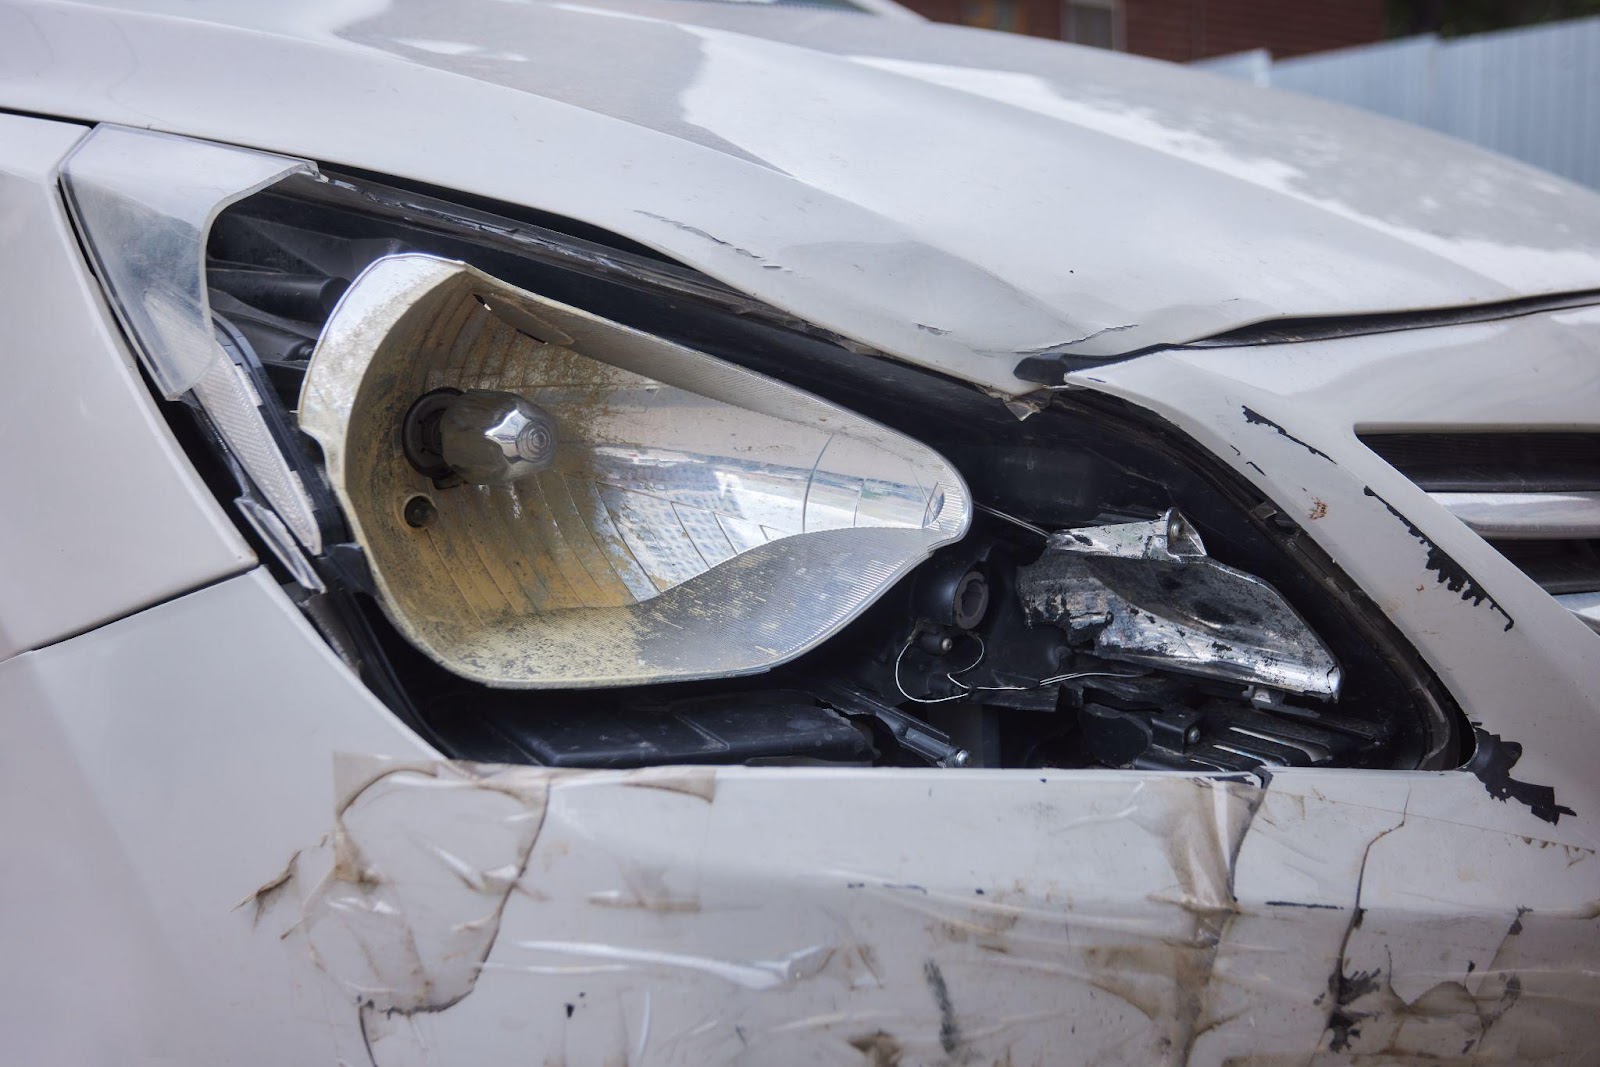
Credit: vlandshop.com
Tools And Materials Needed
Gather a hairdryer, silicone sealant, and a screwdriver. These tools help remove moisture and seal the lights effectively. Ensure you have safety gloves and a clean cloth to protect your hands and maintain cleanliness during the process.
Foggy car lights can be a real nuisance, especially when they compromise your visibility during night drives. Fixing this issue requires gathering the right tools and materials, and understanding how each plays a crucial role in the process. Whether you’re a seasoned DIY enthusiast or a novice eager to tackle the challenge, having the right equipment is the first step to restoring your car lights to their clear, bright state. Let’s dive into the essential tools and materials needed for this task.Basic Tools
To start, you’ll need some basic tools that you probably already have in your toolbox. A screwdriver is essential for removing and reattaching the car light housing. Make sure you have both Phillips and flathead types, as different vehicles might require one or the other. A soft cloth or microfiber towel will be useful for cleaning and polishing the lenses. Additionally, a small bucket or bowl to mix cleaning solutions will come in handy. These tools are all about making the process smooth and ensuring you don’t damage the car lights in the process.Specialized Equipment
Beyond the basics, certain specialized equipment can make the job easier and more effective. A heat gun is a great tool to have, especially if the fogging is due to moisture. It helps to dry the interior of the light housing without causing any damage. If you’re dealing with stubborn fogging, a silica gel pack can help absorb moisture once you’ve cleaned the lights. For cleaning purposes, a lens restoration kit is invaluable. These kits often include abrasives and polishes specifically designed for car lights, providing a professional finish.Safety Gear
Safety should always be a priority. When working with electrical components and cleaning solutions, it’s wise to have safety gear on hand. Wear gloves to protect your skin from chemicals and sharp edges. Safety glasses are important to shield your eyes from any accidental splashes. Consider wearing a mask if you’re using any chemicals that emit strong fumes. It’s better to be safe and ensure your DIY project doesn’t lead to unexpected mishaps. Are you prepared with the right gear to tackle foggy car lights safely? Equipping yourself with the necessary tools and safety gear not only makes the task manageable but also ensures a successful outcome. What’s your favorite tool for DIY car maintenance?Initial Assessment
Initial assessment is crucial when tackling the common issue of fog inside car lights. Before diving into solutions, understanding the root of the problem is essential. This step ensures that you address the real cause, preventing future recurrences and saving time and effort.
Inspecting The Lights
Start by giving your car lights a thorough visual inspection. Check for any visible cracks or damage on the lenses. Even minor cracks can let moisture seep in, so it’s important to address these immediately.
Next, examine the light seals. Over time, seals can degrade or become misaligned, allowing moisture to enter. Make sure they fit snugly and aren’t showing signs of wear.
Consider the cleanliness of the lights. Dirt and debris can trap moisture, exacerbating the fogging issue. A clean surface is crucial for a proper assessment and eventual resolution.
Identifying Moisture Sources
Understanding where the moisture is coming from is key to fixing the fogging issue. Is it due to external elements like rain or car washes, or is there an internal source, like a leaky windshield washer fluid line?
Check the humidity levels inside your car. Sometimes, moisture inside the cabin can migrate to the lights, especially if the car is parked in a humid environment.
Also, consider recent changes in your car’s usage or environment. Have you been driving through more water than usual, or have you recently switched climates? These factors might contribute to the problem.
By carefully inspecting and identifying the sources of moisture, you’re well on your way to ensuring your car lights are clear and fog-free. What unexpected factors have you encountered that could be affecting your car lights? Addressing these will help you maintain a clear, safe driving experience.
Removing The Headlight Assembly
Removing the headlight assembly reveals access to clean fogged car lights. Carefully detach screws and connections for easy removal. Ensure all components are securely stored to prevent damage or loss during the process.
Removing fog from inside car lights requires careful handling. Start by removing the headlight assembly. This process involves accessing the lights and detaching electrical connectors. Follow these steps to ensure a smooth operation.Accessing The Lights
First, open the car hood and secure it. Locate the back of the headlight assembly. Check for any obstructions that might block access. Use a flashlight if visibility is poor. You might need to remove a few screws or clips. Keep these parts safe for later reassembly. Always be gentle to avoid damaging any components.Detaching Electrical Connectors
Locate the electrical connectors at the back of the headlight. Gently press the release tab on each connector. Pull the connectors away from the headlight assembly. Avoid pulling by the wires to prevent damage. If a connector seems stuck, double-check for any hidden tabs. Once detached, the headlight assembly is free to remove. This step is crucial for reaching the foggy interior.Cleaning And Drying The Lights
Foggy car lights can be a safety hazard. They reduce visibility during night driving. Cleaning and drying them is crucial. Restoring their clarity improves safety and appearance. Let’s explore effective ways to tackle this issue.
Using A Heat Gun
Heat guns offer a practical solution. They remove moisture from car lights. Set the gun on low heat. Aim it at the foggy area. Keep it moving to prevent damage. This method evaporates trapped moisture. The lights become clear and safe for driving.
Applying Desiccants
Desiccants absorb moisture efficiently. Silica gel is a popular choice. Place packets inside the light housing. They draw out moisture over time. This method is simple and effective. Regular checks ensure lasting results. Replace desiccants as needed. Clear lights enhance visibility and safety.
Sealing And Reassembling
Sealing and reassembling your car lights can prevent fogging issues. First, ensure all components are dry and clean. Apply sealant carefully around edges, then reassemble lights securely to block moisture entry.
Sealing and reassembling the car light assembly is a crucial step in ensuring that the fogging issue does not recur. After addressing the root cause of moisture build-up, you need to focus on applying new seals and properly reattaching the assembly. This process not only keeps moisture out but also helps maintain the overall functionality and longevity of your car lights.Applying New Seals
The first step in sealing is to remove any old or damaged sealant from the assembly. Use a clean cloth and some alcohol to wipe away any residue, ensuring a smooth surface for the new sealant. Choose a high-quality silicone sealant designed for automotive use. Apply a thin, even bead of sealant around the edges of the light assembly. Make sure to cover any potential entry points for moisture. Don’t rush this step; take your time to ensure a thorough application. Allow the sealant to cure as per the manufacturer’s instructions before moving on to the next step.Reattaching The Assembly
Once the sealant has cured, it’s time to reattach the light assembly to the car. Align the assembly carefully with the mounting points to avoid damaging the new seal. Secure the assembly using the screws or clips that you removed earlier. Tighten them evenly to ensure a snug fit. Test the lights before you finish, making sure they are working properly and that the seal is intact. Does this process make you feel more confident about tackling foggy car lights on your own? Taking the time to seal and reassemble your car lights properly can save you from future headaches and potentially costly repairs. Remember, a well-sealed car light assembly is not just about aesthetics; it’s about safety, too.Preventative Measures
Regularly check car light seals to prevent moisture entry and fogging. Clean and dry light covers thoroughly. Proper ventilation can also help keep lights clear.
Preventative measures can help keep your car lights clear and functional. Fogs inside car lights can reduce visibility and safety while driving. Taking simple steps can prevent this issue from occurring. Regular care and maintenance can save time and money. Below, explore effective ways to keep your car lights fog-free.Regular Inspections
Regularly check your car lights for any signs of moisture. Early detection can prevent damage and costly repairs. Inspect seals and gaskets for wear and tear. Replace worn parts promptly to maintain a tight seal. Check for cracks in the light housing. Cracks can allow moisture inside, leading to fogging. Clean the lenses to remove dirt and debris. Dirt can trap moisture inside the light.Using Protective Covers
Consider using protective covers for your car lights. Covers shield lights from harsh weather conditions. They reduce exposure to rain, snow, and dust. Select covers that fit snugly over the lights. Ensure covers are made from durable materials. Look for UV-resistant covers to prevent sun damage. Regularly clean covers to maintain their effectiveness. Secure covers properly to keep them in place during driving.When To Seek Professional Help
Persistent fogging inside car lights may need a professional’s touch. When DIY methods fail to clear the fog, consult a specialist for safe and effective solutions.
When fog accumulates inside your car lights, it can be a nuisance and a potential safety hazard. While many solutions can be tackled at home, there are certain situations where professional help is the best course of action. Understanding when to seek expert assistance can save you time and prevent further damage.Complex Repairs
If your car lights need extensive disassembly or involve intricate electrical components, it’s wise to consult a professional. Modern vehicles often come equipped with advanced lighting systems. These systems can be delicate and complicated. Attempting a DIY fix might inadvertently cause more harm. I once tried fixing an LED headlight myself, only to realize I was out of my depth. The repair ended up costing me more because of additional damages. Would you want to risk the same mistake? Sometimes, leaving it to the professionals can be the most cost-effective approach.Persistent Issues
Have you noticed that the fogging problem keeps returning, no matter how many times you’ve tried to fix it? Persistent fogging could be a sign of a deeper issue, such as a compromised seal or a hidden crack. Professional technicians have tools and expertise to diagnose and resolve such persistent problems effectively. They can pinpoint the root cause and ensure a long-term solution. Don’t let recurring fogging frustrate you. Getting expert help could be your best bet for peace of mind and clear, fog-free lights.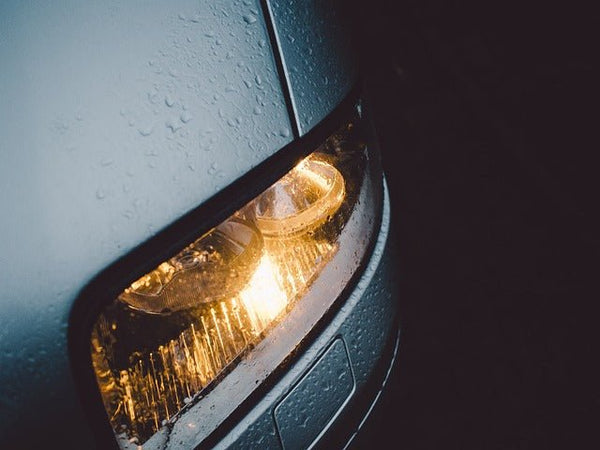
Credit: www.hidprojectors.com
Frequently Asked Questions
How Do You Get Rid Of The Fog Inside Headlights?
Remove the headlight cover and clean the interior with a microfiber cloth. Use a hairdryer to remove moisture. Seal any openings to prevent future fogging. Regular maintenance can help keep headlights clear.
How To Stop Condensation Inside Car Lights?
Ensure seals around car lights are intact to prevent moisture entry. Use silica gel packs inside the lights to absorb moisture. Regularly check and clean vents to maintain airflow. If condensation persists, consult a professional for further inspection and repairs.
How To Fix Car Fog Inside?
To fix car fog inside, turn on the AC or defroster to reduce humidity. Use a microfiber cloth to wipe windows. Crack open windows slightly for air circulation. Keep the interior dry by removing wet items. Regularly clean windows to prevent fog buildup.
How To Defog Your Car Lights?
Clean car lights with soapy water and a soft cloth. Dry thoroughly using a microfiber towel. Apply toothpaste or baking soda paste to scrub gently. Rinse and dry again. For lasting results, use a UV sealant. Regular maintenance prevents fogging.
Ensure clear vision and safer driving conditions.
Conclusion
Fixing fogs inside car lights is simple with the right steps. Start by checking seals around the lights. Repair any cracks or gaps. Use silica gel packets to absorb moisture. Regularly clean and dry the lights. Prevent fogging with proper maintenance.
Ensure vents are clear and functioning. Replace damaged parts promptly. Always prioritize safety when handling car lights. A little effort keeps your lights clear. Enjoy better visibility and safer driving. Follow these tips to keep your car lights fog-free. Simple actions make a big difference.
Keep your lights bright and clear.