
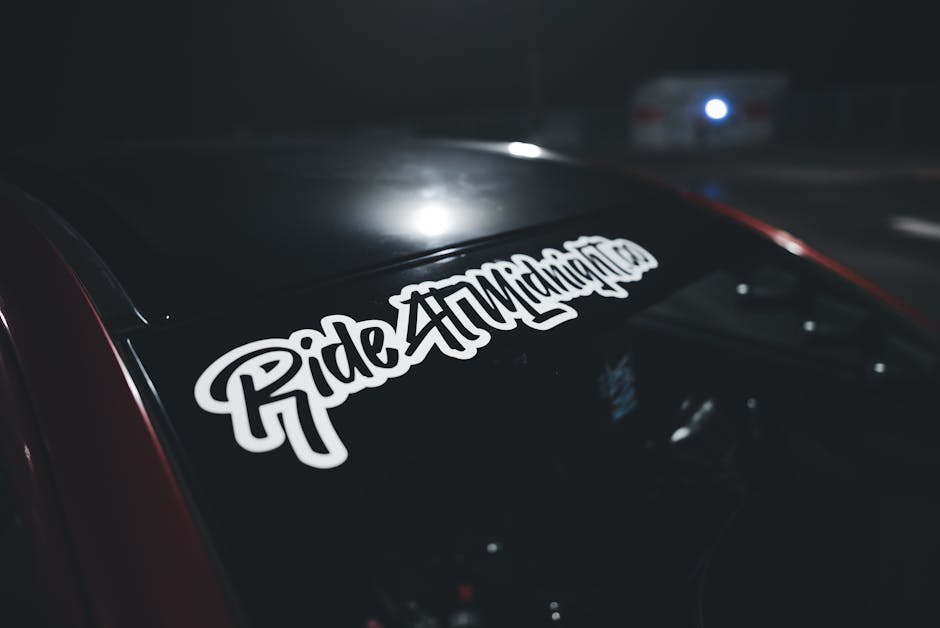
Have you ever wanted to personalize your car without spending a fortune? Applying a vinyl decal to your car window is a simple yet impactful way to showcase your style or support your favorite team.
Imagine driving around town with a unique design that grabs attention and speaks to your personality. It’s easier than you think, and you don’t need to be a professional to get it right. In this guide, you’ll discover the secrets to applying vinyl decals effortlessly, ensuring they look sharp and last long.
Whether it’s your first time or you’re looking to improve your technique, stick around because we’re diving into all the tips and tricks you need to make your car stand out.
Preparation
Clean the car window thoroughly to remove dirt and residue. Align the vinyl decal before peeling off the backing. Smooth it onto the window using a squeegee to avoid bubbles.
Preparing your car window for a vinyl decal is a crucial step that can make or break the final outcome. A well-prepared surface ensures the decal adheres properly and lasts longer. Let’s dive into the essential steps to get your car window ready for a flawless decal application.Gather Necessary Tools
Before you begin, make sure you have all the tools you need. Having everything at hand will save you time and keep you focused on the task. Here’s a handy checklist: – Cleaning supplies: Microfiber cloth, glass cleaner, or rubbing alcohol. – Application tools: A squeegee or a credit card can work well. – Measuring tape: To position your decal precisely. – Masking tape: Helps in marking the spot where you want your decal. Having these tools ready will streamline your process. You wouldn’t want to be halfway through and realize you’re missing something essential.Choose The Right Decal
Selecting the right decal is not just about style; it’s also about compatibility. Consider the size of your window and the legal restrictions in your area regarding window decals. – Size and Design: Measure your window and choose a decal that fits well. A too-large decal might obstruct your view. – Material: Opt for high-quality vinyl, which is durable and weather-resistant. This ensures your decal withstands the elements and lasts longer. – Color: Think about contrast. A decal that stands out against your car’s color will be more visible. Choosing the right decal is as important as applying it correctly. It reflects your personality and can even enhance your car’s appearance. Are you ready to make a statement with your decal?Cleaning The Surface
Applying a vinyl decal to your car window can be an exciting way to personalize your vehicle. However, achieving a seamless look starts with the crucial step of cleaning the surface. Ensuring your window is spotless before applying the decal guarantees better adhesion and a smooth finish. Let’s dive into how you can effectively clean your car window to prepare it for the perfect vinyl decal application.
Select Appropriate Cleaner
Choosing the right cleaner is pivotal to the success of your decal application. It’s important to avoid cleaners with ammonia, as they can leave residues that interfere with the adhesive on your decal. Opt for a mild soap or a specialized glass cleaner. A product specifically designed for automotive glass is often the best choice. This ensures your window is free of dirt, grime, and oils that can hinder the decal from sticking properly.
Dry The Window Properly
After cleaning, drying the window thoroughly is an essential step that should not be overlooked. Use a microfiber cloth to prevent streaks and lint. A paper towel might seem convenient, but it can leave unwanted fibers behind. Consider using a squeegee for larger windows to remove excess moisture efficiently. Ensuring the window is completely dry prevents water spots and helps the decal adhere evenly.
Have you ever applied a decal only to find bubbles appearing later? Proper cleaning and drying can prevent this common issue. Remember, a little extra effort in preparation can save you time and frustration down the road.
Positioning The Decal
Ensure the car window is clean and dry. Align the vinyl decal carefully before applying it. Press firmly from the center outward to remove air bubbles.
Positioning the vinyl decal on your car window is a crucial step. It ensures the design looks perfect and lasts long. Proper alignment prevents bubbling and peeling. A correctly positioned decal enhances the car’s appearance.Measure For Placement
Accurate measurement is vital for perfect placement. Use a tape measure or ruler. Measure the car window’s dimensions. Determine the center point for the decal. Mark it lightly with a pencil. This helps in aligning the decal symmetrically.Use Tape To Secure Position
Once you find the right spot, secure the decal. Use painter’s tape to hold it in place. Tape the top edge of the decal. Step back and check the alignment. Adjust if necessary before final application. This ensures the decal stays in the desired position.Applying The Decal
Clean the car window with soap and water. Peel the backing from the decal carefully. Align and press it firmly onto the glass, smoothing out bubbles with a card.
Applying a vinyl decal to your car window can be a fun project. It gives your vehicle a unique touch. With care and patience, you can achieve a professional look. Let’s dive into the steps to make your decal stick perfectly.Peel The Backing
Start by gently peeling the backing off the decal. Hold the decal carefully to avoid it curling. Ensure the adhesive side does not touch anything else. If it sticks to your hands, it can lose its grip. Work slowly to prevent tearing or stretching the decal.Use A Squeegee For Smooth Application
Use a squeegee to press the decal onto the window. Start at the center and move outward to the edges. This helps remove any air bubbles trapped underneath. Apply firm, even pressure for best results. If you don’t have a squeegee, a credit card can work too. Ensure all areas are stuck down well. Check for any bubbles and smooth them out. This will ensure a clean, professional finish.Final Touches
Applying a vinyl decal to your car window requires patience and precision. Once the decal is in place, the final touches make all the difference. These steps ensure a smooth and professional finish. The focus here is on removing air bubbles and ensuring proper adhesion. Let’s dive into these crucial steps.
Remove Air Bubbles
Air bubbles can ruin the appearance of your decal. Use a squeegee to press out bubbles. Start from the center and work outward. Apply gentle, even pressure. For stubborn bubbles, use a needle. Gently prick the bubble and smooth it out. Patience is key. Make sure the surface is smooth and bubble-free.
Ensure Proper Adhesion
Proper adhesion keeps your decal looking great for longer. Ensure the window is clean and dry. Press down on the decal firmly with the squeegee. Pay extra attention to the edges. Allow the decal to set for 24 hours. Avoid washing the window during this time. This ensures the adhesive bonds well with the glass.
Maintenance Tips
Applying vinyl decals to car windows requires a clean surface. Wash and dry the window thoroughly. Measure and position the decal carefully before peeling the backing. Use a squeegee to smooth the decal, eliminating air bubbles. Finally, gently peel off the transfer tape for a perfect finish.
Maintaining your car’s vinyl decal is crucial to keep it looking fresh and vibrant. A well-maintained decal not only enhances the appearance of your vehicle but also ensures its longevity. Whether you’re a car enthusiast or simply someone who loves the personalized touch a decal brings, these maintenance tips will help you preserve its charm.Cleaning Around The Decal
Ensuring your car decal remains spotless requires some precision. Use a soft cloth or sponge when cleaning around the decal to avoid scratches. Opt for mild soap and water instead of harsh chemicals, which can degrade the adhesive. Gently dab around the decal rather than scrubbing. This technique prevents the edges from peeling. Imagine how satisfying it is to see your decal gleaming without compromising its integrity.Avoiding Damage
Protect your decal from direct sunlight whenever possible. Prolonged exposure can cause fading. Consider parking in shaded areas or using a car cover to shield it from UV rays. Avoid using ice scrapers or abrasive tools on windows with decals. These tools can cause the edges to lift or tear. Think about the disappointment of finding your cherished design damaged due to a simple oversight. Consider these questions: Are you using the right cleaning tools? Is your parking spot decal-friendly? Small changes can make a big difference in maintaining your car’s unique style.Frequently Asked Questions
How To Install Vinyl Decal On Car Window?
Clean the window surface thoroughly. Peel off the decal backing carefully. Place the decal on the window. Use a squeegee to remove bubbles. Press firmly for a secure application.
Can I Put A Vinyl Decal On My Car Window?
Yes, you can put a vinyl decal on your car window. Ensure the surface is clean and dry. Choose high-quality vinyl for durability and resistance to weather conditions. Properly apply the decal for a smooth finish. Avoid obstructing your view or violating local regulations.
How To Apply Vinyl Decal To Glass?
Clean the glass surface with a lint-free cloth. Peel the backing off the decal. Position the decal on the glass. Use a squeegee or credit card to smooth out bubbles. Remove the transfer tape carefully.
Do You Apply Vinyl Decals Wet Or Dry?
Apply vinyl decals using the wet or dry method. The wet method allows repositioning before it dries. The dry method offers a quicker application. Choose based on your preference and surface type. Both methods ensure a smooth, bubble-free finish when done correctly.
Conclusion
Applying vinyl decals to car windows is simple. With patience, anyone can do it. Clean the window well. Prepare your decal carefully. Position it with precision. Smooth out any bubbles. Your car now has a fresh look. Enjoy the personal touch.
Feel proud of your new creation. Follow these steps for success. Experiment with different designs. Share your skills with friends. Create unique styles. Personalize your ride easily. Remember, practice makes perfect. Have fun with your decals. Transform your car one sticker at a time.
Make your vehicle truly yours. Happy decorating!