
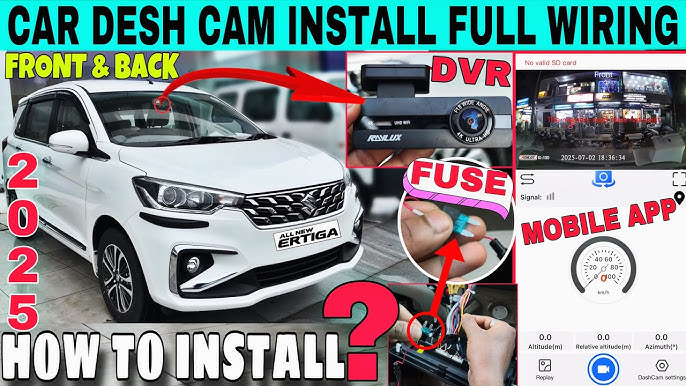
Are you ready to boost your driving safety and capture those crucial moments on the road? Installing a dash cam in both the front and rear of your car is a smart move, and it’s easier than you might think.
Imagine having peace of mind knowing every journey is recorded, providing invaluable evidence in case of accidents or unexpected events. This guide is tailored for you—whether you’re a seasoned DIY enthusiast or someone just starting out. It’s your chance to not only enhance your vehicle’s security but also to document memorable road trips effortlessly.
Discover how you can transform your driving experience and ensure you’re always prepared, no matter what happens on the road. Stay with us, and we’ll walk you through each step with simple, clear instructions.

Credit: www.youtube.com
Choosing The Right Dash Cam
Installing a dash cam in both the front and rear of your car enhances safety. Start by choosing a suitable model that fits your vehicle. Securely mount the front camera on the windshield and the rear camera on the back window.
Ensure all cables are neatly tucked away for a clean setup.
Choosing the right dash cam is crucial for capturing clear footage on the road. A dash cam serves as an unbiased witness, recording events as they happen. Before purchasing, understanding different types and key features is essential.Types Of Dash Cams
Dash cams come in various forms to suit different needs. Single-channel dash cams record only the front view. Dual-channel dash cams record both front and rear views. Mirror dash cams integrate into your rearview mirror, offering a sleek design. Modular dash cams allow for adding extra cameras for side views.Key Features To Consider
Resolution is vital for clear footage. Look for at least 1080p. Night vision ensures recording quality in low light. Wide-angle lenses capture more of the road. GPS tracking logs your location and speed. Parking mode records incidents when the car is parked. Motion detection triggers recording with movement. Wi-Fi connectivity allows easy file transfer to your phone.
Credit: www.instagram.com
Preparing For Installation
Preparing for installation is crucial for a successful dash cam setup. Before starting, ensure you have everything needed. This will save time and prevent frustration. Organizing the tools and knowing where to place the cameras is key.
Gathering Necessary Tools
Begin by collecting essential tools. You’ll need a screwdriver, adhesive mounts, and zip ties. Check the dash cam box for any included accessories. A microfiber cloth helps clean the surfaces before installation. Keep a pen and paper handy for notes. Make sure you have a smartphone or camera for documenting the process.
Finding The Ideal Location
Decide where to place the dash cams. For the front, position it near the rearview mirror. Ensure it doesn’t obstruct your view. The rear cam should be centered on the back windshield. This provides optimal coverage. Test the view from different angles. Adjust until satisfied with the placement. Verify that the locations allow easy access to power sources. Consider wire length and routing options. Aim for a clean and discreet setup.
Installing The Front Dash Cam
Installing a front dash cam can significantly enhance your driving experience and safety. This small device acts as your vigilant co-pilot, capturing every moment on the road. Whether you’re recording a scenic drive or safeguarding yourself in case of an accident, the front dash cam is your trusty witness.
Mounting The Camera
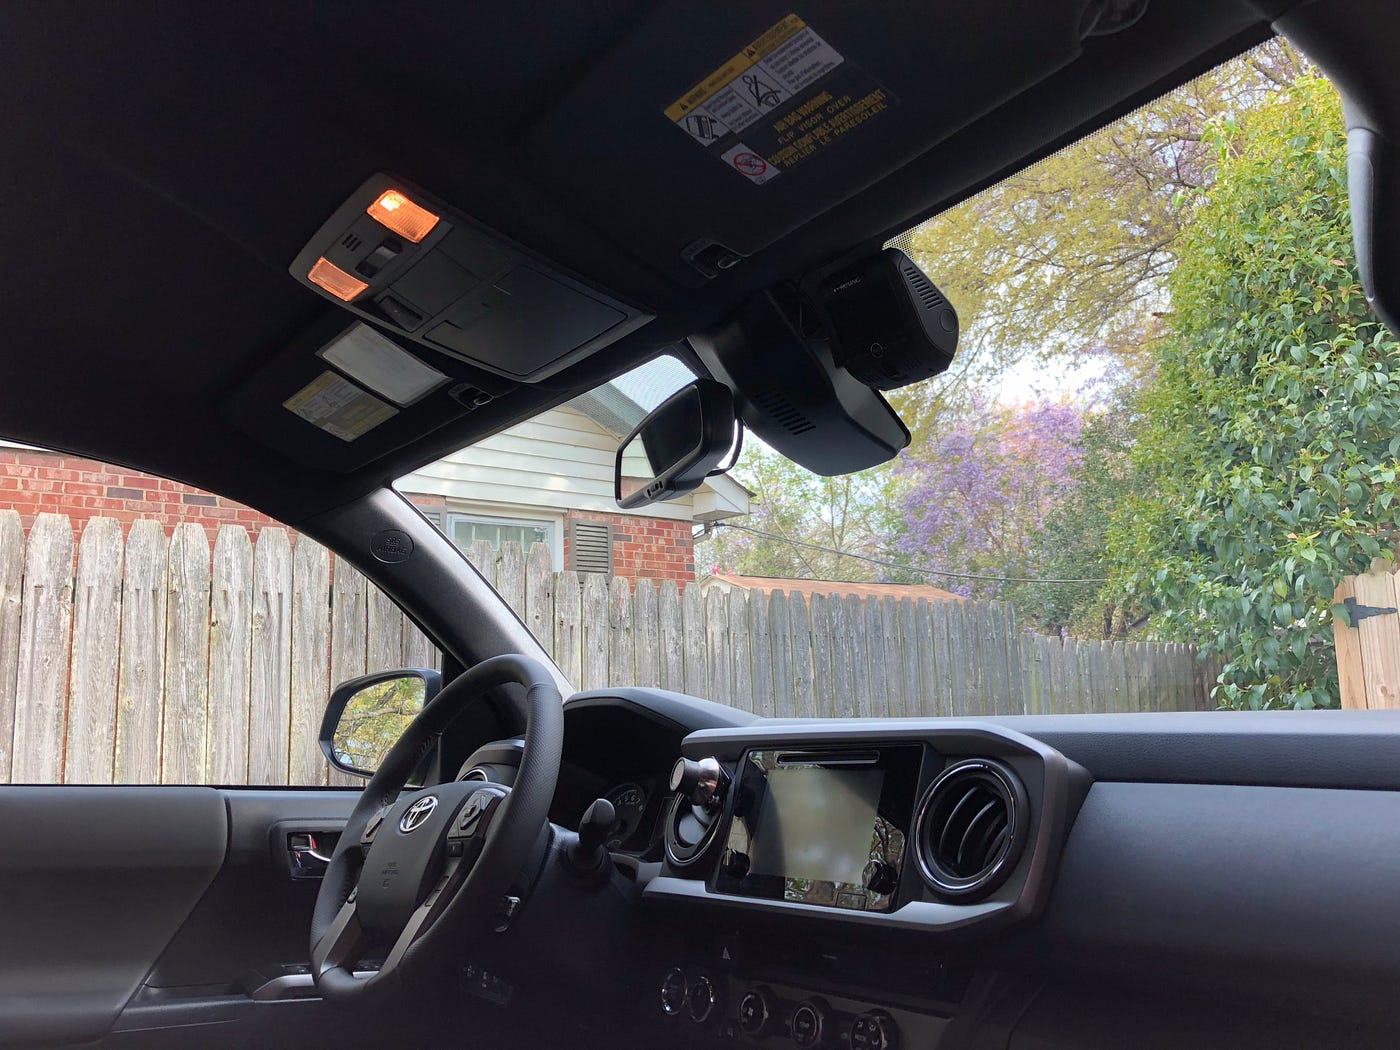
Positioning your front dash cam correctly is crucial. Choose a spot on the windshield where the camera has a clear view of the road. It’s typically best to place it behind the rearview mirror. This ensures the camera isn’t obstructing your view while driving. Use the adhesive mount provided with the dash cam for a secure hold.
Before sticking the mount, clean the windshield to ensure no dirt or grease affects the adhesive. Once mounted, adjust the camera angle to cover the entire road ahead. It’s helpful to ask yourself: Does the camera capture both lanes clearly? This ensures comprehensive coverage in case of an incident.
Connecting Power Supply
Powering your dash cam effectively ensures uninterrupted recording. Most dash cams come with a power cable designed to connect to the car’s cigarette lighter or USB port. Run the cable along the edge of the windshield, tucking it neatly under the trim to avoid a messy look.
Consider using a hardwire kit for a more seamless setup. This allows the dash cam to turn on and off with the car’s ignition. Be mindful of the wiring path; avoid routing the cable where it could interfere with airbags. Have you thought about how this setup could simplify your daily drives?
Installing The Rear Dash Cam
Installing the Rear Dash Cam Secure your rear dash cam by attaching it to the back window. Connect the wires to the front camera for power. Ensure all cables are tucked away neatly to maintain a clean look.
Installing a rear dash cam can seem daunting at first, but with a little patience, it’s entirely doable. Imagine the peace of mind you’ll gain knowing that both the front and rear of your car are covered. In fact, this setup provides a comprehensive view that can be invaluable in unexpected situations. Whether you’re a seasoned DIYer or just starting, these steps will guide you through the process effortlessly.Securing The Rear Camera
Start by choosing the ideal location for your rear camera. The rear windshield is typically the best spot as it offers a broad view of the road behind. Ensure the camera is positioned centrally to avoid blind spots. Use the mounting kit that comes with your dash cam for a secure attachment. Double-sided tape or suction cups are common options; both offer reliable hold but make sure the surface is clean.Routing The Wiring
Routing the wiring is crucial for a tidy installation. Begin at the rear camera and work towards the front, concealing the wires under the vehicle’s panels. Consider running the wires along the roof lining for a discreet setup. This method keeps the cables hidden and prevents them from tangling or being damaged. Make use of cable clips to keep the wires in place. This helps in preventing any accidental pulls that might disconnect the camera. Are you worried about the wiring affecting the car’s aesthetics? Fear not! With careful routing, the setup remains invisible and maintains your vehicle’s sleek look. Remember, the goal is to ensure the wiring is secure and unobtrusive. Attention to detail here pays off with a professional-looking installation that you can be proud of.Connecting To The Car’s Electrical System
Connecting a dash cam to your car’s electrical system is crucial. It ensures the device has power to capture important footage. You have two main options for connecting. Each option has its benefits and challenges. Choose the one that suits your needs best.
Using A Cigarette Lighter Socket
The simplest way is via the cigarette lighter socket. Most dash cams come with a power cable for this. Plug the cable into the lighter socket. This method is easy and requires no technical skills. Your dash cam will turn on and off with the car. This means you won’t drain your car battery when parked. But, the cable might clutter your dashboard. Consider using cable clips to tidy up.
Hardwiring To The Fuse Box
Hardwiring offers a cleaner look. This involves connecting the dash cam directly to the fuse box. First, buy a hardwiring kit compatible with your dash cam. Identify a fuse that turns off with the ignition. Use a multimeter to confirm. Connect the kit’s power wire to the fuse. Attach the ground wire to a metal bolt. This setup allows continuous parking mode. It records even when the car is off. Installation may take longer. But, it provides a professional look and functionality.
Credit: medium.com
Testing The Dash Cam Setup
Testing your dash cam setup is crucial for capturing clear footage. After installation, ensure everything works perfectly. Below are steps to check the setup effectively.
Checking Camera Angles
Make sure the front camera covers the entire road ahead. Adjust it to avoid dashboard reflections. The rear camera should capture the road behind. Adjust both cameras to eliminate blind spots. Check the video feed on the screen. Ensure it shows a balanced view.
Ensuring Proper Functionality
Start your car to power the dash cams. Confirm they turn on automatically. Check the recording status indicator. Ensure it shows the cameras are recording. Play back the footage to verify video quality. Look for any skips or blurs in the recording. Test the audio recording feature if available. Ensure it captures clear sound.
Troubleshooting Common Issues
Installing dash cams in front and rear of your car can face common issues. Ensure wires are securely connected to avoid power loss. Adjust camera angles for optimal coverage and check compatibility with your car’s electrical system to prevent malfunctions.
Installing a dash cam in your car can provide peace of mind. Yet, issues may arise that need troubleshooting. Understanding common problems helps ensure your dash cam works flawlessly.Dealing With Power Issues
Power issues are common when installing a dash cam. Check if the power cable is securely connected. Ensure the car’s power outlet is working. Use a multimeter to test the outlet’s voltage. Inspect the fuse if the dash cam isn’t turning on. Replace it if necessary. Sometimes, the dash cam’s internal battery causes problems. Consider replacing it if it’s old or faulty.Addressing Poor Video Quality
Poor video quality can affect dash cam effectiveness. Start by cleaning the camera lens. Dirt can obscure the view. Adjust the camera angle for better visibility. Ensure the dash cam settings are set to high resolution. Check for firmware updates. They can improve video quality. Use a high-quality memory card. Low-quality cards may not store videos properly. If issues persist, consider contacting the manufacturer.Maintenance And Care Tips
Ensure secure installation by using quality adhesive mounts for dash cams. Regularly check connections and clean lenses for clear recordings. Keep firmware updated to avoid technical issues.
Maintaining your dash cam ensures it performs optimally and lasts longer. Regular care helps preserve clear footage and reliable recordings. Let’s explore some essential maintenance tips.Regular Cleaning
Clean your dash cam lenses often to keep footage clear. Use a microfiber cloth to gently wipe the lenses. Avoid harsh chemicals that could damage the lens coating. Dust and fingerprints can blur recordings. Check the camera mount for dust build-up. A clean mount keeps your camera secure and steady.Updating Firmware
Firmware updates improve your dash cam’s performance and add new features. Regularly check the manufacturer’s website for updates. Follow instructions carefully when updating. An updated dash cam operates more efficiently. It can also fix any bugs or issues you might experience. Keep your camera running smoothly with the latest software.Frequently Asked Questions
How Do I Install A Dash Cam In My Car?
To install a dash cam, first choose the right location. Mount the front camera near the rear-view mirror. For the rear camera, attach it to the rear windshield. Connect the power cable to the car’s power outlet. Finally, conceal the wires for a clean look.
What Tools Do I Need For Dash Cam Installation?
You need a dash cam kit, pry tool, and cable ties. A screwdriver is handy for adjustments. These tools help mount the camera and conceal the wires effectively. Ensure you have a stable power source to connect the dash cam to your car’s electrical system.
Can I Install A Dash Cam Myself?
Yes, you can install a dash cam yourself. Follow the instructions in the dash cam manual. Basic tools and some patience are required. Ensure proper placement for optimal recording. If unsure, seek professional help to avoid damage to your vehicle’s interior or electrical system.
Where Should I Place The Rear Dash Cam?
Place the rear dash cam on the rear windshield. Ensure it has a clear, unobstructed view of the road behind. Secure it firmly to prevent vibrations. Proper placement ensures effective recording of rear incidents, improving vehicle safety and providing valuable evidence in case of accidents.
Conclusion
Installing a dash cam boosts safety on the road. Both front and rear cameras offer extra protection. You can capture incidents from all angles. Follow simple steps for a smooth setup. Secure your car with clear footage. Save time and money with easy installation.
Enjoy peace of mind while driving. Choose the right dash cam for your needs. Experience stress-free journeys. Be prepared for unexpected events. Ensure proper wiring for uninterrupted recording. Enjoy the benefits of technology in your car. Stay safe and informed.
Make driving a safer experience for everyone.