
Have you ever thought about upgrading your car’s audio experience? Wiring a new car stereo can seem daunting, but it’s much simpler than you might expect.
Imagine cruising down the highway with crystal-clear sound enhancing every journey. You deserve to unlock the full potential of your music and enjoy every beat, every melody, just the way you like it. This guide is tailored to help you, step by step, so you can wire your car stereo with confidence and ease.
Say goodbye to mediocre sound and hello to a captivating audio adventure. Let’s dive in and transform your driving experience into something truly extraordinary.

Credit: www.amazon.in
Essential Tools And Materials
Wiring a car stereo requires essential tools and materials like wire strippers, crimp connectors, and electrical tape. A multimeter helps identify power sources, while a wiring harness simplifies connections. Soldering equipment can ensure secure and lasting connections.
Wiring a car stereo can be a rewarding project. Having the right tools and materials is crucial for a successful installation. Being prepared ensures a smooth process and helps avoid frustration. Let’s explore the essential tools and materials needed for this task.Basic Tools
A set of basic tools is essential for stereo wiring. You will need a Phillips screwdriver for removing screws. A flathead screwdriver helps with prying panels. Wire strippers are necessary for preparing wires. Pliers are useful for gripping and bending wires. A socket wrench set is handy for loosening bolts.Specialized Tools
Specialized tools make the installation easier. A multimeter checks electrical connections and ensures safety. A panel removal tool prevents damage to car panels. Crimping tools secure connections tightly. Heat shrink tubing insulates wires effectively. A soldering iron is optional but useful for permanent connections.Materials Needed
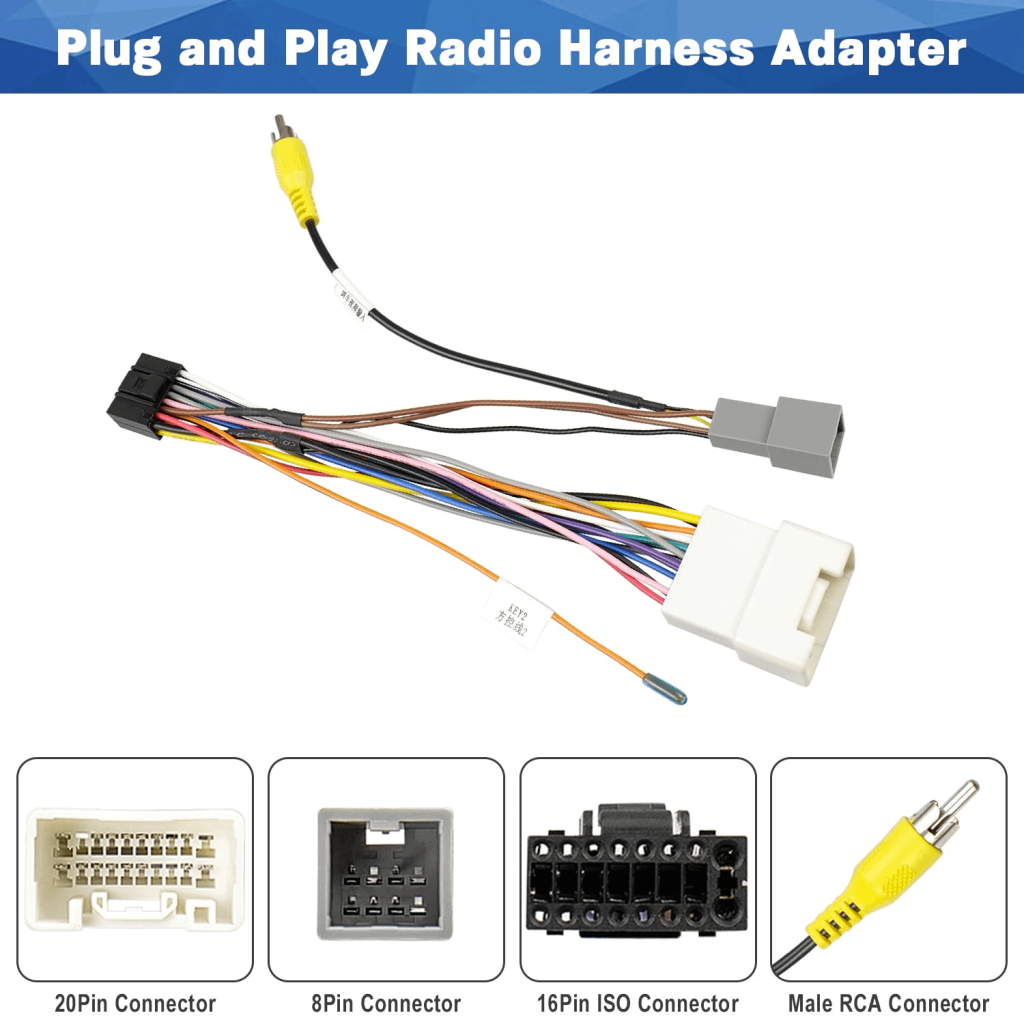
Gathering the right materials is important. You will need wiring harness adapters for connecting the stereo. Butt connectors join wires securely. Electrical tape insulates connections safely. Zip ties keep wires organized. A mounting kit may be necessary for securing the stereo.Stereo Components
Choosing the right stereo components enhances sound quality. Select speakers that fit your car’s specifications. An amplifier boosts sound output. A subwoofer adds depth to the audio. Ensure compatibility with the stereo system.Safety Gear
Safety gear is crucial for protection. Wear safety glasses to shield your eyes. Use gloves to prevent cuts or burns. Ensure the car battery is disconnected before starting. Follow safety guidelines throughout the process. Having these tools and materials ready ensures a successful car stereo installation. Your project will be smoother and more enjoyable.Preparing The Vehicle
Getting ready for a car stereo installation is important. It ensures a smooth process and avoids damage. Follow these steps to prepare your vehicle.
Disconnecting The Battery
Safety comes first. Disconnect the negative cable from the battery. This prevents electrical shocks and shorts. Use a wrench to loosen the bolt on the negative terminal. Slide the cable off and tuck it away. Ensure it’s not touching the terminal.
Removing The Old Stereo
Take out the old stereo carefully. Start by removing the trim or panel around it. Use a panel removal tool to avoid scratches. Unscrew the stereo from its mount. Pull it out gently, exposing the wires behind. Disconnect the wiring harness and antenna cable. Keep them safe for the new stereo.
Identifying Wiring Connections
Identifying wiring connections is a crucial step when you wire a car stereo. It might seem daunting at first, but with a bit of patience and attention to detail, you can master it. Imagine the satisfaction of hearing your favorite tune blasting from a perfectly connected stereo system.
Understanding Wire Colors
Wire colors are your guide to making correct connections. Typically, car stereo systems use a universal color code. For instance, the red wire usually connects to the ignition power, while the yellow wire is for constant power. Ground wires are often black, and speaker wires can vary between gray, white, purple, and green.
It’s essential to verify these colors against your car’s wiring diagram. Double-checking ensures you’re not just guessing based on common standards. Would you trust a color code without confirming it matches your specific vehicle?
Locating The Wiring Harness
The wiring harness is where all wires converge, making it the heart of your stereo connection. You can typically find it behind the stereo unit itself. Removing the dash panels carefully will reveal this crucial component.
Before you disconnect anything, take a moment to photograph the setup. This snapshot serves as your reference point when reconnecting wires. Have you ever tried reconnecting something without remembering where each piece went? Pictures help prevent that confusion.
Installing The New Stereo
Installing a new car stereo involves connecting the wires correctly. Identify the color-coded wires and match them to your vehicle’s wiring. Use a wiring harness for an easy and secure installation, ensuring clear sound.
Installing a new car stereo can be an exciting project that transforms your driving experience. Whether you’re upgrading to a modern system with Bluetooth connectivity or simply replacing a worn-out unit, knowing how to wire your stereo correctly is crucial. This guide will walk you through the key steps to ensure a smooth installation, providing clear instructions for each part of the process.Securing The Mounting Bracket
First, ensure your mounting bracket is properly secured. This is the backbone of your stereo’s installation. If it’s not stable, your stereo might not stay in place. Use a screwdriver to tighten the screws and double-check that the bracket is firmly attached to the dashboard. Make sure the bracket aligns perfectly with the stereo’s slots. You don’t want any wobbling or misalignment. A snug fit ensures your stereo stays put even on bumpy roads.Connecting Power Wires
Power wires are the lifeline of your stereo. Begin by connecting the red wire, which is usually the ignition or accessory wire. This is what powers your stereo when you turn on your car. Next, connect the yellow wire. This wire is connected to the battery and is responsible for retaining your stereo’s memory settings. Ensure all connections are firm and secure to avoid any power issues.Connecting Speaker Wires
Now, it’s time to bring your car’s sound system to life. Each speaker wire must be connected correctly to deliver crisp audio. Typically, speaker wires come in pairs, with one being positive and the other negative. Match the wires to the corresponding terminals on your stereo. For instance, the front-left speaker wires should connect to the front-left terminals. Double-check the connections to ensure optimal sound quality.Attaching Ground Wire
The ground wire is essential for preventing electrical interference. Without it, you might encounter static or buzzing sounds. Locate a metal part of your car’s chassis to attach the ground wire. Use a screw to secure the wire tightly. Ensure there’s no paint or rust at the connection point, as this can weaken the grounding. A solid ground connection ensures your stereo system runs smoothly and efficiently. Does your car stereo project seem clearer now? Once you have all these connections secured, you’ll be ready to enjoy your favorite tunes with clarity and volume. Happy listening!Testing The Stereo System
Wiring a car stereo involves connecting power, ground, and speaker wires. Use a wiring harness for easy installation. Ensure all connections are secure for optimal sound quality.
Testing the stereo system is a crucial step in the installation process. It ensures that your car stereo delivers the desired sound quality. Before you enjoy the music, it’s essential to verify that everything is connected correctly. This step helps identify any issues that might affect performance. Let’s walk through the testing phase to ensure your stereo system works flawlessly.Reconnecting The Battery
Reconnect the car battery for power. Make sure the connections are secure. This step restores power to the stereo system. Be cautious when handling the battery. Verify that all wires are properly connected. Once the battery is connected, turn on the stereo.Checking Audio Output
Test the audio output by playing music. Adjust the volume to check sound clarity. Listen for any distortion or static noises. Ensure speakers produce sound evenly. Check balance and fade settings on the stereo. Confirm all speakers are working properly.Troubleshooting Common Issues
Identify problems like no sound or poor quality. Check connections if the stereo doesn’t power on. Ensure wires are properly connected and secure. Inspect speaker connections for loose wires. Adjust audio settings to improve sound quality. Consult the stereo’s manual for specific issues.
Credit: www.youtube.com
Finalizing The Installation
Ensure all wires are securely connected and insulated. Test the stereo to confirm everything works. Adjust settings for optimal sound quality.
Finalizing the installation of your car stereo is like the cherry on top of a well-crafted sundae. You’ve done the hard work of wiring and connecting, and now it’s time to ensure everything is in its rightful place for a seamless and professional look. This stage is crucial, as it ensures both the functionality and the longevity of your stereo system.Securing Loose Wires
Loose wires can be a nightmare, creating a mess and potentially causing future malfunctions. Use zip ties or electrical tape to neatly bundle and secure any stray wires. This not only provides a cleaner look but also prevents wires from disconnecting or getting damaged over time. Consider where these bundles will sit once the dash panel is back in place. Are they tucked away from moving parts and heat sources? Double-check their placement to avoid any future hassles.Reinstalling The Dash Panel
Reinstalling the dash panel is a satisfying step, bringing everything together for a polished finish. Start by ensuring all components are aligned correctly. Gently push the panel back into place, listening for the clicks that indicate it’s securely fastened. But before you celebrate, test the stereo one last time. Does it power on? Are all functions working as expected? It’s better to discover any issues now rather than on the road. Remember when I completed my first stereo installation, the dash panel wouldn’t fit back because I hadn’t secured the wires properly. It taught me the importance of thoroughness in this final step. Have you ever had to redo a task because of a small oversight? Don’t let that be your story here.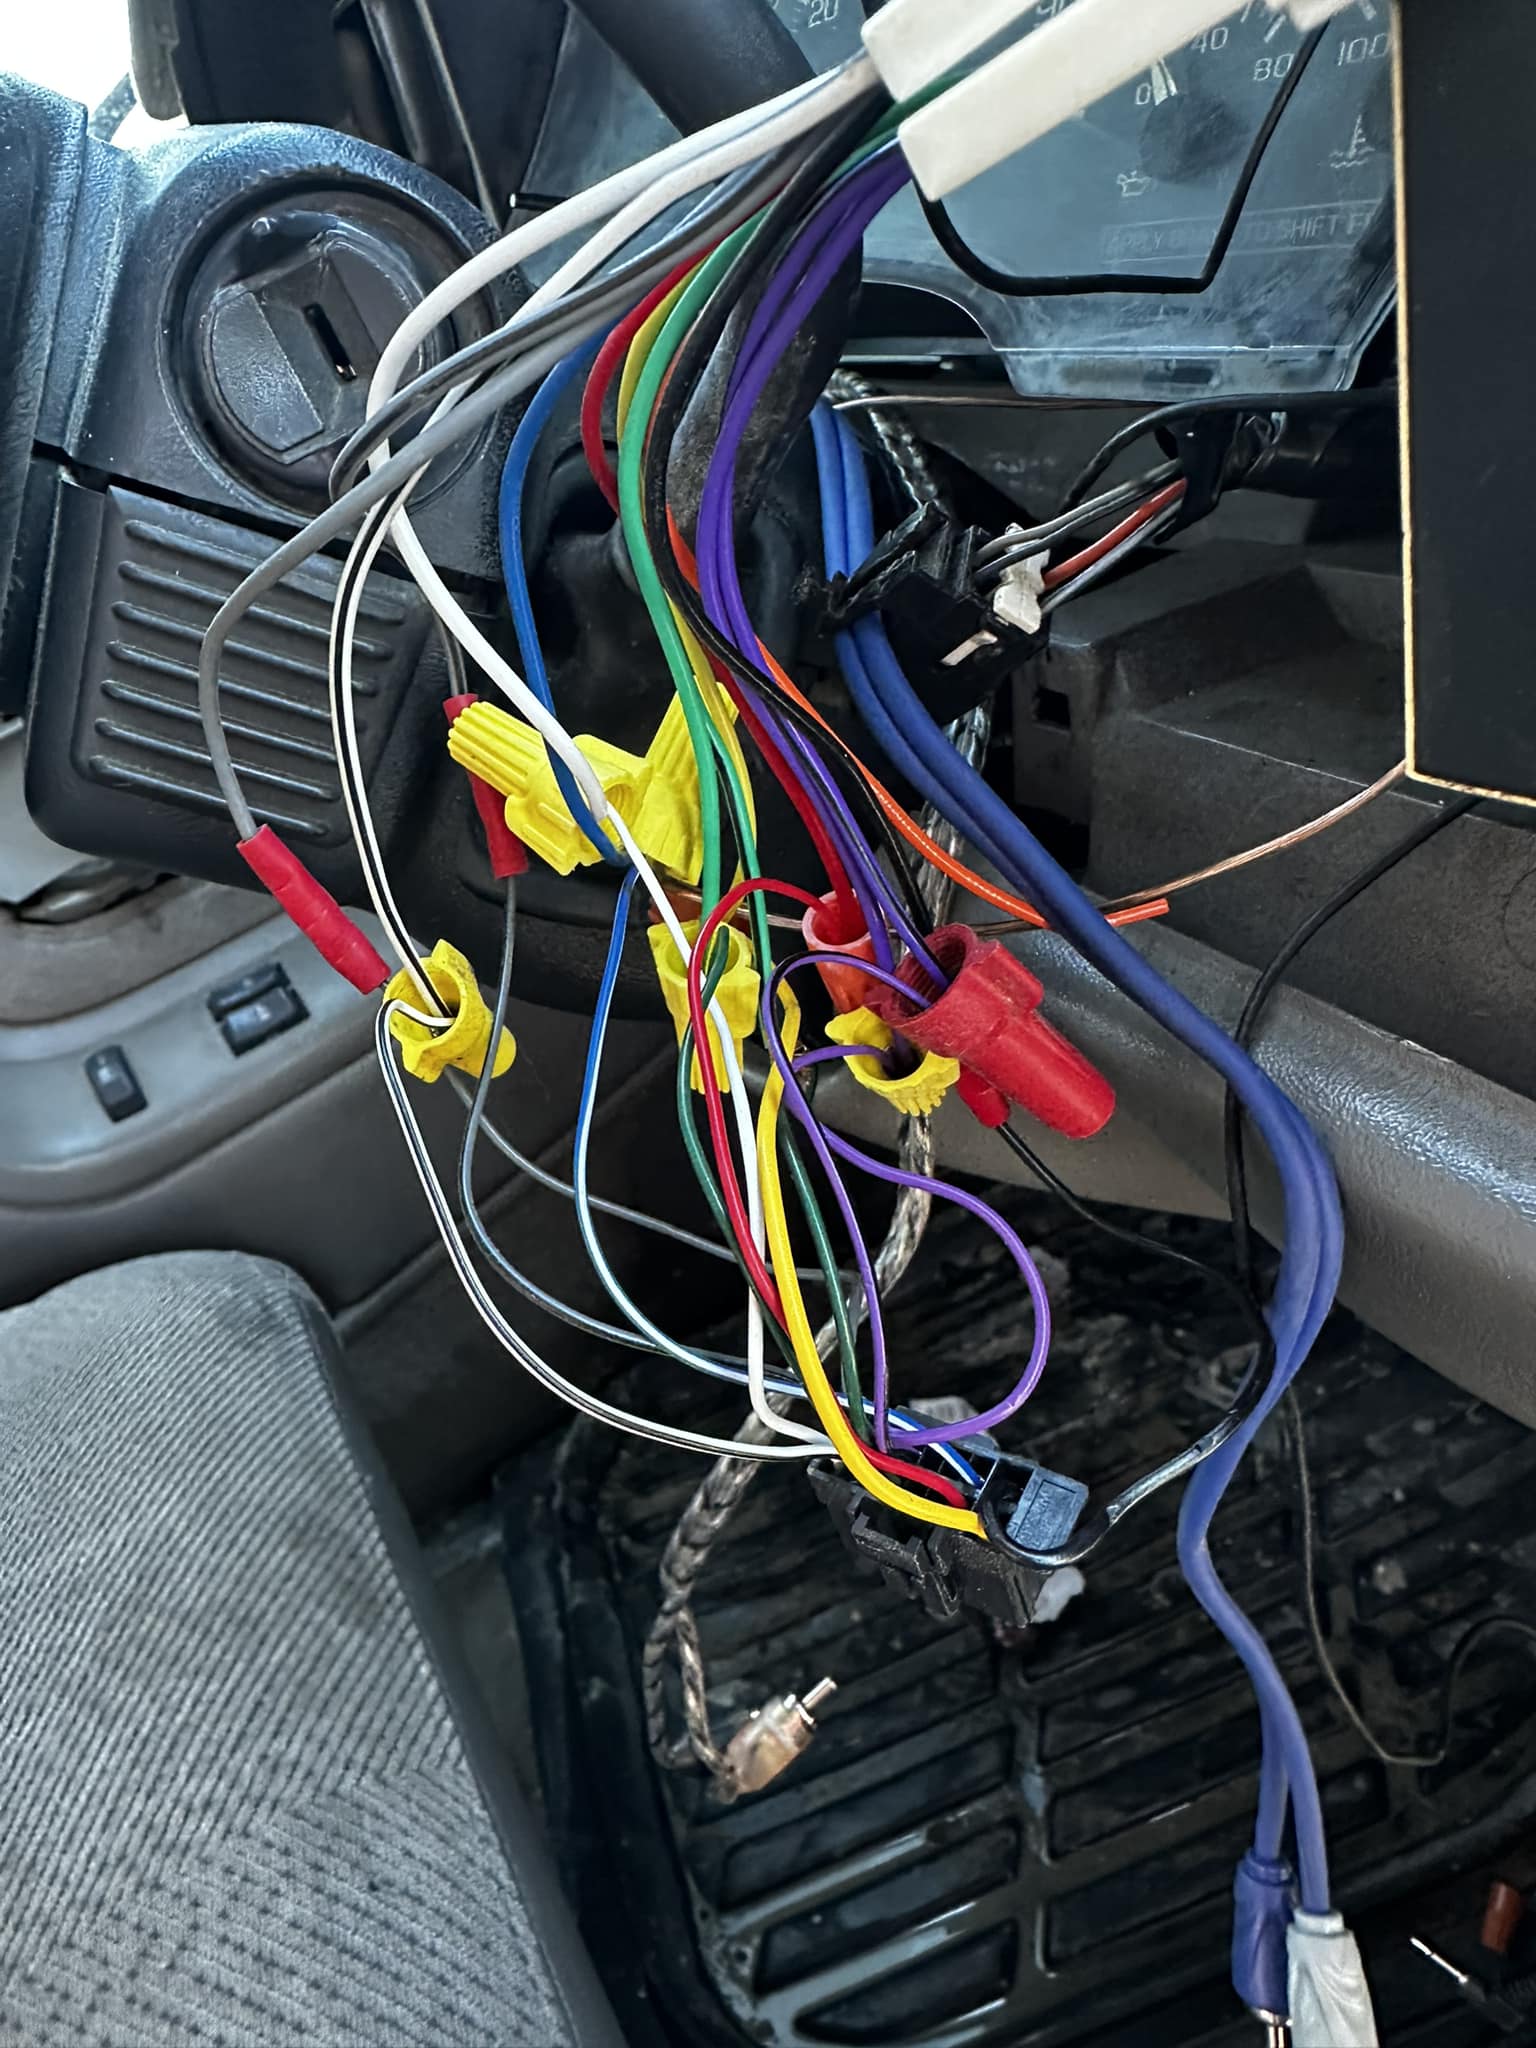
Credit: www.facebook.com
Frequently Asked Questions
What Tools Do You Need To Wire A Car Stereo?
To wire a car stereo, you need essential tools like a wire stripper, electrical tape, and a multimeter. A screwdriver set and crimp connectors are also important. These tools ensure a safe and efficient installation process, helping you connect the wires correctly and securely for optimal stereo performance.
How Do You Identify Stereo Wires?
Identifying stereo wires involves checking the color-coded wiring harness. Refer to your car’s manual or online resources for a wiring diagram. Typically, wires are color-coded for easy identification, such as power, ground, and speaker wires. Using a multimeter can also help verify connections.
Can You Wire A Car Stereo Without A Harness?
Yes, you can wire a car stereo without a harness. However, it’s more challenging and requires careful wire identification. You’ll need to manually connect each wire, matching the stereo wires with the car’s wiring. A wiring diagram and multimeter can assist in ensuring correct connections.
What Are Common Mistakes When Wiring A Stereo?
Common mistakes include incorrect wire connections, ignoring color codes, and not securing wires properly. Using the wrong gauge wire can cause issues. Overlooking the need for grounding can lead to poor performance. Double-check your connections and use a wiring diagram for guidance.
Conclusion
Wiring a car stereo can be simple. Just follow the right steps. Ensure you have the correct tools. Check all connections twice for safety. Take your time with each wire. Don’t rush the installation process. Keep manuals close for reference.
Be patient; mistakes happen. Learn from them. Enjoy the new sound in your car. It makes driving more fun. Share your experience with friends. They might find it useful. With practice, you can do it confidently. Wiring a stereo enhances your driving pleasure.
Remember, practice makes perfect. You’re ready to rock with your new setup!