
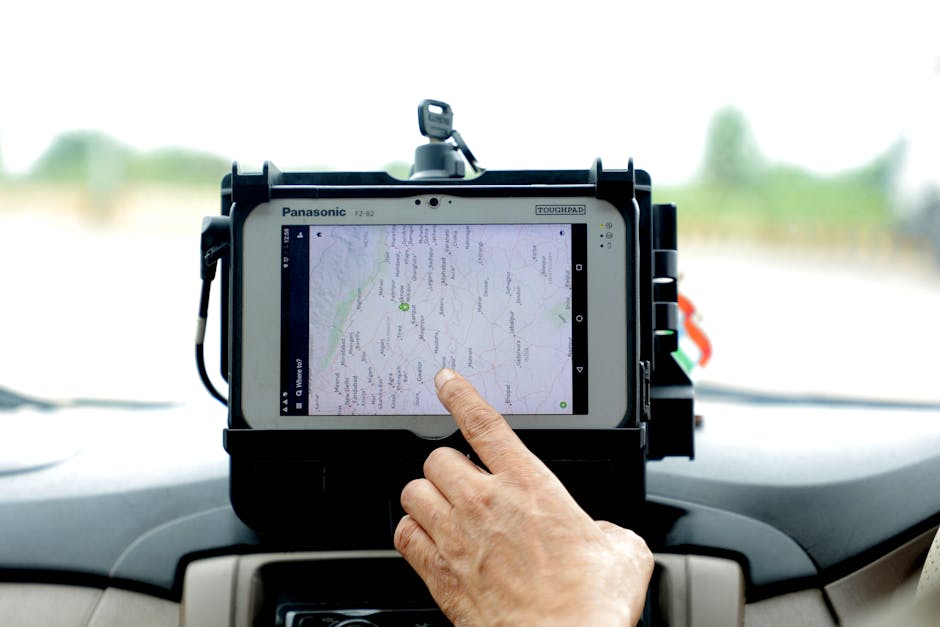
Imagine driving with complete confidence, knowing that you can easily see what’s behind your car. Installing a screen with a backup camera can transform your driving experience, making it safer and more convenient.
You might be wondering how to put a screen in your car, and it might seem a bit daunting at first. But don’t worry—you’re in the right place to learn how to make it happen. In this guide, you’ll discover simple steps to install a screen with a backup camera in your car.
Whether you’re a tech enthusiast or just someone looking to add a bit of modern functionality to your vehicle, this process is easier than you might think. By the end of the article, you’ll feel empowered and ready to enhance your car with this practical upgrade. So, let’s dive in and take the first step towards a safer driving experience!
Choosing The Right Screen
Choosing the right screen for your car’s backup camera can enhance visibility and safety. Consider screen size, resolution, and compatibility to ensure a clear view while reversing.
Choosing the right screen for your car with a backup camera can greatly enhance your driving experience. It’s not just about picking the most expensive or popular option; it’s about finding a screen that meets your specific needs and seamlessly integrates with your vehicle. A well-chosen screen can provide clear visuals, making parking and reversing much safer and easier. But how do you make the right choice?Size And Resolution Considerations
When selecting a screen, size and resolution are crucial factors. A screen that’s too small might not provide sufficient detail, especially when you’re trying to spot obstacles behind your car. On the other hand, a screen that’s too large may be overwhelming and could even obstruct your view of the road. Consider where you’ll place the screen. If it’s going to be mounted on your dashboard, you may want something compact yet clear. Typically, a screen size between 5 to 7 inches works well for most cars. Resolution plays a big role in how clear the image appears. A higher resolution offers sharper images, which can be crucial during low-light conditions or when distinguishing objects in busy environments. Aim for a resolution that matches or exceeds your camera’s capabilities for optimal clarity.Compatibility With Backup Camera
Compatibility is key to ensuring your screen works seamlessly with your backup camera. Not all screens are designed to work with every type of camera, so you need to check the specifications carefully. Look for screens that support the video format of your camera. Most backup cameras use NTSC or PAL formats, and having a screen that supports these formats is vital. Ensure the screen has the right input connections for your camera. Common connections include RCA and HDMI, but newer models may offer wireless options, which can make installation a breeze. Consider the ease of installation and whether you need additional adapters or converters. A screen that’s easy to set up can save you time and frustration. Choosing the right screen involves more than just aesthetics or price. It’s about ensuring safety and convenience as you navigate through your driving adventures. What kind of driving experience are you looking to create with your new screen?Tools And Materials Needed
Installing a screen with a backup camera in your car requires a few essential tools and materials. Gather a screwdriver set, wire connectors, electrical tape, and a power drill. You’ll also need the backup camera kit and a compatible screen to complete the setup efficiently.
Putting a screen in your car with a backup camera is a rewarding project that enhances your driving experience. Before diving into the installation process, gathering the right tools and materials is crucial for a smooth and successful setup. Having everything ready will save you time and help prevent any unnecessary frustration.Essential Tools List
To get started, you’ll need a few basic tools that are commonly found in most toolboxes. Here’s a list to make sure you’re fully prepared:- Screwdriver Set:A variety of screwdrivers, including both Phillips and flathead types, will be essential for removing panels and securing your screen and camera.
- Wire Strippers:These will help you strip the ends of wires for connections, ensuring a clean and efficient installation.
- Electrical Tape:Useful for insulating wires and securing connections, preventing any short circuits.
- Power Drill:This may be needed for creating holes to mount the screen or run wires through your vehicle’s body.
Additional Accessories
Beyond the tools, certain accessories can enhance the functionality and aesthetics of your setup. Consider these additional items:- Mounting Brackets:These provide a stable platform for your screen, keeping it securely in place while you drive.
- Zip Ties:Handy for organizing and securing wires neatly under the dashboard or along the car’s interior.
- Fuses and Fuse Holder:Protect your car’s electrical system by ensuring that any power surges are safely managed.
- Heat Shrink Tubing:Offers a more professional finish to your wire connections, protecting them from damage and wear.
Preparing Your Car
Install a screen in your car to enhance visibility with a backup camera. Connect the screen to the power source and mount it securely. Ensure the camera is aligned correctly for optimal view while reversing.
Preparing your car for a screen and backup camera is essential. This process ensures a smooth installation. Before you begin, gather all necessary tools. This will make the task straightforward and efficient. Take your time with preparation. This sets the foundation for success.Identifying The Installation Area
First, find the best place for the screen. Most choose the dashboard. It should be easy to see while driving. Make sure the spot is flat. This helps the screen stay secure. Consider cable routing too. Plan where wires will go. This prevents a messy look.Cleaning And Preparing Surfaces
Clean the installation area well. Dust and dirt can affect adhesion. Use a soft cloth and cleaner. Make sure the surface is dry after cleaning. A dry surface ensures better sticking. Check for any obstructions. Remove anything that might block the screen or camera.Installation Process
Mount the screen securely on the dashboard or console. Connect the backup camera to the screen using cables. Ensure the camera is properly aligned for a clear rear view.
The installation process of a screen with a backup camera in your car can enhance safety and convenience. With careful attention to detail, you can successfully set up the system without professional help. This guide will walk you through the steps to ensure a smooth installation.Mounting The Screen
Mount the screen in a visible and accessible spot in your car. The dashboard is a popular choice for many drivers. Use a bracket that securely holds the screen in place. Make sure it doesn’t obstruct your view while driving. Some screens come with adhesive mounts; follow the manufacturer’s instructions for the best results.Connecting To Power Source
Connect the screen to your car’s power supply. Locate the fuse box for a consistent power source. Use a fuse tap to safely draw power without disrupting other electronics. Ensure all connections are secure to avoid loose wiring. This step is crucial for the screen to function properly.Integrating With Backup Camera
Link the screen with your backup camera for a seamless view. Run the camera cable from the rear of the car to the screen. Hide the cable under the car’s panels for a neat finish. Connect the video cable to the screen’s input port. Test the connection by reversing the car and checking the screen display.Testing The Setup
Testing the setup involves checking the screen and backup camera connection. Ensure both devices show clear images and respond correctly. Adjust settings for optimal visibility and functionality, ensuring a safe driving experience.
Installing a screen with a backup camera in your car is a smart upgrade, enhancing safety and convenience. After fitting the equipment, the next crucial step is testing the setup. This ensures everything functions smoothly and provides peace of mind knowing your system is reliable. Let’s dive into checking each component to make sure your installation is a success.Checking Screen Functionality
Turn on your car and activate the screen. Does the display light up promptly? If not, ensure all power cables are securely connected. Next, navigate through the screen settings. Can you easily access and adjust the brightness, contrast, and other settings? A responsive interface indicates a properly functioning screen. Finally, check for any flickering or blank spots on the screen. A clear and stable image is essential for safe driving.Ensuring Camera Connectivity
Put your car in reverse and observe the screen. Does the camera feed appear immediately? A delay might suggest connectivity issues. Inspect the camera’s field of view. Are all angles visible without obstruction? Adjust the camera if necessary to eliminate blind spots. Consider the image quality. Is it clear and sharp, even in low light conditions? A good backup camera should provide a reliable view day or night. Testing the setup might seem like a small step, but it’s crucial for your safety. If you encounter any issues, addressing them now ensures you can count on your backup camera when you need it most. Have you ever discovered an unexpected issue while testing new tech?Troubleshooting Common Issues
Installing a screen in a car with a backup camera often involves connectivity issues. Check wiring connections and ensure compatibility. Verify power supply and adjust settings for optimal performance.
Troubleshooting common issues with car screens and backup cameras can be challenging. Many drivers face problems after installation. These issues can range from display errors to signal interference. Proper troubleshooting helps keep your system running smoothly.Screen Display Problems
Sometimes, the screen might not show a clear image. Check if the screen is powered on. Ensure all cables are connected firmly. Loose connections often cause display problems. Adjust brightness and contrast settings. A dim screen might just need a settings tweak. Still no image? The camera might be faulty. Test it with another screen.Camera Signal Interference
Signal interference can disrupt your camera feed. Other electronics in your car might cause this. Try switching off other devices. This helps identify if they cause interference. Ensure the camera’s antenna is clear of obstructions. Metal objects can block signals. Check for nearby radio towers. They can interfere with wireless signals. Use a wired connection for a stable feed.Maintenance Tips
Installing a screen for a backup camera in your car involves careful planning and wiring. Choose the right screen size and compatible camera. Securely mount the screen on the dashboard or rearview mirror. Ensure all connections are tight to prevent any disruptions while driving.
Maintaining your car’s screen with a backup camera ensures safety and longevity. Regular upkeep can prevent unexpected issues and extend the system’s life. Here are some essential maintenance tips to keep your screen and camera in top condition.Regular System Checks
Conduct routine checks to ensure everything works properly. Inspect the wiring connections for any signs of wear. Loose wires can disrupt the screen’s display or the camera’s function. Test the backup camera regularly. Make sure it provides a clear view. This helps identify any issues early. Address any problems before they worsen.Keeping The Screen Clean
A clean screen enhances visibility and reduces glare. Use a microfiber cloth to wipe the screen gently. Avoid harsh chemicals. They can damage the screen’s surface. Instead, use a mixture of water and mild soap. Wipe in circular motions to prevent streaks. Regular cleaning keeps the screen clear and functional.Frequently Asked Questions
Can I Add A Rear Camera To My Car With The Stock Screen?
Yes, you can add a rear camera to your car with the stock screen. Check compatibility first. Use an adapter or interface module to connect the camera. Professional installation is recommended for optimal performance and safety. Make sure the stock screen supports video input for a seamless integration.
Can You Add A Backup Camera To A Car With A Screen?
Yes, you can add a backup camera to a car with a screen. Ensure compatibility with your vehicle’s display system. Installation typically involves wiring the camera to the screen and may require professional assistance. A backup camera enhances safety by providing better rear visibility.
Where To Mount A Backup Camera Screen?
Mount the backup camera screen on the dashboard or rearview mirror for easy visibility. Ensure it doesn’t obstruct your view. Secure it firmly to prevent distractions. Choose a location with minimal glare and comfortable line of sight. Prioritize convenience and safety while positioning the screen.
Can You Add A Backup Camera To A Car Without A Screen?
Yes, you can add a backup camera to a car without a screen. Use a camera kit with a standalone monitor or smartphone integration for display. Ensure compatibility with your car model. This upgrade enhances safety by providing better rear visibility while parking or reversing.
Conclusion
Installing a screen with a backup camera enhances driving safety. This setup helps you see what’s behind your car. It’s important for parking and reversing safely. Follow the steps for a smooth installation process. Anyone can do it with basic tools.
Just take your time and be patient. You’ll soon have a modern feature in your vehicle. It’s a worthy upgrade for any driver. Stay safe and enjoy your new, clear rear view. With practice, you’ll feel more confident on the road.
Happy driving!