
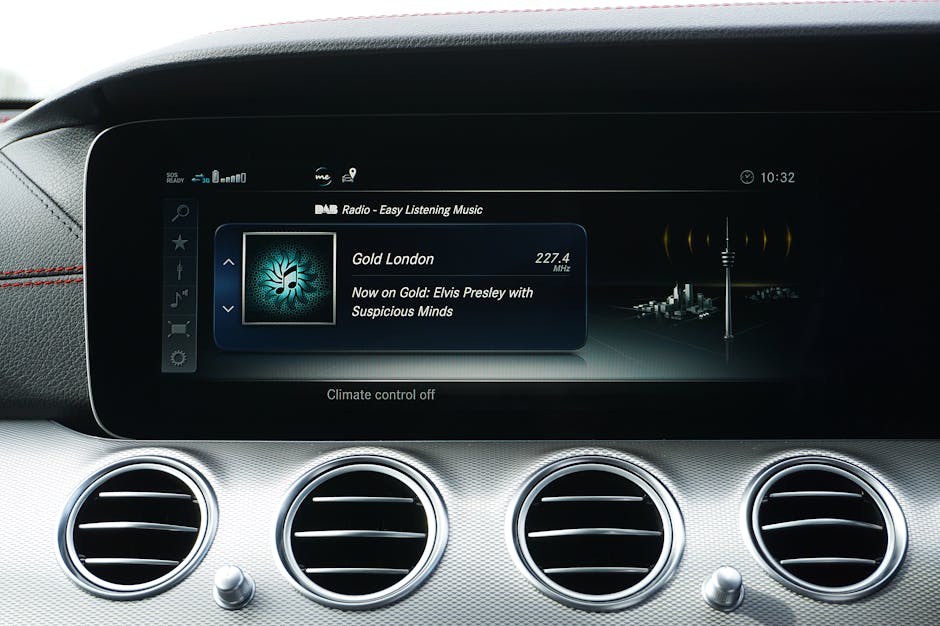
Are you ready to transform your driving experience with crystal-clear sound and endless music options? Installing an AM/FM digital car stereo can do just that, and more.
Imagine cruising down the highway, tuning into your favorite stations, and enjoying every moment of your drive. Whether you’re a seasoned DIY enthusiast or a first-timer, hooking up a car stereo is easier than you might think. With a few simple steps, you’ll have a sleek, modern stereo system that fits perfectly in your car.
Get ready to discover how you can effortlessly upgrade your vehicle and make every trip enjoyable. Let’s dive into the world of car stereo installation and see how you can achieve the perfect sound with ease and confidence.
Tools And Materials Needed
Hooking up an AM/FM digital car stereo can transform your driving experience, filling your car with music, news, and entertainment. To ensure a smooth installation, it’s crucial to gather all necessary tools and materials before starting the process. This preparation will not only make the task easier but also help avoid any frustration or delays. Let’s dive into what you’ll need to get started.
Basic Tools
- Screwdrivers:Both Phillips and flat-head screwdrivers are essential for removing the existing stereo and installing the new one.
- Wire Strippers:These are vital for cleaningly stripping the ends of wires for secure connections.
- Socket Wrench Set:Depending on your car model, a socket wrench may be needed to remove mounting bolts.
Wiring Essentials
- Wiring Harness:A car-specific wiring harness will make connecting the new stereo to your vehicle’s electrical system straightforward.
- Electrical Tape:Use this to safely cover exposed wires and prevent short circuits.
- Wire Connectors:These provide secure connections between the stereo wires and the car’s wiring harness.
Safety Equipment
- Safety Gloves:Protect your hands from sharp edges and electrical components.
- Safety Glasses:These can safeguard your eyes during the installation process.
Additional Materials
- Dash Kit:A custom dash kit might be necessary for a professional-looking installation, especially if the new stereo is a different size from the old one.
- Installation Manual:Keep the stereo’s installation guide handy for specific instructions related to your model.
Have you ever started a project only to realize you’re missing a crucial tool halfway through? That moment can be frustrating, but with the right preparation, you’ll glide through the stereo installation with ease. Gather your tools and materials, and you’ll be rocking out to your favorite tunes in no time.
Preparing The Car For Installation
Disconnect the car battery to ensure safety. Remove the old stereo carefully, keeping track of screws and wiring. Prepare the new stereo by checking compatibility and arranging tools for installation.
Preparing your car for a new AM/FM digital stereo installation is crucial. It ensures a smooth and safe process, minimizing any potential issues. Begin by understanding each step involved to avoid mishaps during installation. Disconnecting the Battery Safety is the first priority. Disconnect the car battery before starting. This prevents electrical shorts and protects you from shocks. Locate the battery and use a wrench to loosen the negative terminal. Ensure it’s securely away from the battery to avoid accidental reconnection. This step is simple yet vital for safety. Removing the Old Stereo Removing the old stereo is often straightforward. Start by checking your car’s manual for guidance. Most stereos are held by screws or clips. Use a screwdriver to remove visible screws. If clips are present, gently pry them using a flat tool. Carefully detach wires connected to the old stereo. Note their placement for easy reconnection. Keep the screws and clips in a safe place. They might be needed for the new stereo. This approach ensures a hassle-free removal process.Wiring The New Stereo
Hooking up an AM/FM digital car stereo involves connecting power, speakers, and antenna cables. Ensure wires are matched by color for proper connection. Test the stereo to confirm everything works correctly.
Wiring the new stereo involves connecting various wires correctly. This ensures your digital car stereo functions properly. Getting the wiring right is crucial for sound quality and stereo operation. Follow these steps to make sure everything is connected perfectly.Understanding Wiring Harnesses
Wiring harnesses simplify the installation process. They bundle wires together for easy connection. Identify the harness that matches your vehicle’s make and model. Ensure compatibility with your new stereo. This helps avoid confusion during installation. Using a wiring harness prevents cutting and splicing wires. It maintains the integrity of your car’s electrical system.Connecting Power And Ground Wires
Power and ground wires are essential for stereo operation. Connect the red wire to the car’s power source. This wire provides electricity to the stereo. Attach the black wire to a metal surface for grounding. This ensures safety and prevents electrical issues. Use a multimeter to check connections. Ensure proper voltage levels before proceeding.Connecting Speaker Wires
Speaker wires transmit audio signals from the stereo. Identify the color-coded wires for each speaker. Match them with the corresponding wires on the stereo. Secure connections with wire nuts or connectors. Test the speakers to ensure sound flows evenly. Adjust wires if sound is distorted or missing. Proper connections enhance your listening experience.Installing The Stereo
Installing a new AM/FM digital car stereo can transform your driving experience, filling your car with crisp, clear sound. The process might seem daunting at first, but with a little patience and attention to detail, you’ll have your new stereo up and running in no time. Let’s dive into the crucial steps of mounting the stereo unit and securing the wiring connections.
Mounting The Stereo Unit
Begin by removing the old stereo carefully. Keep all screws and mounting brackets in a safe spot—you might need them for the new unit. Many vehicles require a special tool to release the stereo, which is often provided with the new stereo kit.
Once the old unit is out, slide the mounting bracket for the new stereo into the dashboard slot. Ensure it fits snugly, aligning all edges. Tighten any screws to secure the bracket in place. This stage is crucial for a stable, rattle-free installation.
While working on my car, I found that aligning the bracket was like solving a puzzle. Patience and precision made all the difference. Have you ever found a small adjustment significantly improved your work?
Securing The Wiring Connections
With the stereo unit mounted, it’s time to tackle the wiring. Use a wiring harness adapter for a hassle-free connection to your car’s existing wiring. These adapters match the wires from the stereo to the wires in your car, saving you from tedious manual connections.
- Match each wire by color: power, ground, speakers, etc.
- Use wire connectors to fasten each connection securely.
- Double-check each connection—loose wires can lead to poor sound quality or even damage the stereo.
During my installation, securing the wiring was like connecting the dots. Each wire had its place, and when connected right, it was a rewarding feeling. How do you feel when everything clicks into place?
After securing all connections, gently push the stereo into the bracket until it clicks into place. Ensure it sits flush with your dashboard for a neat finish. Your stereo is now ready for a test run, promising endless hours of musical enjoyment on the road.
Testing The Stereo System
After the installation of your AM/FM digital car stereo, the excitement of testing the stereo system kicks in. This is where you truly experience the fruits of your labor and enjoy the enhanced audio quality. Ensuring everything works perfectly is crucial for an optimal listening experience, and there are a few key areas to focus on during testing.
Checking Sound Quality
Start by playing your favorite song or radio station. Listen carefully to the clarity and depth of the sound. Does the bass resonate well? Are the treble and midrange balanced? Adjust the equalizer settings on your stereo to fine-tune the sound to your liking. Experiment with different genres of music to ensure your stereo performs well across various audio styles.
Don’t forget to test the speakers individually. Move around the car and assess whether the sound is evenly distributed. If one speaker seems weaker, it might need repositioning or a check for loose connections. A well-balanced sound can transform your driving experience into an auditory delight.
Troubleshooting Common Issues
If the sound quality isn’t up to par, or there’s no sound at all, it’s time to troubleshoot. Check your wiring connections to ensure everything is securely attached. Loose wires can lead to poor sound quality or intermittent audio dropouts. If you hear static or crackling sounds, it might be due to interference or a faulty antenna connection.
Consider whether the stereo settings need adjustment. Sometimes, simple tweaks in the audio settings can resolve minor sound issues. If the stereo doesn’t power on, double-check the power connections and fuses. Could it be a blown fuse or an incorrect wiring setup? Troubleshooting is often about asking the right questions and methodically checking each component.
Final Adjustments
After connecting your AM/FM digital car stereo, it’s time for final adjustments. These tweaks ensure optimal performance. They also enhance your listening experience. Let’s dive into the key settings.
Setting Radio Stations
Start by tuning into your favorite stations. Use the seek function on your stereo. It helps find the strongest signals. Save these stations in preset slots. This makes access faster while driving. Check if the stereo has RDS capability. It provides station details on the display.
Adjusting Sound Settings
Sound settings greatly affect your audio experience. Begin by adjusting the bass, midrange, and treble. Find the right balance for your car’s acoustics. Many stereos have equalizer presets. These can enhance specific music genres. Experiment with different settings. See what works best for your listening preferences.
Frequently Asked Questions
What Color Wires Go Together In A Car Stereo?
Connect red to ignition or accessory wire. Yellow connects to the battery wire. Black is for ground. White and gray wires connect to front speakers. Green and purple wires link to rear speakers. Blue connects to the power antenna. Always check the car’s manual for specific wiring configurations.
Why Is My Am Fm Radio Not Working In My Car?
Your car’s AM FM radio may not work due to a blown fuse, antenna issues, or wiring problems. Check the fuse box and antenna connections for damage. Ensure wiring is intact and properly connected. If the issue persists, consult a professional to diagnose and fix any internal radio faults.
What’s The Best Way To Connect Car Stereo Wires?
Strip wire ends, match colors, and twist or solder for secure connections. Use crimp connectors for easier installation. Secure with electrical tape to prevent short circuits. Ensure connections are tight and insulated. Follow the vehicle’s wiring diagram for accuracy. Check connections before powering the stereo.
How Do I Get Fm On My Car Radio?
Turn on your car radio and press the “FM” button. Use the tuning knob or seek buttons to find your desired FM station. Ensure your antenna is extended for better reception.
Conclusion
Installing an AM/FM digital car stereo is simple. Follow the steps carefully. Connect the wires properly. Ensure all connections are secure. Double-check your work before testing the stereo. Enjoy clear sound and easy access to your favorite stations. This upgrade enhances your driving experience.
Remember, practice makes perfect. With patience, anyone can do it. Don’t rush the process. Take your time and enjoy the outcome. Your new stereo will provide entertainment on every journey. Happy driving and happy listening!