
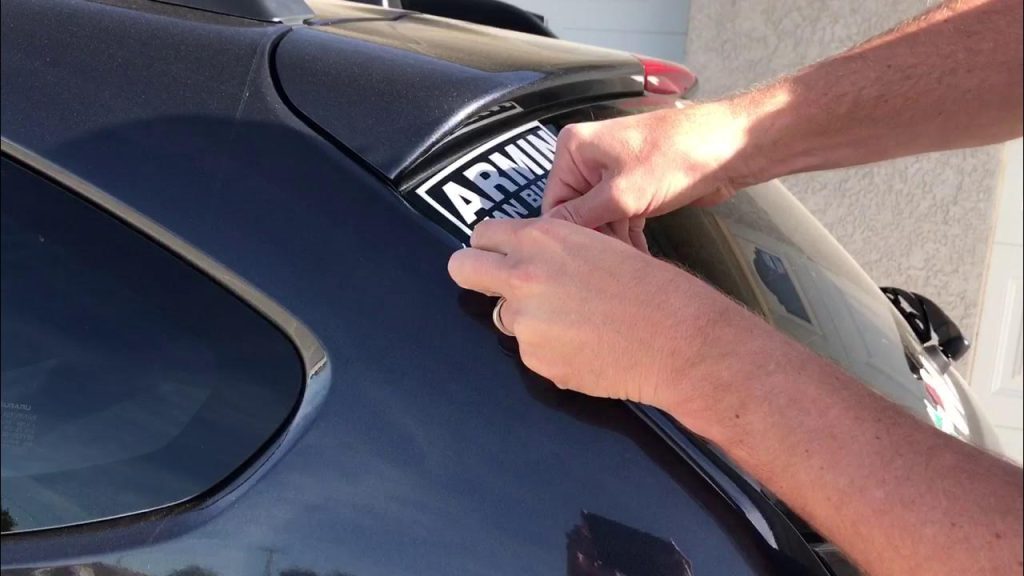
You know how those decals on your car window can be a great way to showcase your personality or support your favorite team. But what happens when it’s time for them to go?
Whether you’re looking to replace them or just want a clear view, removing decals without leaving a sticky mess can feel daunting. You might be worried about scratching the glass or struggling with stubborn adhesive. Don’t worry—this guide is here to help you tackle the task with ease.
By the end of this article, you’ll discover simple techniques that will leave your car windows spotless and ready for a fresh start. Get ready to transform your car’s appearance while keeping your windows in pristine condition.
Tools And Materials Needed
Removing decals from a car window can seem daunting. With the right tools, this task becomes manageable and straightforward. Proper materials ensure a clean removal without damaging the glass.
Essential Supplies
Start with basic items. You need a soft cloth, a plastic scraper, and mild detergent. These help in loosening the decal and cleaning the window surface.
- Soft Cloth:Use this to wipe the window clean.
- Plastic Scraper:It carefully lifts the decal without scratching.
- Mild Detergent:Mix it with water to clean residue.
These supplies are readily available at home or any store. They ensure you remove the decal smoothly.
Optional Items For Efficiency
Consider optional tools for a faster process. A hairdryer can soften the adhesive. A spray bottle helps apply solutions evenly.
- Hairdryer:Warm air loosens the decal.
- Spray Bottle:Easy application of cleaning solution.
- Rubbing Alcohol:It breaks down adhesive residue.
Using these items can make removal quicker and more efficient. They are not necessary but can save time.
Credit: www.reddit.com
Preparing The Work Area
Clear the area around the window for a smooth decal removal process. Ensure the surface is clean and dry. This will help in removing the decal without any hindrance.
Preparing the work area is a crucial step before you start removing decals from your car window. A well-prepared space ensures a smooth process and minimizes the risk of damage to your vehicle. Whether you’re a seasoned pro or a first-timer, setting up your work area effectively can make a significant difference.Choosing The Right Location
Selecting the ideal spot for decal removal is more important than you might think. Find a location with ample light to see what you’re doing clearly. Natural light is best, but if you’re working indoors, ensure your workspace is well-lit. Consider working in a garage or a shaded area to protect yourself and your car from direct sunlight, which can cause the adhesive to become more stubborn. A calm, wind-free spot helps you avoid dust and debris settling on your window during the process.Safety Precautions
Your safety is paramount. If you’re using chemical solutions to help remove the decals, make sure the area is ventilated. Open windows or use fans to keep the air circulating. Wear gloves to protect your skin from any harsh chemicals or sharp tools. You might not anticipate it, but even small fragments of broken decals can be sharp. Safety glasses are a smart choice to shield your eyes from unexpected splinters or sprays. Are there children or pets around? Ensure they are kept at a safe distance from your work area. This prevents any accidental harm and allows you to focus without distractions. By preparing your work area thoughtfully, you pave the way for a hassle-free decal removal process. What other safety measures do you think are crucial for handling such tasks?Softening The Decal
Softening the decal can make it easier to remove from a car window. Use warm soapy water or a hair dryer. This helps loosen the adhesive, allowing the decal to peel off more smoothly.
Removing decals from car windows can be tricky. The adhesive used often makes the process challenging. Softening the decal is crucial. It helps in the removal without damaging the glass. Explore different methods to soften decals effectively.Using Heat Methods
Applying heat can loosen stubborn decals. A hairdryer is a convenient tool. Direct warm air onto the decal’s surface. Keep it at a safe distance. This avoids overheating the glass. Move the dryer around to cover all areas. Heat softens the adhesive. It becomes easier to peel off.Alternative Softening Techniques
There are other ways to soften decals. Warm water is one option. Soak a cloth in warm water. Place it over the decal for several minutes. The warmth loosens the adhesive grip. Another technique involves using vinegar. Mix vinegar with warm water. Apply it to the decal using a sponge. The solution breaks down the adhesive. It’s a natural and effective method.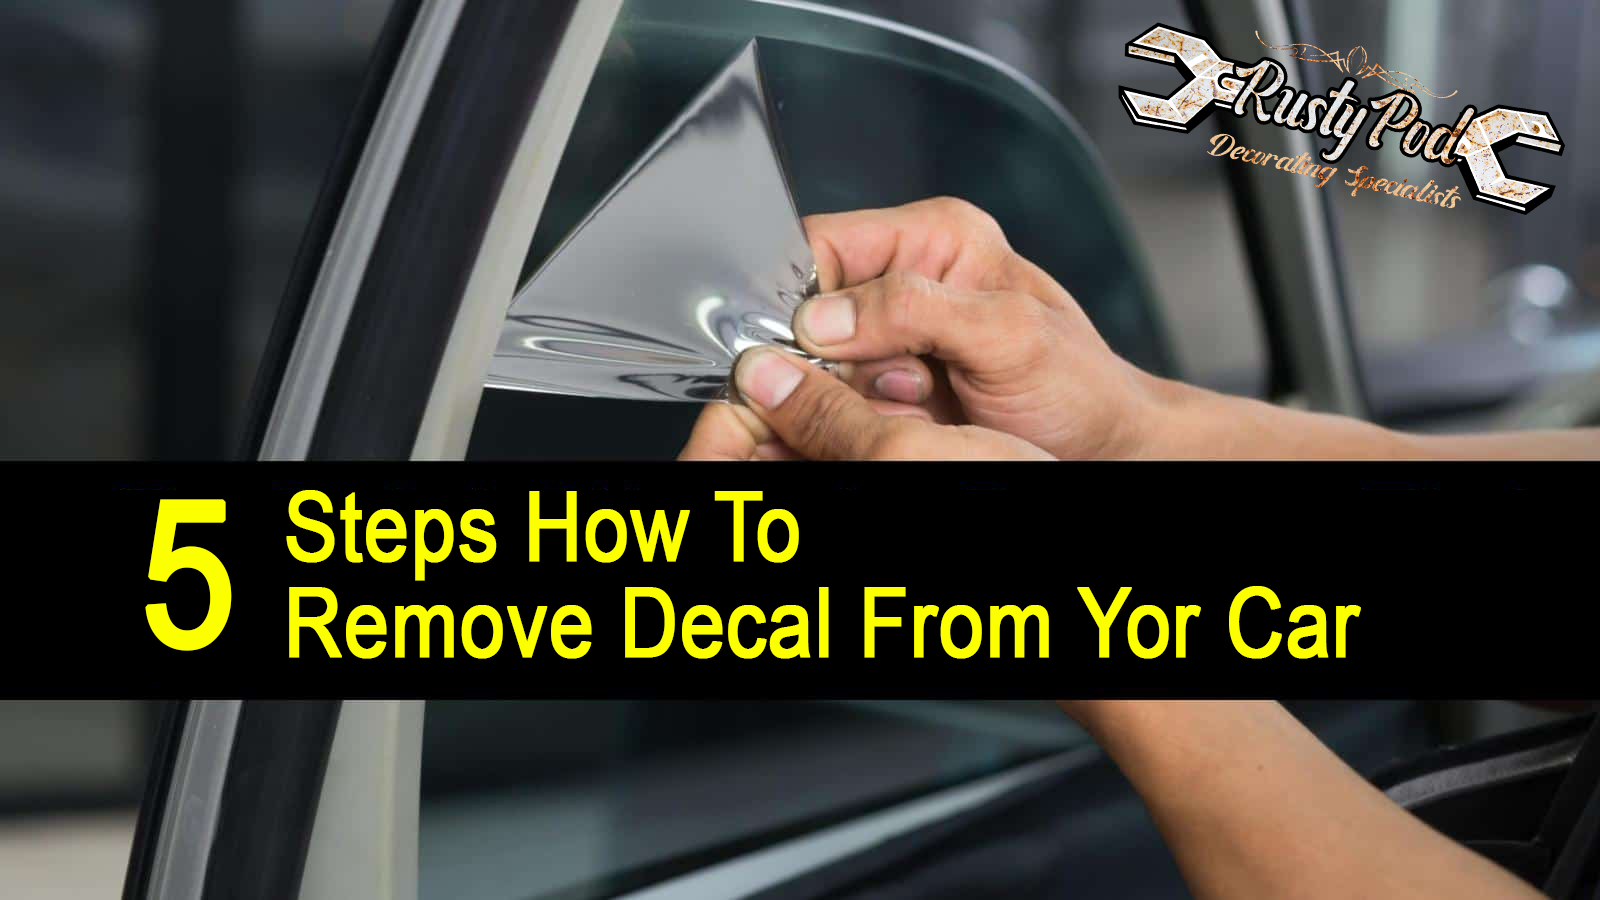
Credit: rustypod.com
Removing The Decal
Removing decals from a car window can be simple with the right tools. Use a hairdryer to heat the decal, loosening the adhesive. Carefully peel off the decal using a plastic scraper, and clean the remaining residue with a mixture of water and vinegar or mild soap.
Removing decals from car windows can be a simple process. It’s important to do it right to avoid damage. Decals may leave sticky residues if not removed properly. With patience, you can peel off decals without harming your car window.Peeling Off The Decal
Begin by warming up the decal. Use a hairdryer on low heat. This softens the adhesive, making it easier to peel. Hold the dryer a few inches away for safety. Focus on one corner first. Gently lift it with your fingernail or a plastic card. Slowly peel back the decal. Move evenly to avoid tearing. If you feel resistance, reapply heat. Continue peeling until the decal is fully removed.Handling Stubborn Decals
Some decals are more stubborn. For these, use a mixture of soap and water. Spray this on the decal and let it sit for a few minutes. This helps loosen the adhesive further. If it remains tough, try a commercial adhesive remover. Apply it carefully, following instructions. Use a plastic scraper if needed. Avoid metal tools to prevent scratches. Work slowly and steadily for the best results. Clean the window with a glass cleaner after removal. This ensures no residue is left behind.Cleaning Residue
Removing decals from a car window requires careful attention to avoid residue. Start by applying a mixture of warm water and soap to loosen the adhesive. Use a plastic scraper gently to peel off the decal without scratching the glass.
Finish by wiping away any leftover residue with a soft cloth and rubbing alcohol.
Removing decals often leaves sticky residue. This leftover glue can attract dirt and look messy. It is important to clean this residue for a spotless finish. Using the right methods ensures your window is clear and tidy.Effective Cleaning Solutions
Begin with simple items you might already have. Vinegar is a great choice for cleaning residue. Mix equal parts vinegar and water. Spray the mixture on the sticky area. Let it sit for a few minutes. Wipe it away with a soft cloth. This helps dissolve the glue without harming the glass. Another option is baking soda paste. Combine baking soda with a little water. Apply the paste to the residue. Rub gently with a microfiber cloth. Baking soda works as a mild abrasive. It breaks down the sticky bits without scratching the window. For stubborn residue, try rubbing alcohol. Dab a little on a cotton ball. Rub it over the sticky spots. The alcohol breaks down the glue quickly. It’s fast and efficient for tough areas.Final Touches For A Clean Surface
After removing the residue, rinse the window. Use clean water and a cloth. This removes any leftover cleaning solutions. Dry the glass with a soft towel. Ensure no water spots remain. Check the window for any leftover sticky bits. If you spot any, repeat the cleaning process. A well-cleaned window shines and looks fresh. Finish by polishing the window. Use a window cleaner for a sparkling finish. Spray and wipe with a dry cloth. This adds a final shine to your clean surface.Tips For Avoiding Damage
Use a hairdryer to warm up the decal for easy removal. Peel gently to avoid scratches. Clean with mild soap and water to remove residue.
Removing decals from a car window might seem like a simple task, but it can quickly lead to scratches or damage if not done carefully. Whether it’s an old parking sticker or a decorative decal, ensuring a clean removal without harming your car’s glass is crucial. Here are some valuable tips to help you avoid unnecessary damage during the process.Safe Practices
When attempting to remove decals, always start by gently heating the area with a hairdryer. The warmth softens the adhesive, making it easier to peel off the sticker without leaving residue. Keep the hairdryer moving to avoid overheating the glass. Use a plastic scraper or old credit card to lift the decal’s edges. Metal tools can scratch the glass, so stick with plastic for a safer alternative. If you encounter resistance, continue applying gentle heat and patience. A mixture of soapy water or vinegar can be used to loosen any stubborn adhesive remnants. Dab the solution on the area, let it sit for a few minutes, and then wipe it away with a soft cloth.Common Mistakes To Avoid
Avoid using sharp objects like razors or knives. They might seem effective, but they can easily leave scratches on the window. Do not yank the decal off forcefully. This can not only damage the glass but also leave behind a sticky mess. Instead, work slowly and methodically. It’s tempting to use strong chemicals to dissolve the adhesive quickly. However, these can cause damage to the glass or surrounding car paint. Stick to mild solutions and be patient. In my own experience, I once learned the hard way when I rushed through a decal removal process. The result was a scratched window that cost more to repair than if I had taken my time. Have you ever faced a similar situation where haste led to an unexpected issue? Taking the time to follow these tips ensures a smooth, damage-free removal process. After all, isn’t it better to spend a few extra minutes doing it right than dealing with costly repairs?Maintaining Your Car Window
Removing decals from a car window can be simple. Use warm soapy water to soften the adhesive. Gently peel away the decal with a plastic scraper or your fingernail.
Maintaining your car window is crucial for clear visibility. It also keeps your vehicle looking sharp. After removing decals, a few simple practices can preserve window quality. These methods prevent scratches and maintain a spotless view.Regular Cleaning Tips
Clean your car windows weekly. Use a gentle glass cleaner. Avoid harsh chemicals. They can damage the surface. Use a microfiber cloth. This reduces the risk of scratches. Wipe in circular motions for a streak-free shine.Protecting Against Future Damage
Apply a protective film. It guards against scratches. It also shields from UV rays. This film is invisible and easy to apply. Park your car in the shade. Direct sunlight can cause discoloration. It can also weaken glass strength.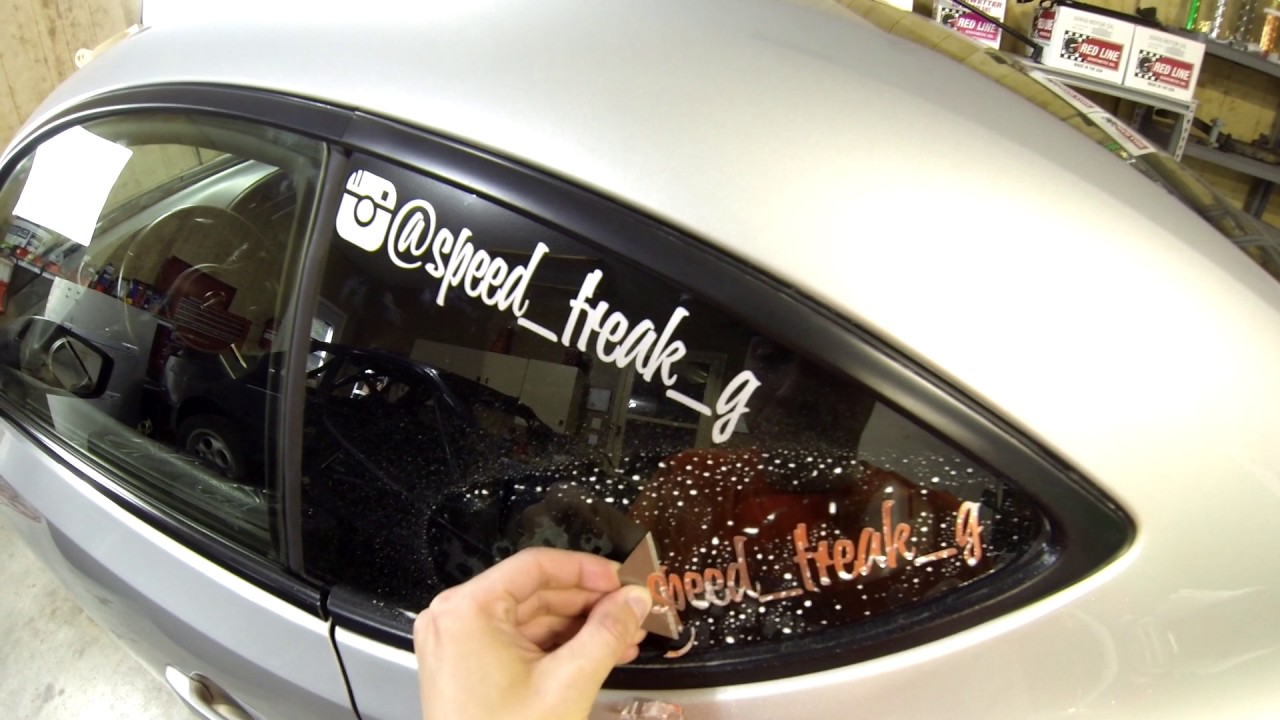
Credit: www.youtube.com
Frequently Asked Questions
Does Wd-40 Remove Decals?
Yes, WD-40 can remove decals. Spray it on the decal, let it sit, then peel off.
How Do You Remove Vinyl Decals From A Car Without Damaging Paint?
Use a hairdryer to heat the decal gently. Peel it off slowly using a plastic scraper. Clean residue with adhesive remover. Wash and wax the area to protect the paint. Avoid using sharp tools that can scratch the surface.
What Removes Decals From Glass?
Use a mixture of vinegar and water to remove decals from glass. Soak a cloth in the solution and apply. Rub gently, then scrape off residue with a plastic scraper. Finish by cleaning with glass cleaner for a clear surface.
Avoid harsh chemicals to prevent damage.
Does Rubbing Alcohol Remove Decals?
Yes, rubbing alcohol can help remove decals. Apply it on a cloth and gently rub the decal. It dissolves adhesive, easing removal. Always test a small area first to avoid surface damage.
Conclusion
Removing decals from car windows is simpler than you think. Use the right tools. Be patient and careful. Start with the edges. Peel slowly to avoid damage. Apply heat if needed. Clean the glass after removal. Your car will look fresh again.
Remember to protect your windows. Avoid harsh chemicals. A gentle approach works best. Practice makes perfect. Soon, you’ll remove decals like a pro. Enjoy the clear view and sleek look. Share these tips with friends. Help them refresh their cars too.
Happy cleaning!