
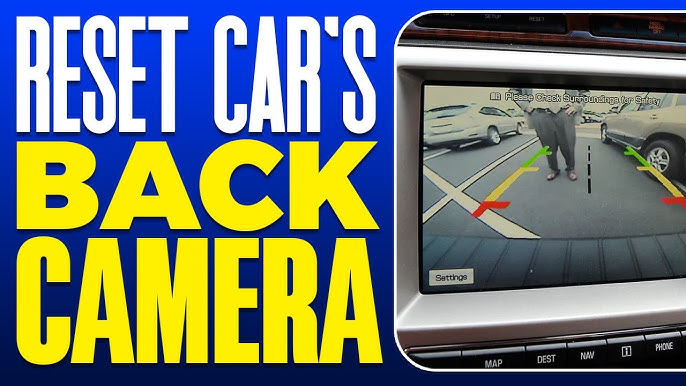
Imagine you’re reversing your car, relying on your trusty backup camera, and suddenly, the screen goes blank. Frustrating, right?
Your backup camera is not just a convenience; it’s a crucial tool for safety. But don’t worry—you’re not alone, and there’s a fix. You’ll discover simple solutions to get your backup camera working again, ensuring you drive with confidence and peace of mind.
Whether it’s a minor glitch or a more complex issue, we’ve got you covered with easy-to-follow steps and expert tips. Dive in and learn how to restore your backup camera, keeping your drives safe and stress-free.
Common Backup Camera Issues
Fixing a backup camera involves addressing common issues like poor image quality or signal interference. Check camera connections and clean the lens for clarity. Adjust settings on your car’s display to ensure proper functionality.
Backup cameras have become essential in modern vehicles, offering drivers an extra set of eyes while reversing. However, like any technology, they are prone to issues. Understanding common backup camera problems can save you time and frustration. Let’s explore some of the typical issues you might face and how to address them effectively.Blurry Or Distorted Image
A blurry image can make reversing a real challenge. This is often due to dirt or moisture on the camera lens. Regular cleaning with a soft cloth can often solve this problem. If the image remains distorted, it might be a calibration issue. Checking your car’s manual for specific calibration instructions can provide a quick fix. Sometimes, the problem lies in the wiring or camera angle, which can be adjusted easily with a screwdriver.Camera Not Displaying
If your camera isn’t displaying at all, the issue could be as simple as a loose connection. Checking the wiring harness can often reveal disconnected cables. In some cases, the display settings might have been altered accidentally. Navigating through your car’s settings to ensure the camera feature is activated can resolve this. A blown fuse is another common culprit. Replacing the fuse with one of the same amperage is a straightforward fix.Intermittent Signal Loss
Experiencing sporadic camera feed can be nerve-wracking. Often, this is due to a weak connection or interference. Inspecting and securing all connections can help stabilize the signal. Radio frequency interference from other devices can also be a factor. Relocating any aftermarket electronic devices might reduce interference. In some instances, it’s the camera itself that might be failing, which requires professional inspection.Poor Night Vision
Poor night vision in your backup camera can be a real safety concern. This is often due to insufficient lighting around the camera. Ensuring that the rear lights are functioning correctly can improve visibility. Upgrading to a camera with better low-light capabilities can be a worthwhile investment. Alternatively, adding auxiliary reverse lights can enhance night-time visibility. Adjusting the brightness settings in your car’s display system might also help improve the night vision quality. Understanding these common issues and how to troubleshoot them can make your driving experience smoother and safer. Have you faced any backup camera problems that weren’t covered here? Let us know in the comments!
Credit: www.amazon.com
Tools And Materials Needed
Fixing your car’s backup camera might seem daunting, but with the right tools and materials, it can become a straightforward task. Knowing what you need before diving into the repair process can save you time and ensure a smoother experience. Let’s take a closer look at the essentials that will help you get your camera back in working order.
Essential Tools
Having the correct tools at hand is crucial for efficiently fixing your backup camera. Here’s a list of tools that will make the job easier:
- Screwdrivers:A set of Phillips and flathead screwdrivers to remove any panels or screws.
- Multimeter:To check electrical connections and ensure proper voltage.
- Wire Strippers:Essential for any wiring adjustments or repairs.
- Socket Set:For loosening bolts, especially if the camera is mounted on the bumper.
When I first tackled my backup camera issue, I realized how invaluable a multimeter was. Checking electrical connections can pinpoint issues without unnecessary guesswork. Have you ever tried fixing something without the right tools? It’s frustrating, isn’t it?
Replacement Parts
If your camera is damaged, you might need replacement parts. Consider these:
- Backup Camera:Sometimes, a complete replacement is the only option.
- Wiring Harness:Damaged wires can disrupt the signal, requiring a new harness.
- Mounting Brackets:These secure the camera and may need replacing if broken.
When my old camera stopped working, replacing it with a new model was a quick fix. But remember, not all issues require replacement parts. How do you determine if your camera needs replacing or just a quick fix?
Safety Gear
Safety should always be your top priority. Here’s what you’ll need:
- Safety Glasses:Protect your eyes from dust and debris when removing panels.
- Gloves:These protect your hands from sharp edges and electrical components.
- Work Light:Ensures visibility, especially in low-light conditions under the car.
I learned the importance of safety gear the hard way. A small oversight can lead to a nasty scratch or worse. Have you ever thought about how a simple pair of gloves could save you from an uncomfortable injury?
Diagnosing The Problem
Start by checking the backup camera connections for loose or damaged wires. Ensure the camera lens is clean and free from obstructions. If the image is unclear, adjust the settings on the car’s display screen.
Diagnosing the Problem When your car’s backup camera stops working, it can be a frustrating experience. Before rushing to the mechanic, you might want to try diagnosing the problem yourself. This process can save you time and possibly money, while also giving you a better understanding of how your vehicle’s systems work.Visual Inspection
Start with a simple visual inspection of the camera. Is it dirty or obstructed? Sometimes, a buildup of dirt or grime can prevent the camera from capturing clear images. Grab a soft cloth and gently clean the lens to see if that resolves the issue. Check for physical damage. Have you recently bumped into something? A cracked lens or a dislodged camera can impact functionality. Inspect the camera’s housing and surrounding area for any visible signs of damage.Testing The Wiring
Next, move on to testing the wiring. Loose or damaged wiring is a common culprit for malfunctioning cameras. Access the camera’s wiring by removing the panel where the camera is mounted. Look for any disconnected or frayed wires. If you’re unsure, a quick online search can show you the wiring diagram for your specific model. Use a multimeter to check for continuity. It might sound technical, but it’s simpler than you think. A multimeter will help you verify that electricity is flowing through the wires, indicating that they’re intact.Checking The Display Screen
Lastly, check the display screen inside your vehicle. Sometimes, the issue might not be with the camera, but with the display itself. Is the screen completely blank or showing error messages? This might indicate a problem with the screen’s power supply. Try adjusting the settings. Perhaps someone accidentally changed the input source or turned off the display. Navigate through the menu options and ensure everything is set correctly. If these steps reveal a potential issue, consider whether you can fix it yourself or if it’s time to consult a professional. Diagnosing the problem yourself can be empowering and educational, and sometimes, it’s the simplest solutions that bring the camera back to life.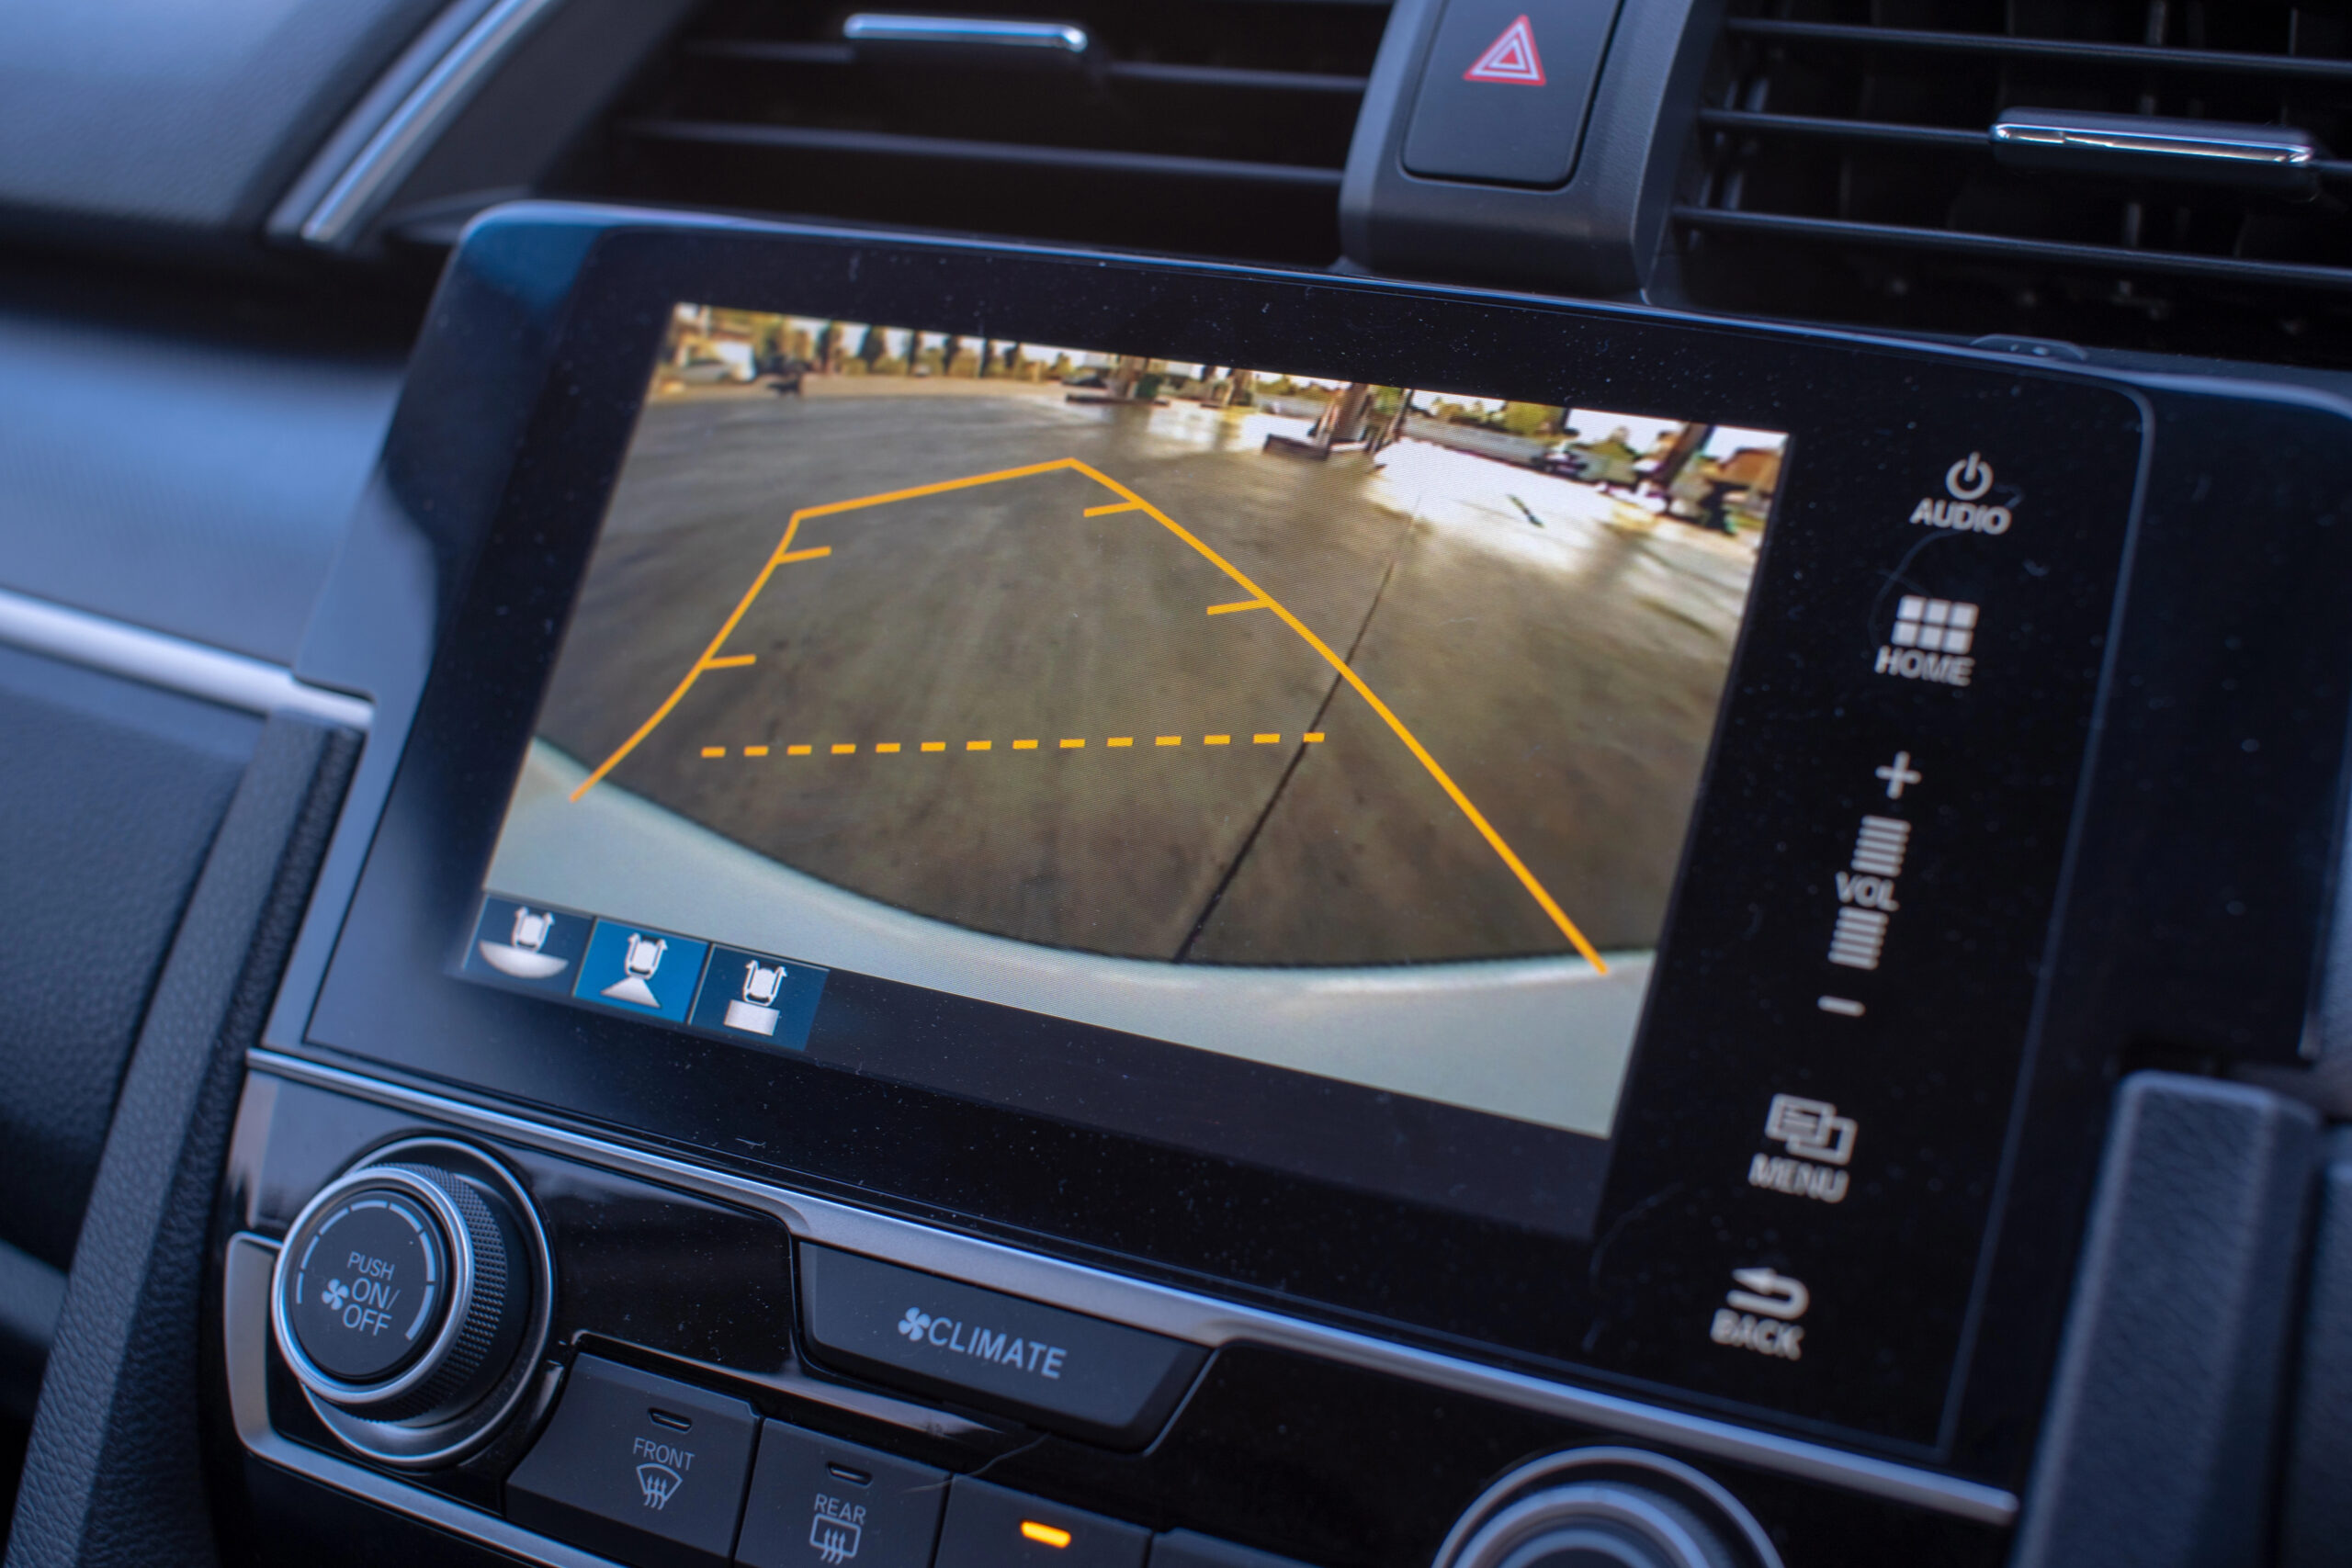
Credit: jerry.ai
Fixing Wiring And Connections
Check the wiring and connections if your backup camera isn’t working. Loose or damaged wires can cause disruptions. Secure connections ensure clear images when reversing.
Fixing wiring and connections in your backup camera system can often resolve issues without the need for professional assistance. Many backup camera problems originate from faulty wiring, which can seem intimidating, but with the right guidance, you can tackle it yourself. Checking the wiring harness, repairing damaged wires, and securing loose connections are key steps to getting your camera back in working order.Locating The Wiring Harness
First, identify where the wiring harness is located in your car. Typically, you will find it near the back of the vehicle where the camera is installed. It may be hidden behind panels or carpeting, so be prepared to do a little searching. Once located, inspect the harness for any obvious signs of wear or damage. Look for broken or frayed wires. If you’re unsure, consult your car’s manual or a reliable online forum for guidance.Repairing Damaged Wires
If you discover damaged wires, don’t panic. You’ll need some basic tools like wire strippers, electrical tape, and possibly a soldering iron. Carefully strip away the damaged section of the wire. Ensure you expose enough of the wire to make a secure connection. Twist the exposed ends together tightly and cover them with electrical tape or heat shrink tubing for insulation. This will prevent any short circuits or further damage.Securing Loose Connections
Loose connections can lead to intermittent camera problems, often causing the screen to flicker or go blank. Check each connection point to ensure they are firmly attached. Gently tug on each connection. If it comes loose, secure it by pushing it firmly back into place. For added security, use zip ties or clips to hold the wires in place and prevent them from moving around. This can help avoid future issues caused by vibrations while driving. Taking these steps to fix your backup camera’s wiring and connections can save you both time and money. Have you tackled a similar issue before? Share your experiences or tips in the comments section below!Cleaning And Adjusting The Camera
Cleaning and adjusting the camera can solve many backup camera issues. Gently wipe the lens to remove dirt and debris. Adjust the camera angle for a clear view, ensuring it captures the necessary field.
Cleaning and adjusting the backup camera on your car can solve many issues. A dirty lens or misaligned camera might affect visibility. Regular maintenance ensures clear images and safe driving. Follow these simple steps to keep your backup camera in top condition.Cleaning The Lens
Clean the lens gently with a microfiber cloth. This prevents scratches. Use a lens cleaner for stubborn dirt. Spray on the cloth, not directly on the lens. Avoid harsh chemicals. They can damage the lens. Regular cleaning keeps the camera clear.Adjusting The Camera Angle
Check if the camera angle is right. A misaligned camera shows incorrect images. Use a small wrench to adjust the camera. Aim for a wide view of the road. Test the angle by reversing slowly. Make sure you see obstacles clearly.Ensuring Proper Mounting
Inspect the camera mount for stability. Loose mounts affect image quality. Tighten screws with a screwdriver. Make sure the camera is secure. Test the mount by pressing gently. The camera should not move. Secure mounting ensures clear images.
Credit: www.youtube.com
Replacing The Backup Camera
Swap out faulty backup cameras by first disconnecting the power supply. Remove the old camera carefully. Install the new camera securely and ensure proper wiring. Test the camera to confirm it functions correctly.
Replacing the backup camera is a key step to restoring clear vision. A malfunctioning camera can lead to blind spots, which increase the risk of accidents. A new camera can enhance your driving experience and provide peace of mind.Selecting A Compatible Camera
Choose a camera that fits your car model. Check specifications to ensure compatibility. Consider features like resolution and night vision. A high-quality camera will offer clearer images. Research customer reviews for reliability insights.Removing The Old Camera
Start by disconnecting the battery for safety. Locate the camera, usually near the license plate. Unscrew and carefully remove the camera. Disconnect wires without damaging them. Keep screws and parts organized.Installing The New Camera
Begin by connecting the new camera’s wires. Secure the camera in its designated spot. Ensure it’s tightly screwed in place. Reconnect the battery once installation is complete. Test the camera to confirm it works properly. Adjust angles if necessary for best view.Testing And Final Adjustments
Testing and final adjustments ensure your backup camera works perfectly. Start by checking connections and calibrating the camera settings. Adjust angles and brightness for clear visibility.
After successfully installing or fixing your backup camera, it’s essential to ensure everything works as it should. Testing and making final adjustments can make the difference between a smooth parking experience and unexpected surprises. Whether you’ve just replaced a damaged camera or installed a new one, these steps will help you achieve the best results.Testing The Camera Functionality
Begin by turning on your car and shifting into reverse to activate the camera. Check the display screen for any signs of distortion, flickering, or blank screens. If the image isn’t clear, it might indicate a loose connection or a need for further adjustments. Listen for any unusual sounds that might accompany the camera’s activation. A humming or buzzing noise could suggest electrical interference or improper grounding. Address these issues promptly to avoid long-term damage. Try testing the camera in various lighting conditions. A backup camera should provide a clear image whether it’s day or night. If the picture quality varies drastically, consider adjusting the camera angle or checking the lens for dirt.Making Final Adjustments
If the camera’s field of view isn’t optimal, it’s time to make some tweaks. Adjust the angle of the camera to ensure you have a comprehensive view of the area behind your vehicle. The goal is to cover blind spots without distorting the image. Secure any loose wires that might interfere with the camera’s operation. Use cable ties or clips to keep everything neat and out of sight. This not only ensures better functionality but also prevents potential hazards. Consider consulting your car’s manual if you’re unsure about the camera’s correct positioning. Manufacturers often provide guidelines to achieve the best view and maintain the camera’s longevity.Ensuring Optimal Performance
Regular maintenance is key to keeping your backup camera in top shape. Clean the camera lens periodically to prevent dirt and grime from obstructing the view. A simple wipe with a microfiber cloth can make a huge difference. Check all connections periodically to ensure they remain secure. Vibrations from driving can sometimes loosen wires, leading to intermittent issues. By staying proactive, you can avoid most problems before they arise. Lastly, ask yourself: Is there anything more you can do to improve your setup? Sometimes, adding a protective cover or upgrading the display screen can enhance your backup camera’s performance even further. By focusing on testing and adjustments, you’ll ensure your backup camera is reliable and effective for every trip.Preventive Maintenance Tips
Preventive maintenance for your car’s backup camera can save you from unexpected malfunctions and costly repairs. By incorporating simple practices into your routine, you ensure your camera remains reliable and efficient. Let’s delve into some key maintenance tips to keep your backup camera in top shape.
Regular Cleaning
Dust and grime can obscure the view of your backup camera, rendering it ineffective. Make cleaning a habit. Use a soft microfiber cloth to gently wipe the camera lens, removing any dirt or water spots. Consider it part of your car wash routine. A clean camera lens provides a clear view, enhancing safety.
Routine Inspections
How often do you inspect your backup camera? Regular checks can help you spot potential issues before they become serious. Look for signs of wear or damage. Check the wiring for any fraying or disconnection. An inspection can be done quickly and save you from surprises.
Upgrading Components
Technology evolves, and so should your backup camera system. Are your camera components outdated? Consider upgrading to improve performance. Advanced models offer better resolution and enhanced features. Investing in new components can significantly enhance your driving experience and safety.
Frequently Asked Questions
Why Isn’t My Backup Camera Working?
Your backup camera might not work due to wiring issues or a blown fuse. Check for any visible damage or loose connections. If none are found, consult your car’s manual for specific troubleshooting steps. Regular maintenance can prevent such issues.
How Do I Reset My Backup Camera?
To reset your backup camera, disconnect the car battery for 10 minutes. Reconnect it and test the camera. This process can resolve minor software glitches. If the issue persists, consult a professional for further inspection.
What Causes A Blurry Backup Camera?
A blurry backup camera can be caused by a dirty lens or moisture. Clean the lens with a microfiber cloth and ensure it’s dry. If the problem continues, inspect the camera housing for cracks or damage, which might allow moisture in.
Can I Fix My Backup Camera Myself?
Yes, you can often fix minor issues yourself, like loose connections or dirty lenses. Use your car’s manual for guidance on simple fixes. However, for complex problems, such as wiring issues, it’s best to consult a professional.
Conclusion
Fixing a car’s backup camera can seem daunting, but it’s doable. Start by checking connections and cleaning the lens. Sometimes, a simple reset solves the problem. Follow the steps outlined, and your camera should work again. If it still doesn’t function, consult a professional.
Safety is important, and a working backup camera helps. Regular maintenance prevents future issues. Keep your car in top condition for peace of mind. With these tips, you can tackle backup camera problems easily. Safe driving!